Workflow Variables are used like common variables are used in any programming language. Their functionality is to be assigned to a particular field of an object.
A fixed/static value can be assigned or a dynamic value can be lifted from another (source) field and assigned to a target field.
Workflow Variables are used like common variables are used in any programming language. Their functionality is to be assigned to a particular field of an object.
Workflow Variables are used like common variables are used in any programming language. Their functionality is to be assigned to a particular field of an object.
Workflow Variables are used like common variables are used in any programming language. Their functionality is to be assigned to a particular field of an object.
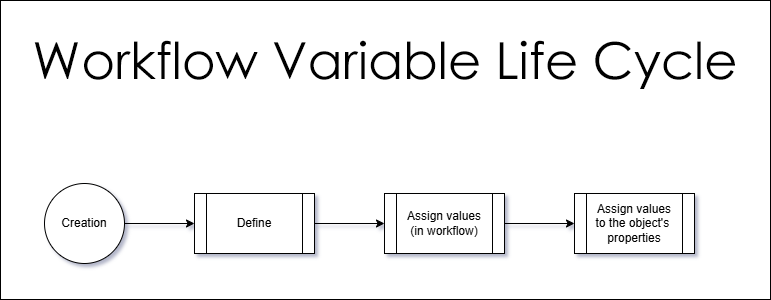
The lifecycle of workflow variables has four stages.
Variable is created
Variable is defined
Variable is assigned to relevant properties (in the Workflow)
The values of the variable are assigned to relevant properties whenever the event triggers the workflow (e.g. a new record is created)
Our Use Case
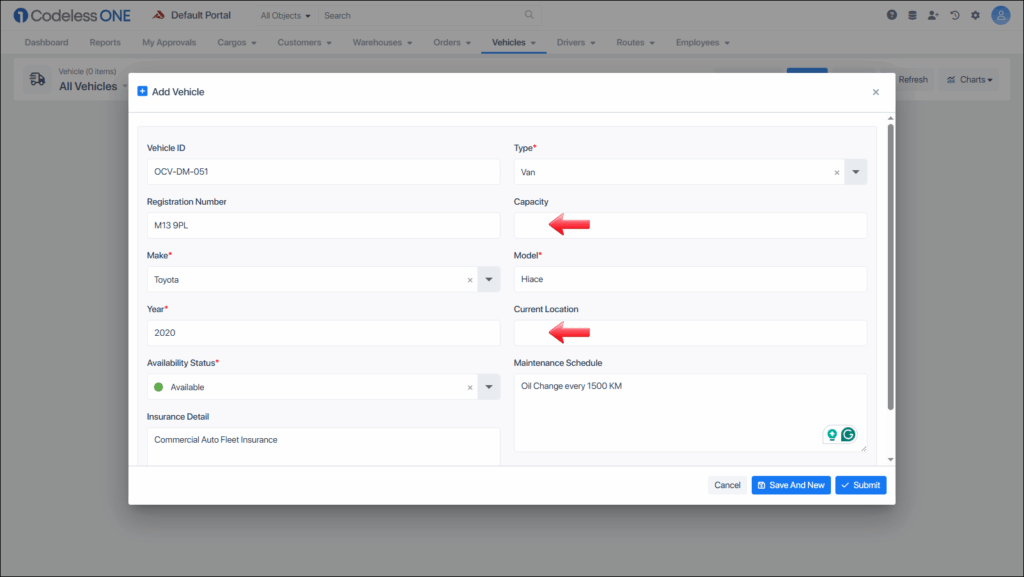
Lets assume that we are a cargo delivery service and are in the process of adding delivery vans to our fleet.
The following two characteristics are common that we are going to utilize for the Workflow Variables:
The delivery Vans are all 1-Ton capacity
All of the vans are to be located at Dartmouth
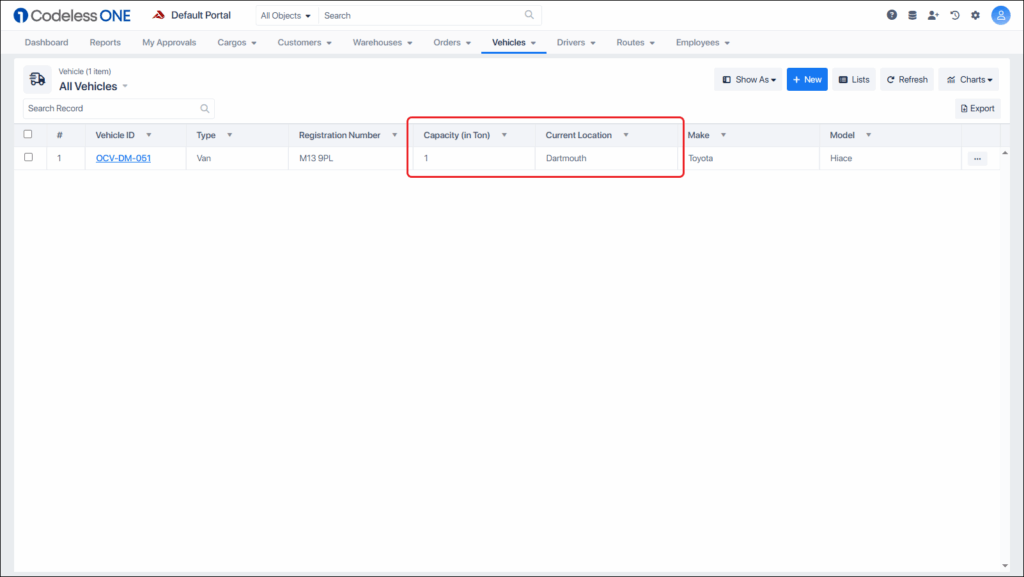
So the Capacity property can be set to 1 and the Location field can be set to Dartmouth using the variables. After the variables are configured, each time a vehicle is created (added to the fleet), its capacity and location properties would be automatically set to the relevant values.
Creating the Variables
The creation of a variable is the first step of using these variables, later in the Workflow.
To create the variables:
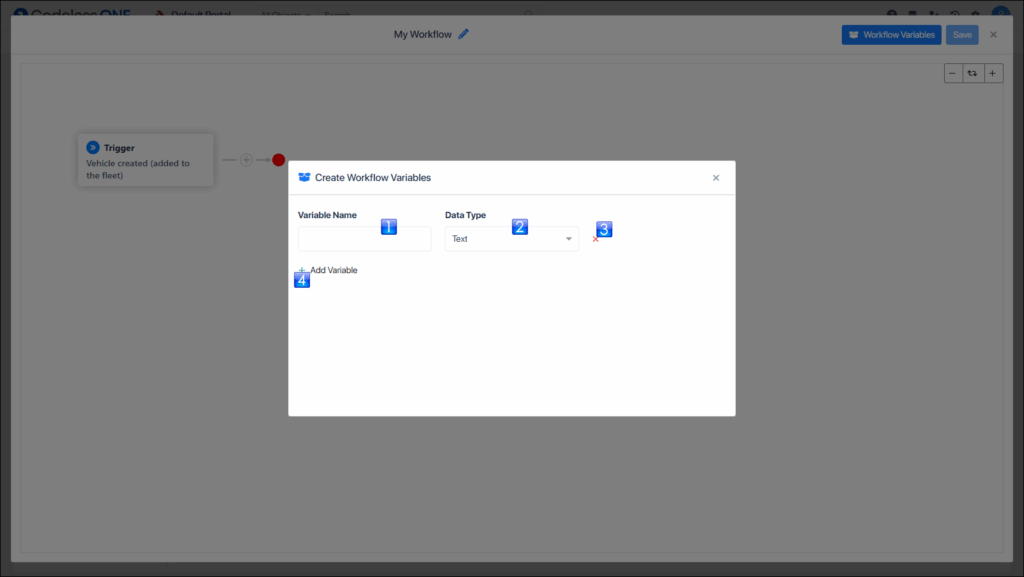
Click the Workflow Variables button on the Workflow screen.
The CreateWorkflow Variables window appears.
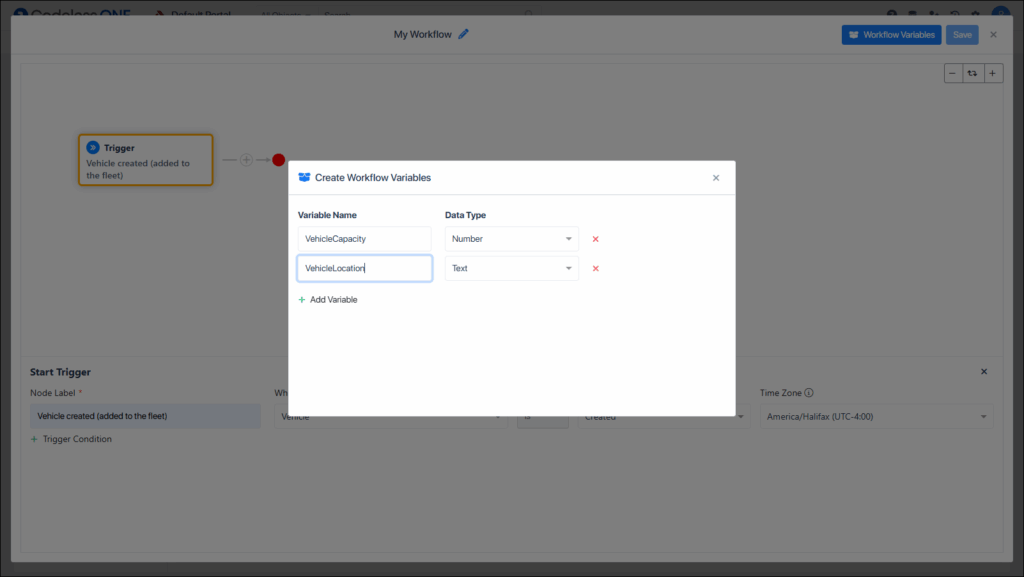
Variable Name: Users can give any suitable name to the variable
Data Type:Currently three types of variables are supported: Text, Number, and Boolean
Delete variable:Used to delete the relevant variable
Add variable:Used to add a new variable row that can be used to define a new variable
Users can define (and use) single or multiple variables in a workflow.
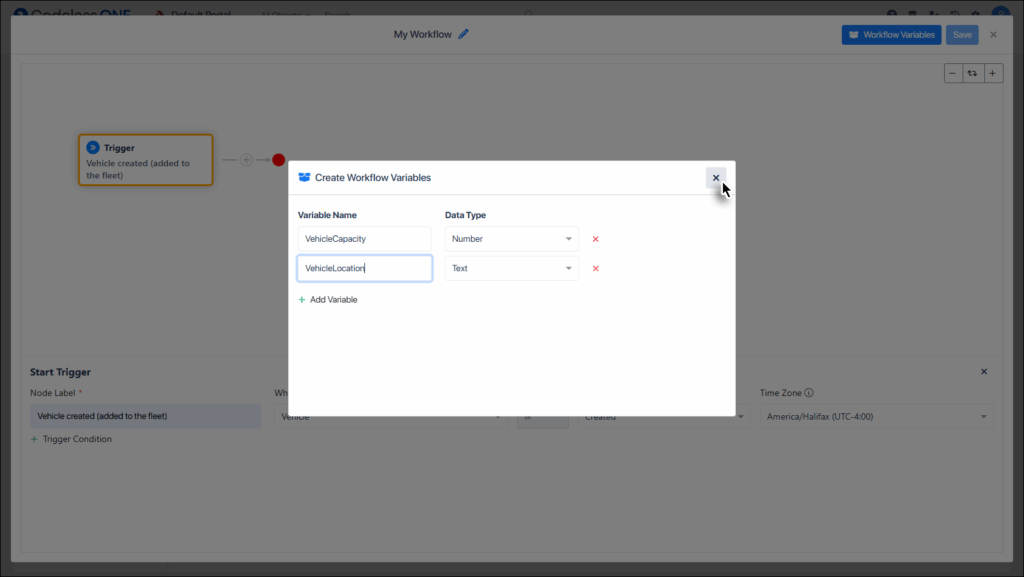
Add desired variables and then click the close button.
The variables are created.
Defining the Variables
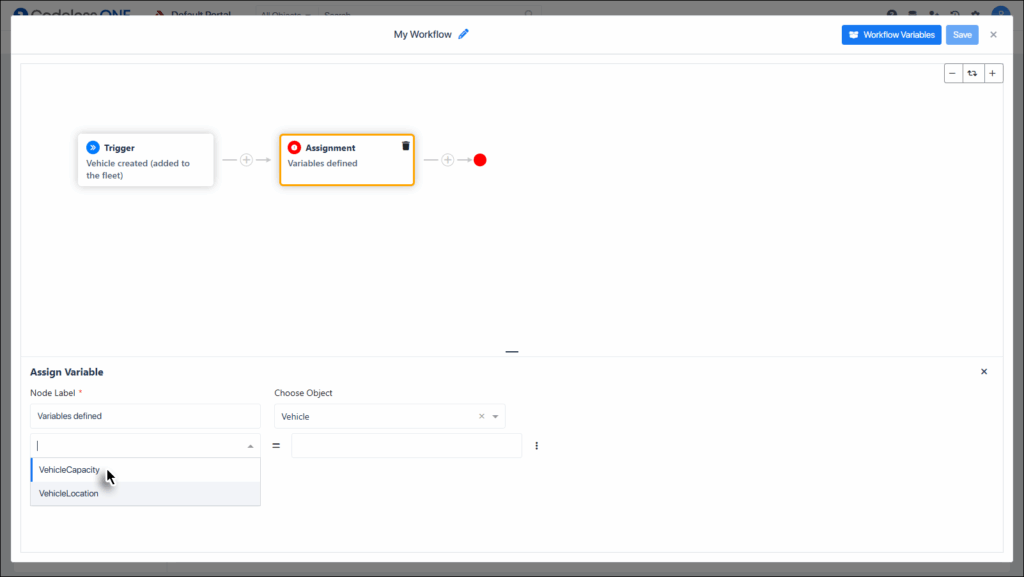
Once the variables are created we can assign values to them. This is used by a node of Assignment type. The process is as follows:
Add a node to the Workflow and select it’s type as Assignment.
You may want to rename the node if desired.
Select the Object. Most of the time it would be only 1 in the list that could be chosen.
Select the desired Variable.
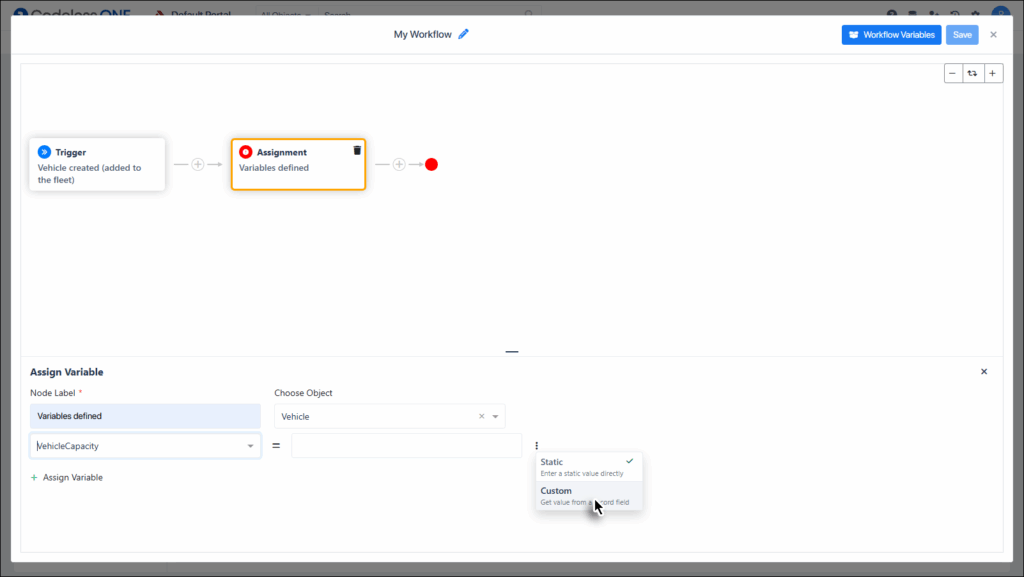
The values assigned to a variable could be static or custom.
For Static values:
If a static value is to be added then directly enter it in the textbox.
For Custom values:
If a value is to be copied from another property then click on the ellipsis button.
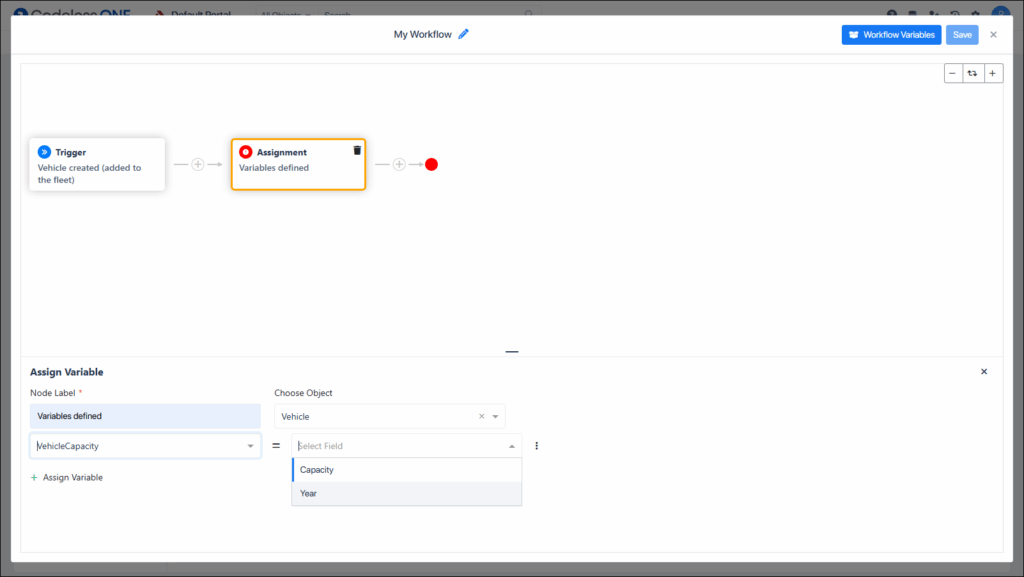
And then select Custom option from the dropdown.
Finally select the desired property (whose value would be copied).
Repeat the process with all the created variables and close the node details section.
This completes the third part of the variables lifecycle.
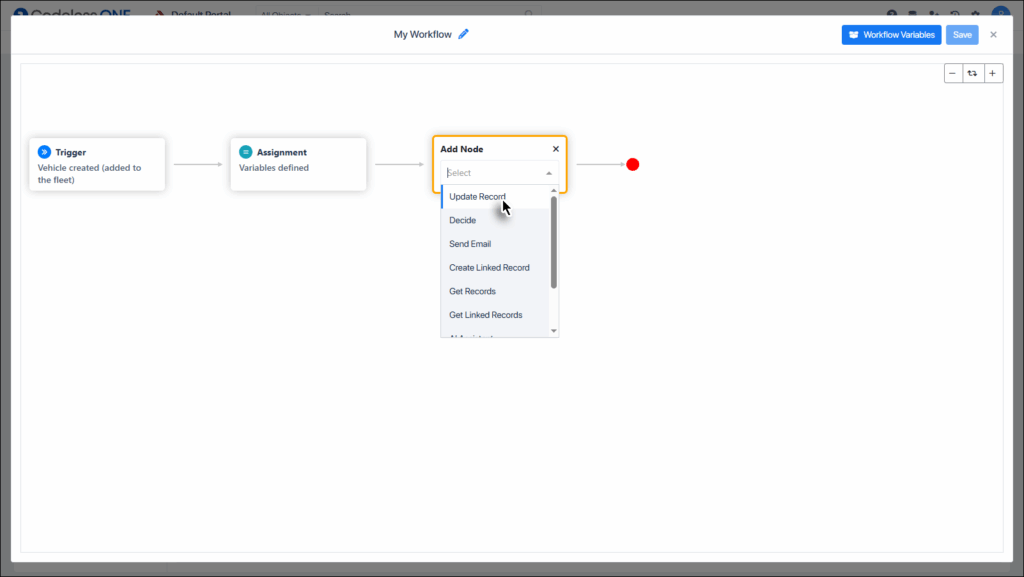
Assigning variable values to relevant properties (in the workflow)
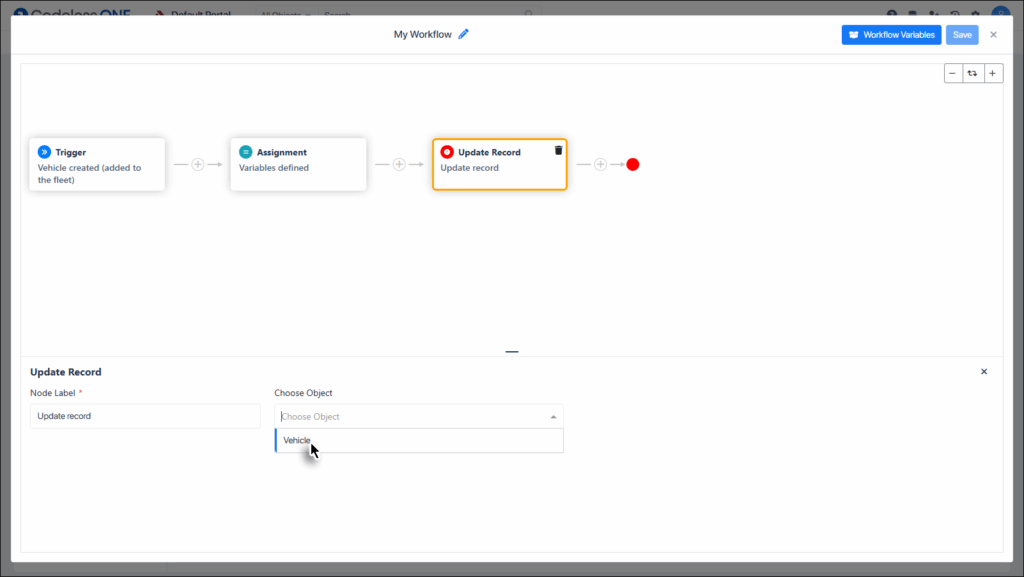
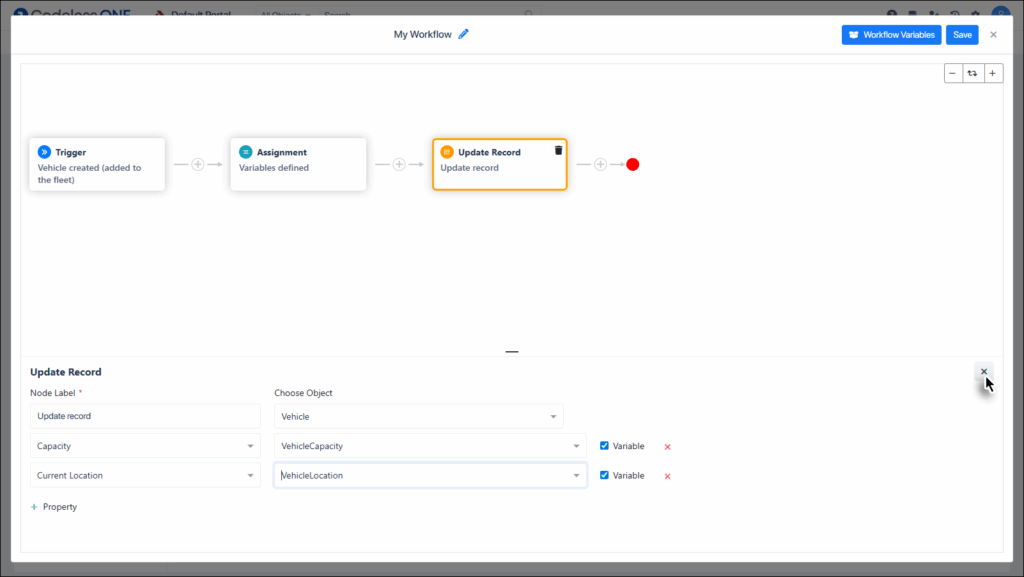
Create a node with type Update Record.
Select the relevant object.
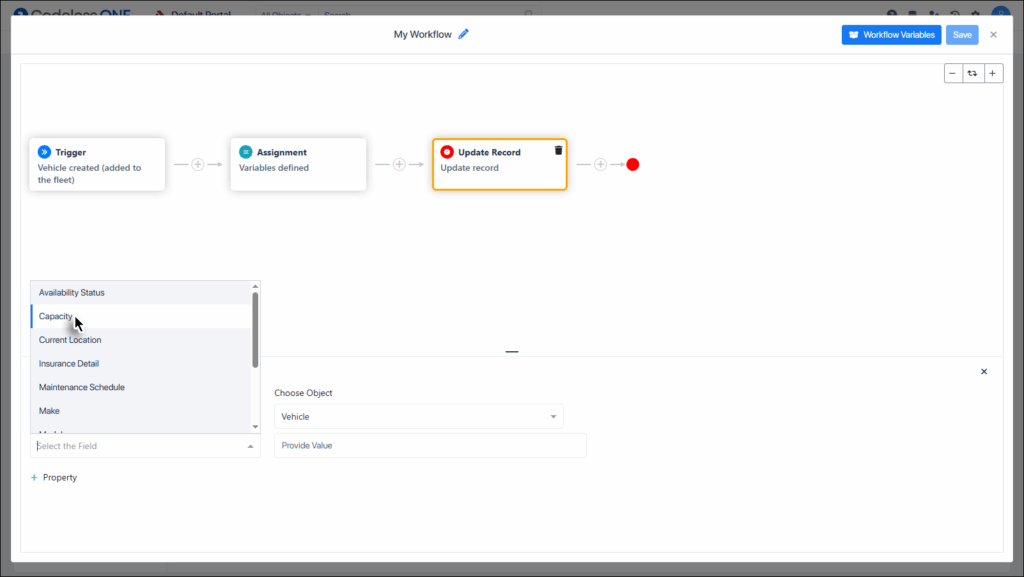
Select the desired field of the object. This field would receive its value from the Workflow Variable.
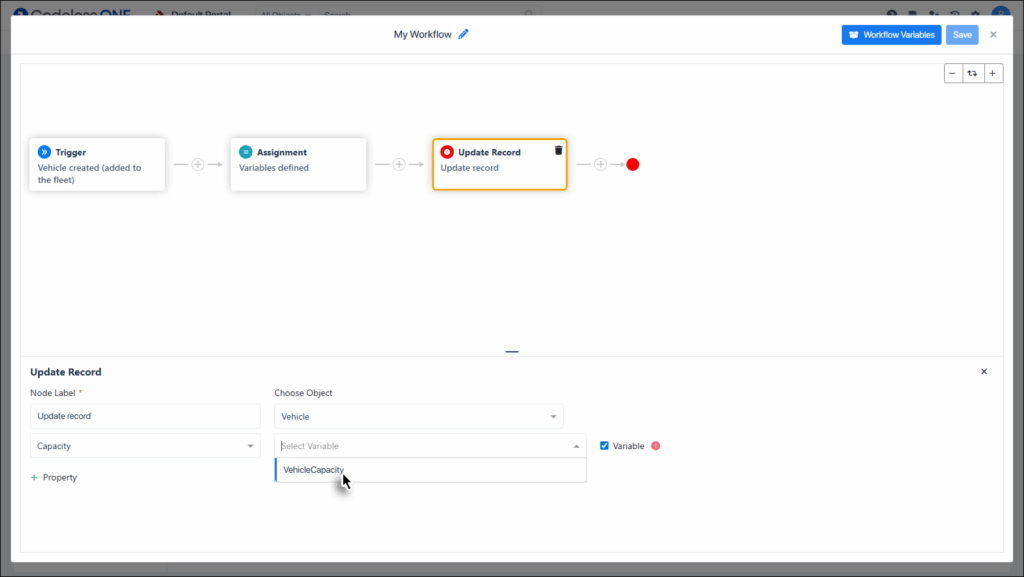
Select the Variable checkbox. This tells the Workflow how the selected property of the object would get it’s value.
Now select the relevant Workflow Variable from the list.
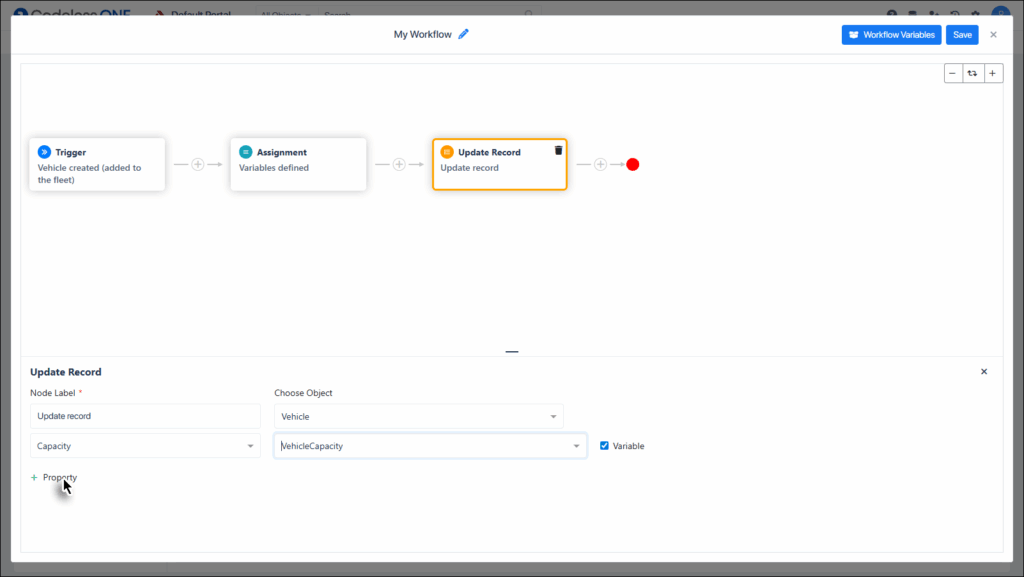
We have applied a Workflow Variable to one of the object’s properties.
Click the + Property link.
Repeat the process mentioned above to link all the desired properties with the relevant Workflow Variables. Once done, close the node details section.
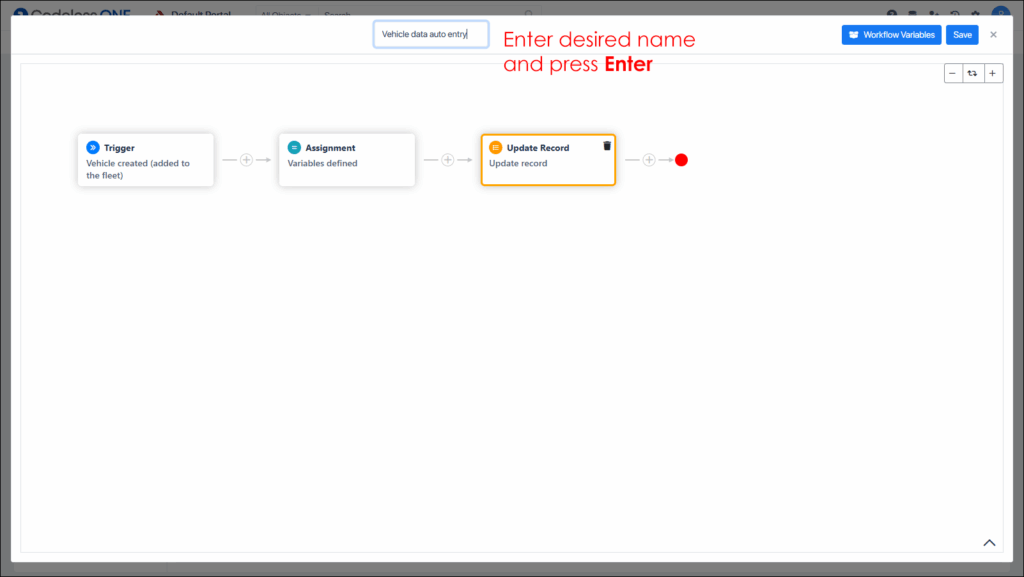
You may want to rename the workflow by clicking on the edit icon at the top.
Enter a suitable name and press Enter ↵.
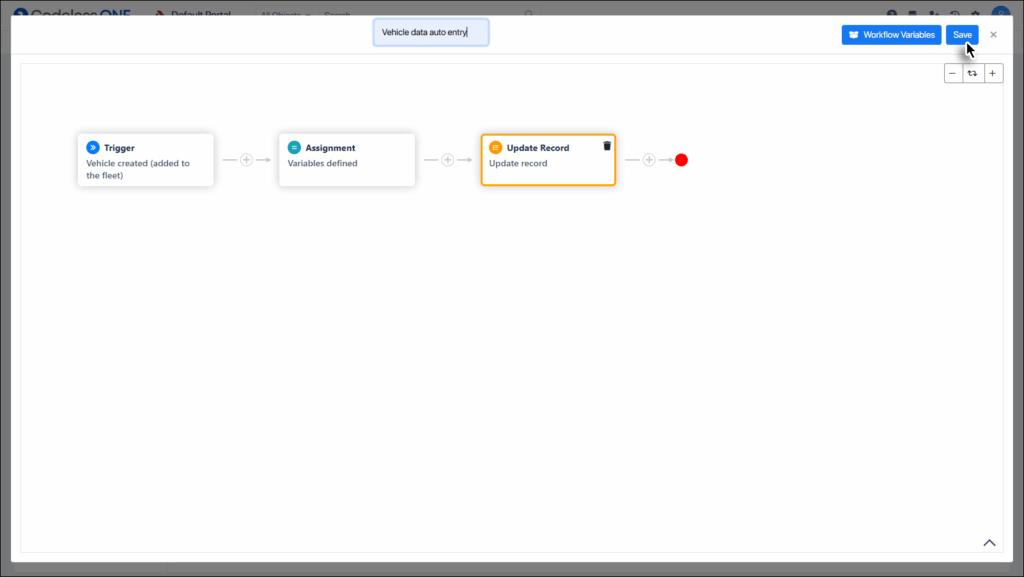
Click the Save button.
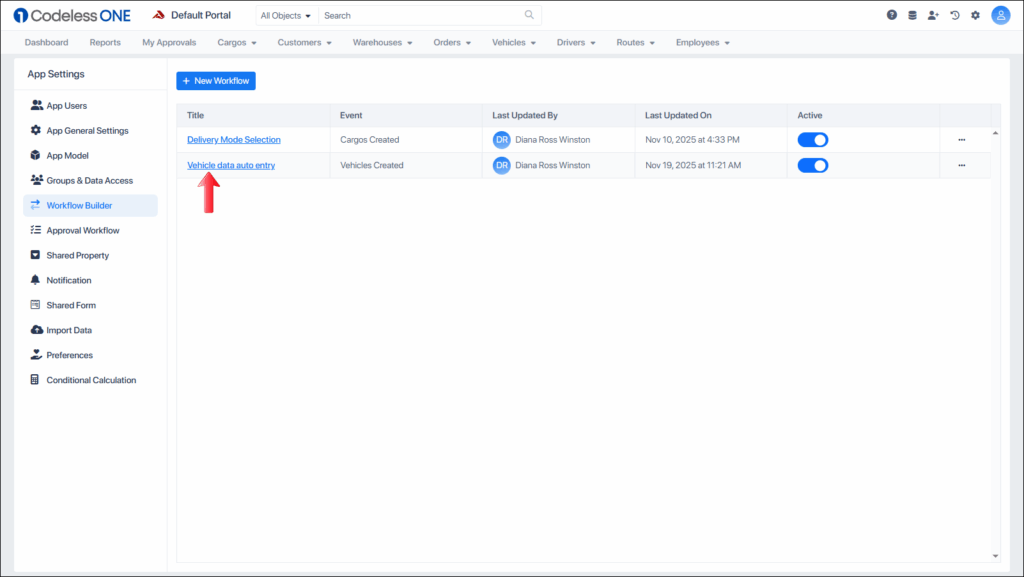
Close the Workflow window.
The Workflow is created for the variables to take action every time a vehicle is created.
Now we have set the stage for Workflow Builder automation. The next phase is carried out by Codeless ONE.
Assigning variable values to actual records
Using any of the Codeless ONE views, add a new Vehicle and leave the Capacity and Location properties blank.
You can see that the properties left blank have been automatically filled. This is done using the Workflow Variables that we devised in the above sections.