Managing and overseeing linked records is a crucial aspect of data organization in applications.
This article provides a clear guide on how to view and manage records linked to a specific object within a CRM application, using the example of a ‘Product’ record and its linked ‘Cases’.
Scenario: Accessing Linked Cases to a Product
Imagine a scenario in your CRM where each ‘Product’ record is linked to various ‘Cases’. To get an overview of all these associations, you need an effective method to view all linked records for a given product.
Process for Viewing and Managing Linked Records
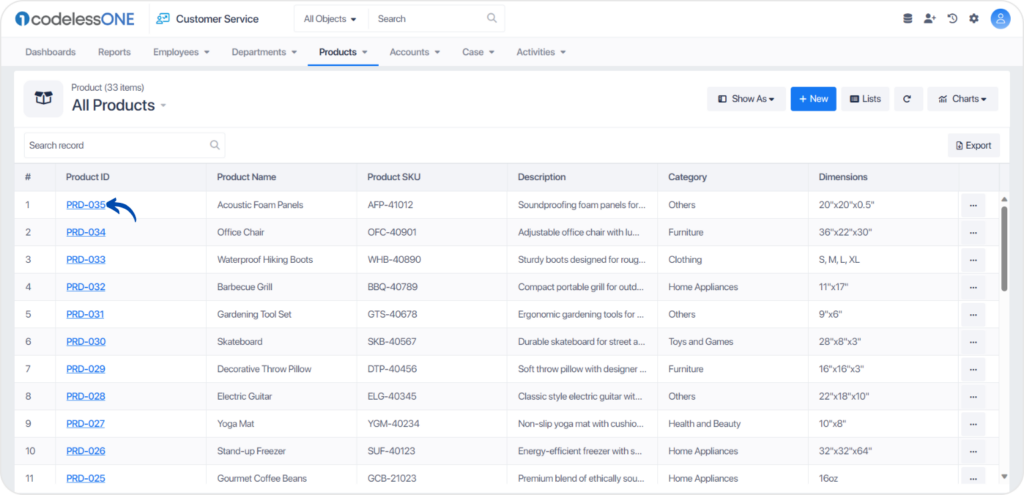
Selecting the Product Record
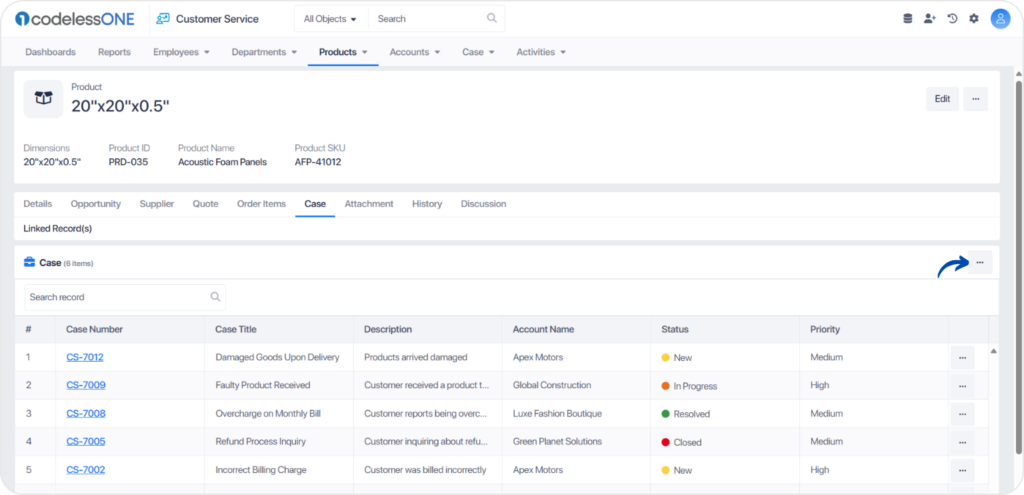
Accessing Product Details: Start by selecting the ‘Product’ record for which you want to view the linked ‘Cases’.
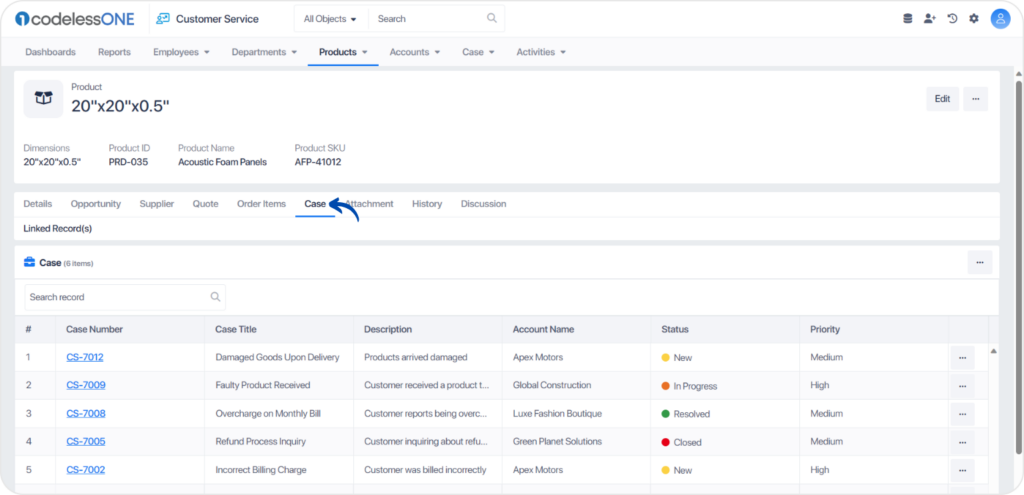
Navigating to Linked Cases
Finding the Case Tab: Go to the ‘Case’ tab.
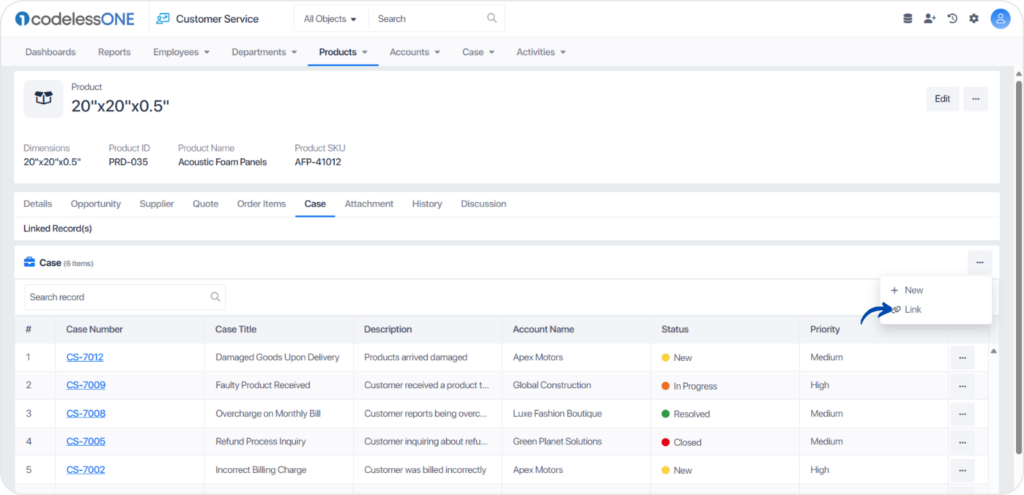
Initiating the Link View: Click on the button within the ‘Case‘ tab and select ‘Link‘.
This action opens the link record table.
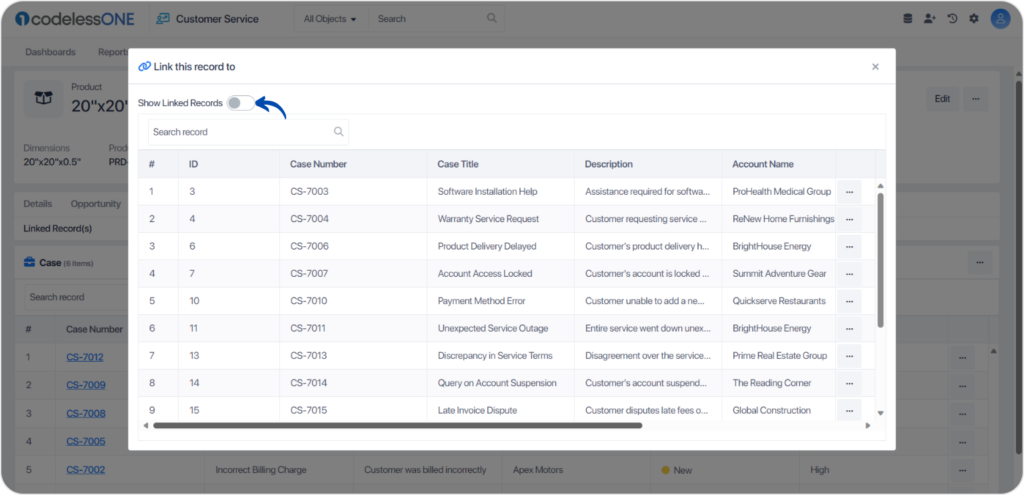
Displaying All Linked Records
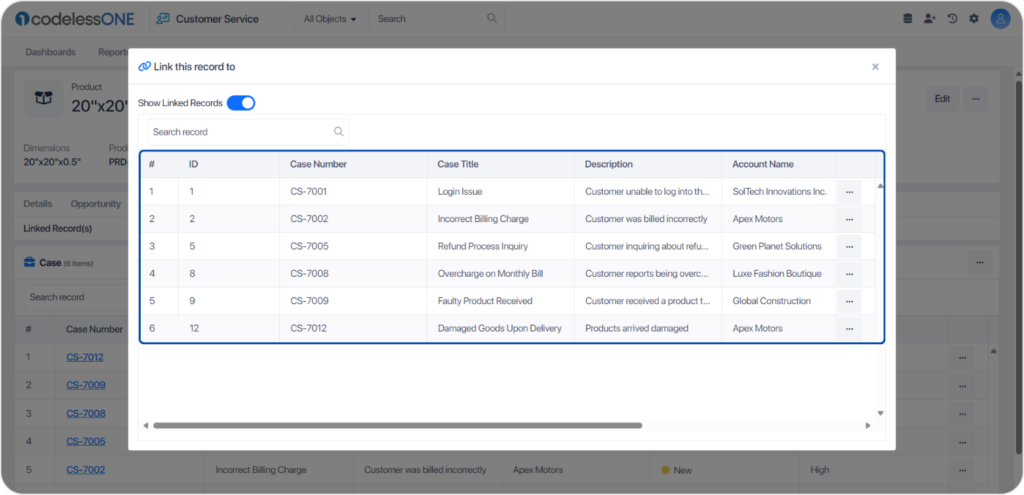
Turning On Show Linked Records: In the link record table, activate the ‘Show Linked Records‘ option.
The system will then display all ‘Cases’ linked to the selected ‘Product’.
Unlinking If Necessary
If you identify any records that should not be linked to the Product, you can easily unlink them using the unlinking process described in a previous article.
Customizing the Linked Record View
Adjusting Display Settings: To customize the properties displayed in the linked record table, turn on the ‘Edit Mode‘. Then, make the necessary adjustments through the app editor for a more tailored view of the linked records.
Efficiently viewing and managing linked records is crucial in applications like CRMs and beyond. This capability provides a complete view of data relationships, allows the unlinking of irrelevant records, and enables customization of data displays.
Following these steps ensures thorough data management and accuracy across any application.
 button within the ‘Case‘ tab and select ‘Link‘.