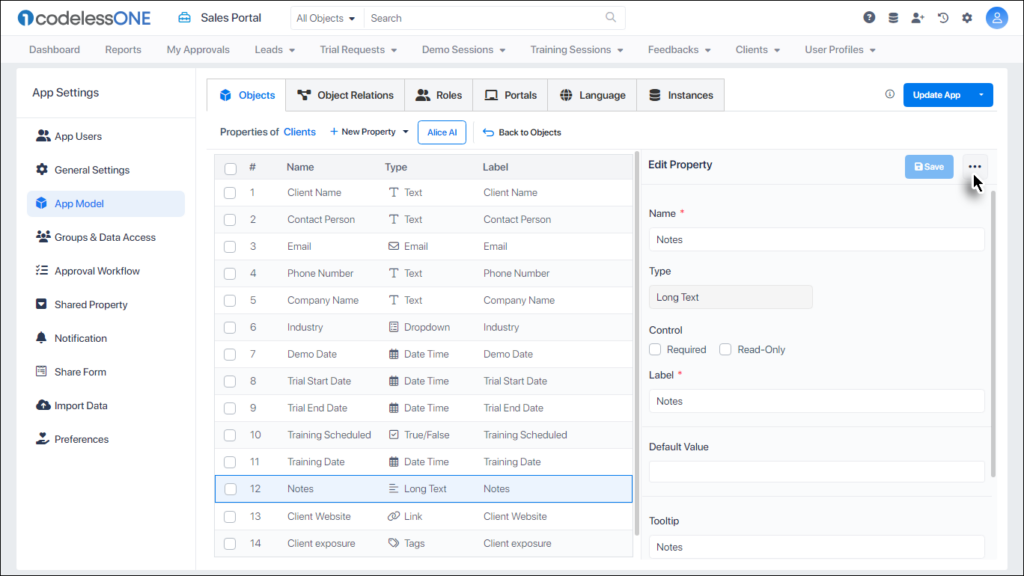
Skip to content

A Step-by-Step Guide on Deleting Properties from Your Application

A Step-by-Step Guide on Deleting Properties from Your Application

Managing your application efficiently involves not only adding and updating features but also knowing when and how to remove elements that are no longer necessary.
This guide focuses on the process of deleting properties from your application, a crucial step in maintaining its relevance and functionality.
Whether you’re looking to bulk delete multiple properties or remove them individually, the following instructions will ensure a smooth and error-free process.
Firstly, it’s essential to navigate to the correct location within your application settings:
Navigate to Settings: Click on ‘Settings’ located at the top left corner.
Open Application Settings: Select ‘Application Settings’ from the menu.
Access the App Model : Here, you’ll find the ‘App Model ‘ which leads you to the Object Page.

Accessing the Property Page:

Select the Desired Object: Choose the object from which you want to delete properties.

Method 1: Bulk Delete Option

For removing multiple properties simultaneously:

Selection

Check the box next to each Property name for all properties you wish to remove.

Initiate Deletion

Click the ‘Delete‘ button found at the top of the page
A warning message will appear to confirm your decision.

Confirmation

Click “Delete” again to complete the removal process.

Method 2: Individual Property Deletion

For those preferring to delete properties one at a time:

Select Property

Navigate to and click on the specific property you intend to delete.

Find the Property Options

Look for the button on the right side of the Property Page.

Reveal Options

Clicking the button presents three options: ‘Delete’ , ‘Revert Changes’ and ‘Save as Property Template’

Initiate Deletion

Choose ‘Delete‘.
The system will display a warning message for confirmation.

Confirmation

Confirm your choice by clicking the “Delete” button again.

Finalizing Your Actions

After completing the deletion process, it’s important to ensure that your application reflects these changes accurately:
Update the Application: Click the ‘Update App‘ button located in the top right corner.
This action updates your application, incorporating all recent modifications and deletions, thereby keeping your application streamlined and up to date.
Regularly reviewing and removing outdated or unnecessary properties from your application is key to its optimal performance and ease of use.
By following the detailed steps outlined in this guide, you can effectively manage your application’s properties, ensuring it remains organized and functional.
Remember, keeping your application clean and efficient is a continuous process that contributes significantly to its success.
Note: Once properties are deleted, the action cannot be undone. To reintegrate these properties, you will need to manually add them again.