The Shared property is a kind of property that can be reused in multiple objects and whose values can be updated runtime without the need to update the app. The concepts related to the shared property are discussed here.
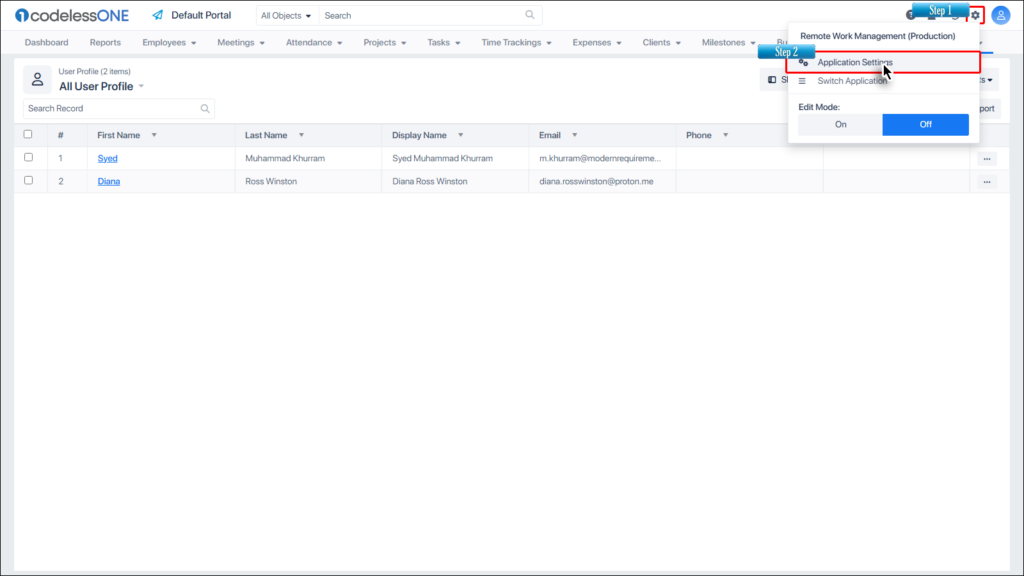
Click on App Settings icon and then select the Application Settings option.
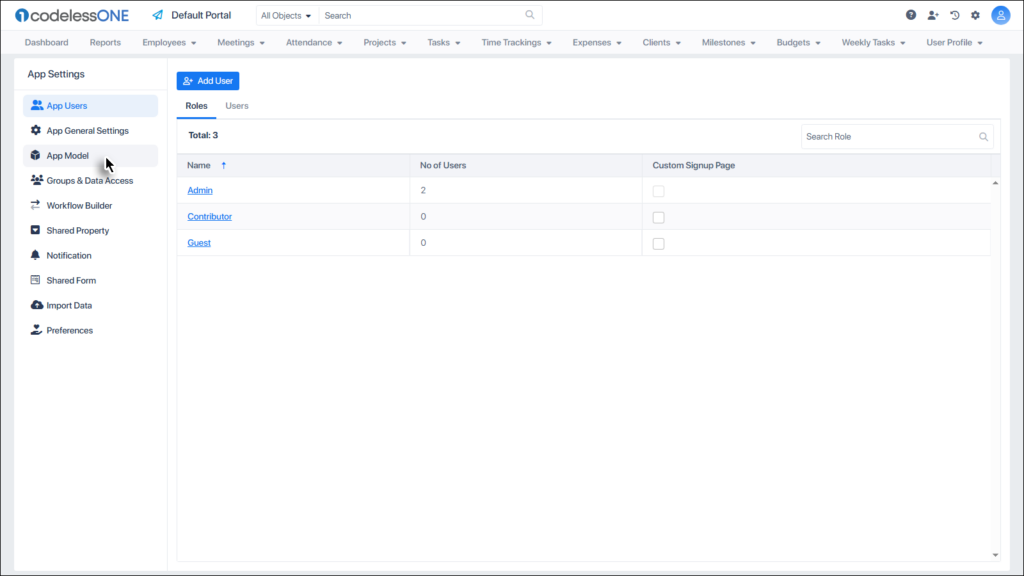
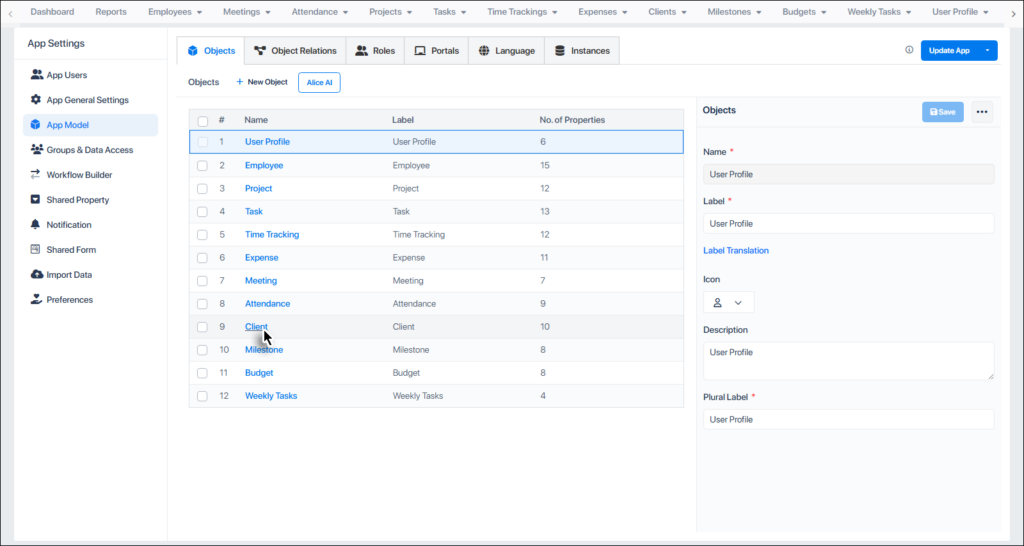
Click the App Model option.
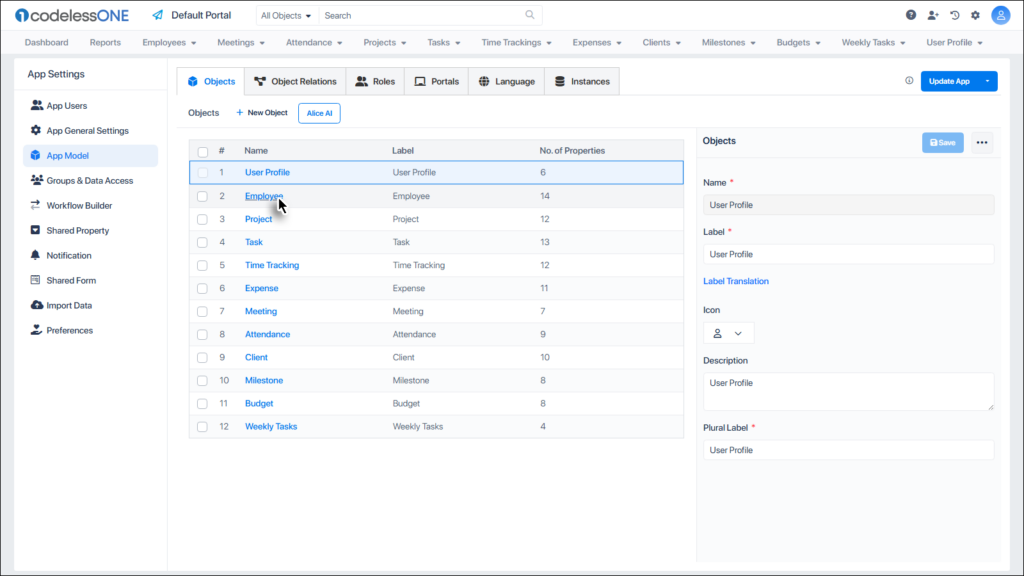
Select the desired source object.
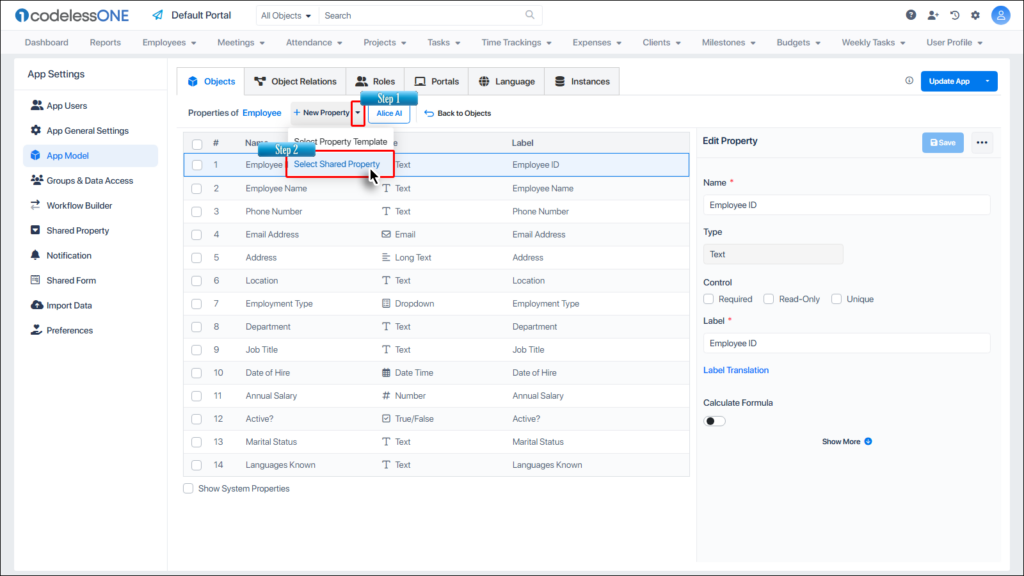
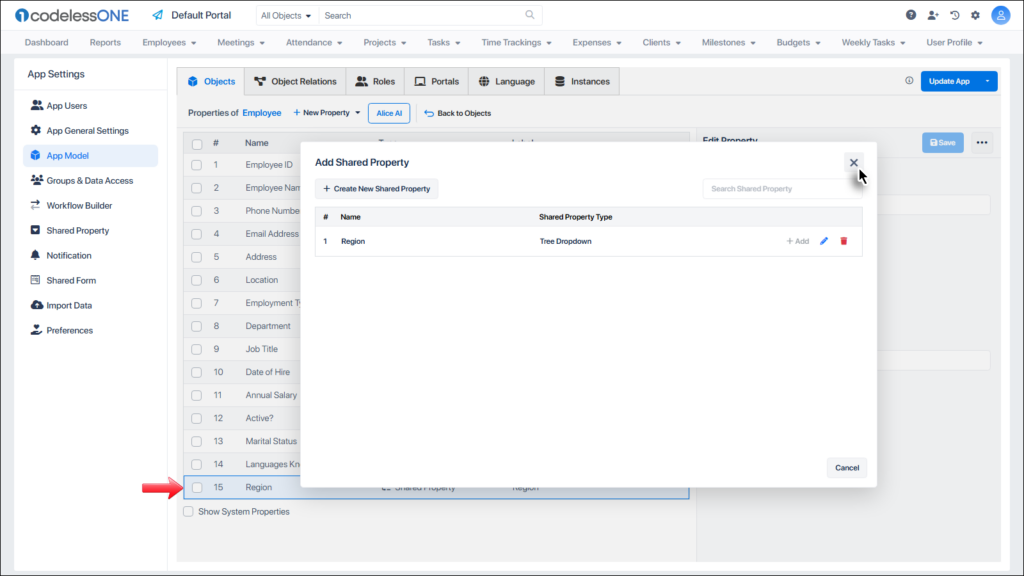
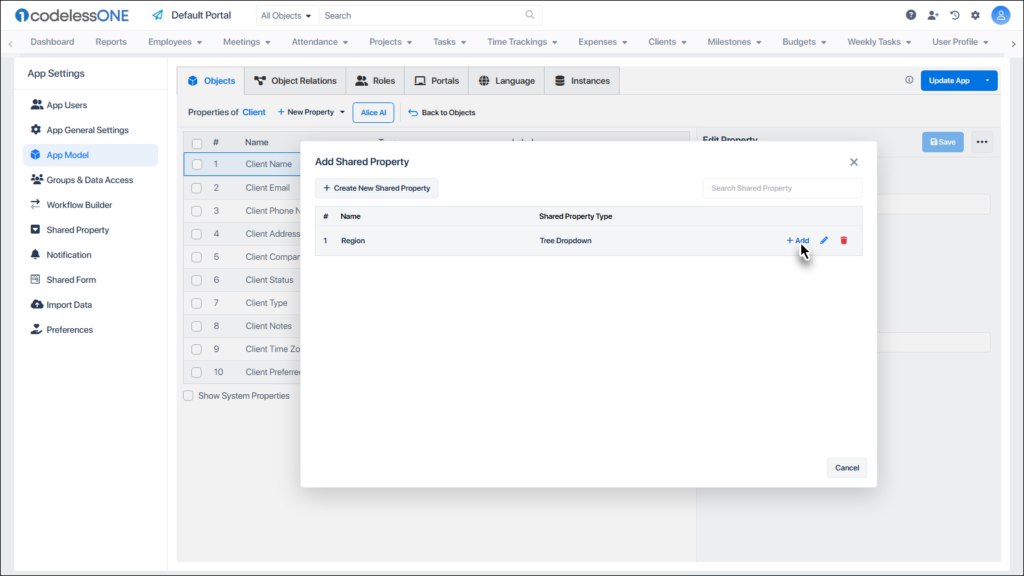
Click on the small triangle besides the New Property button and then click on the Select Shared Property option.
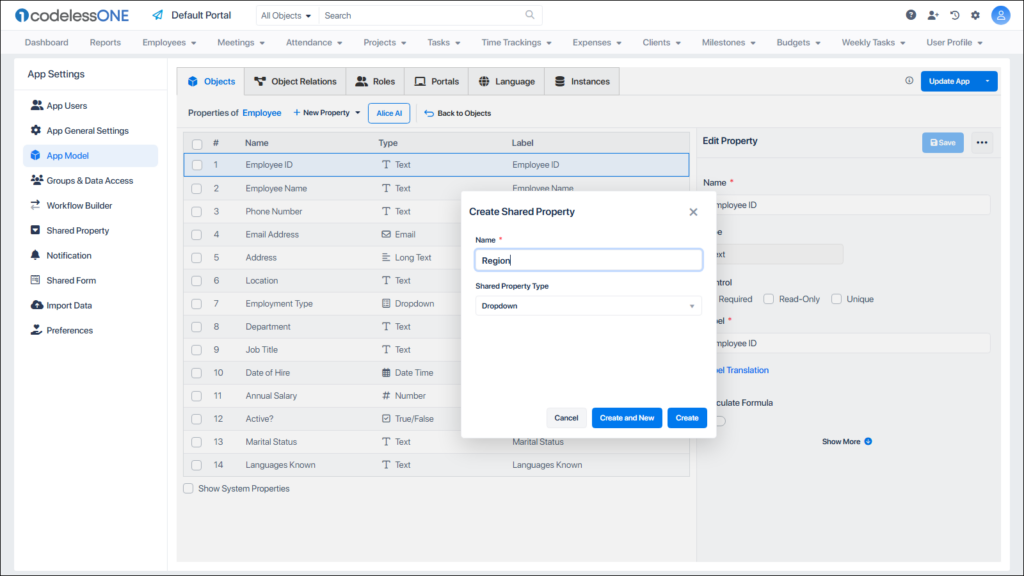
Click on the Create New Shared Property button.
Give a proper name to the shared property.
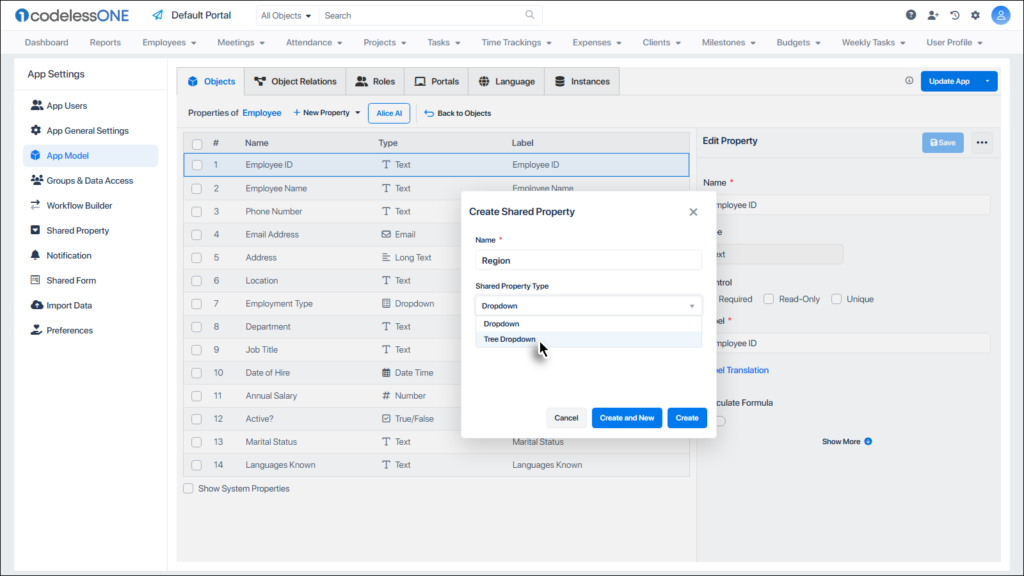
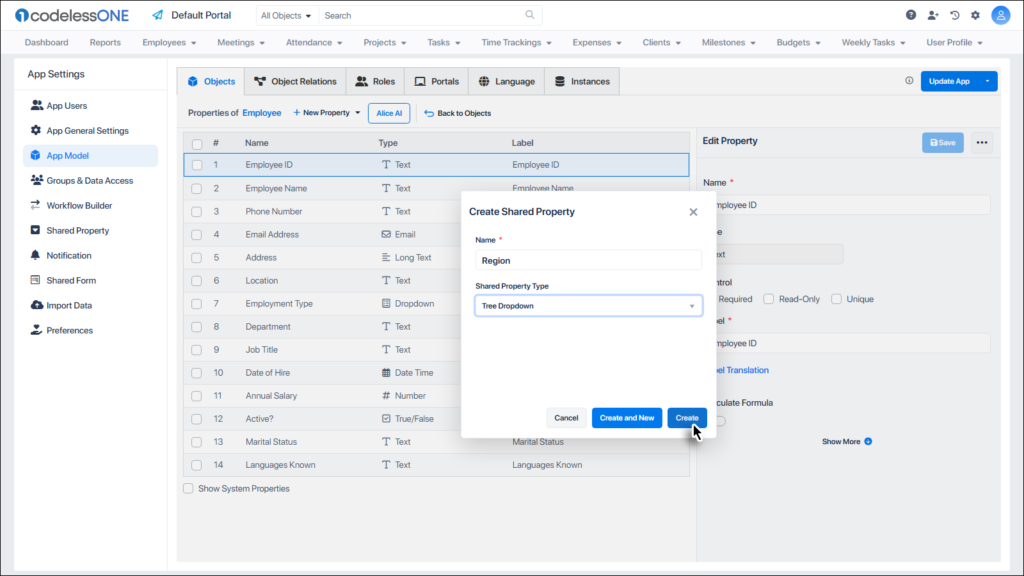
Select the relevant type (Dropdown or Tree Dropdown).
Click the Create button.
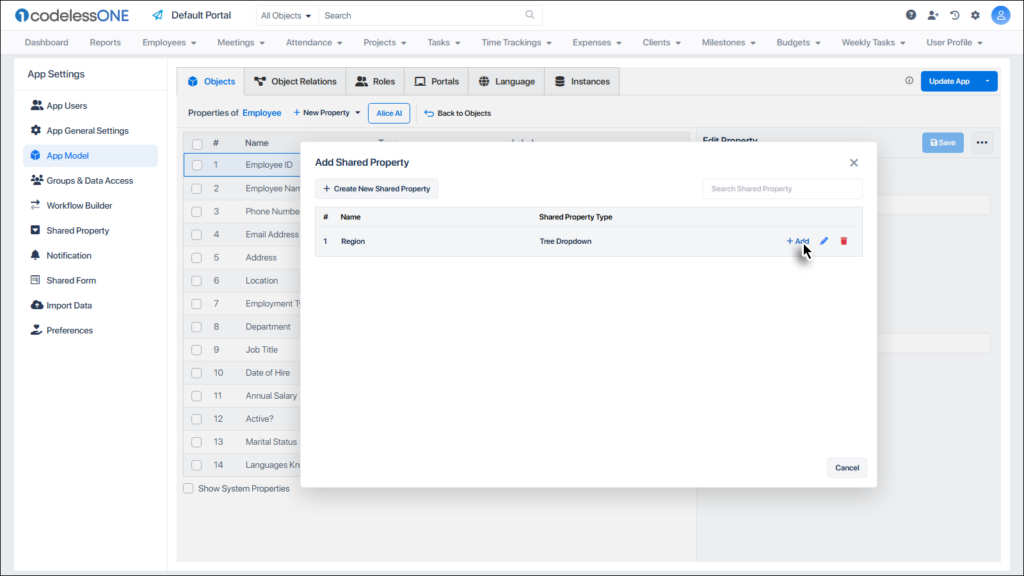
Click the + Add button.
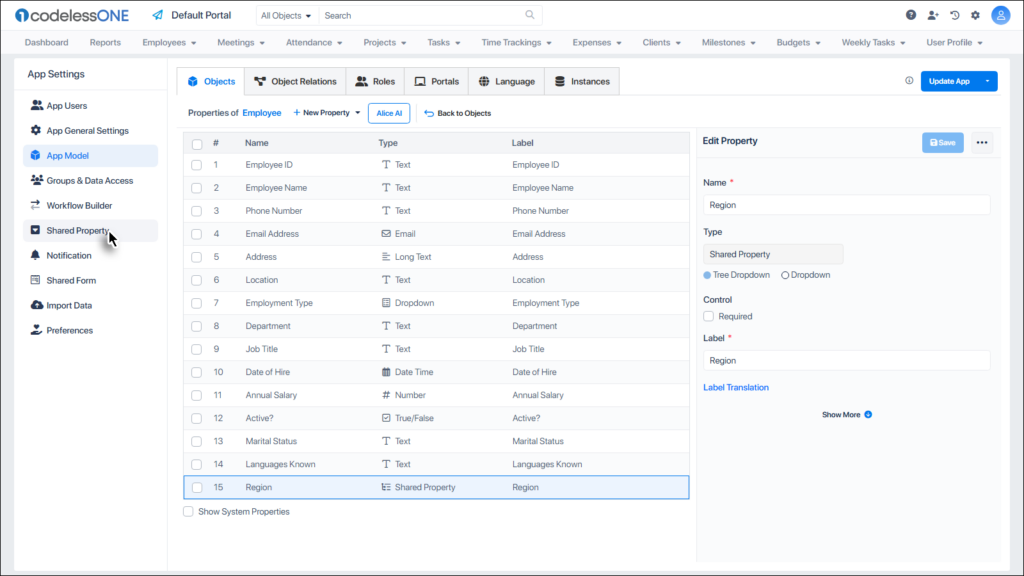
The Shared property is added to the object.
Close the popup window.
We have created the Shared property but it needs to be defined with appropriate values. This process is elaborated below.
Defining the Shared Property
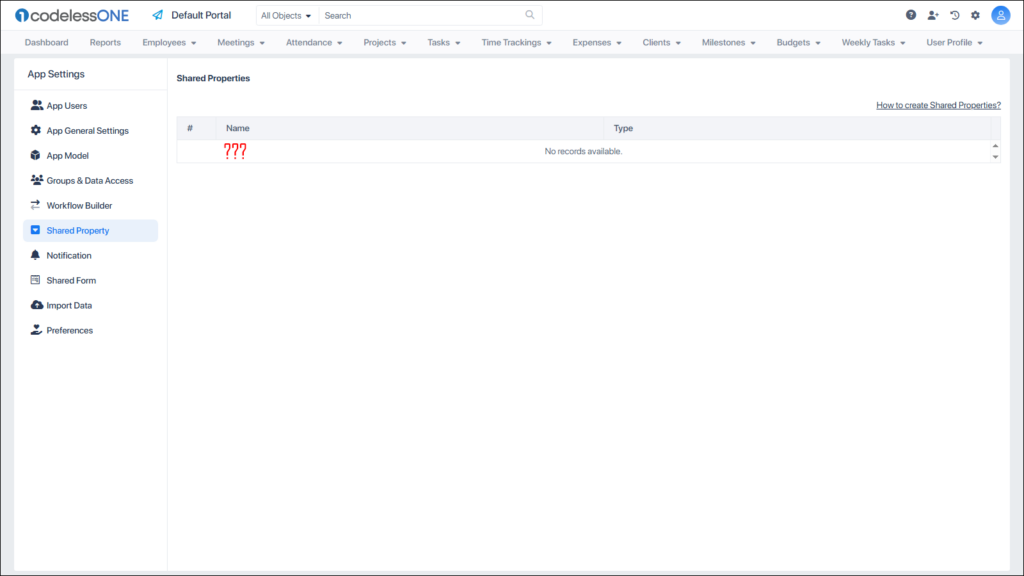
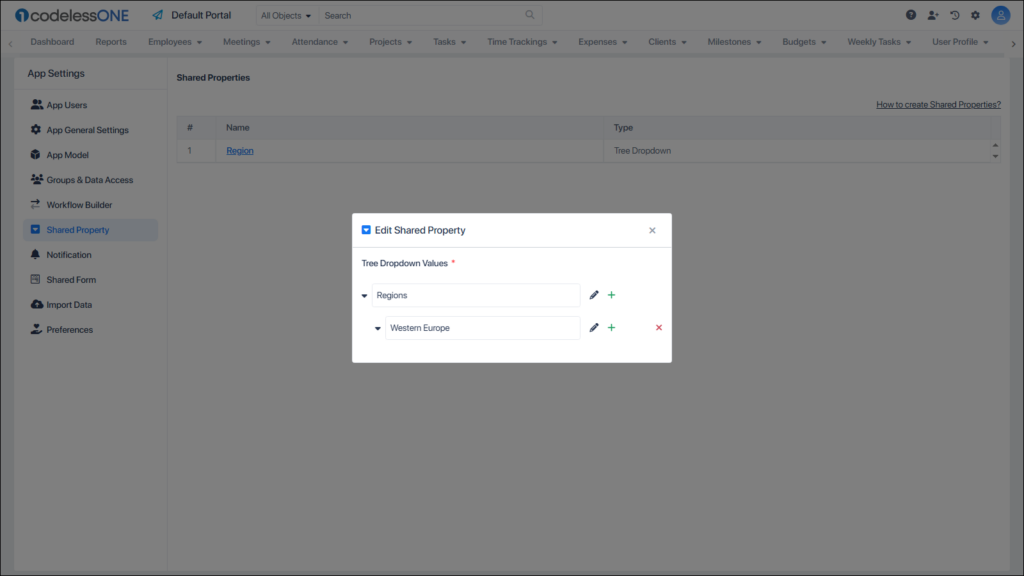
We have created a Shared Property, however there is no dropdown or tree dropdown value under it. Let’s define our Shared Property so that it can be used properly.
Click the Shared Property option in the App Settings panel on the left.
Although we had just created a Shared Property, it is not showing in the list. Why? Because we had not updated the app after adding it.
Go back to App Model and click the Update App button.
Again, click the Shared Property option in the App Settings panel.
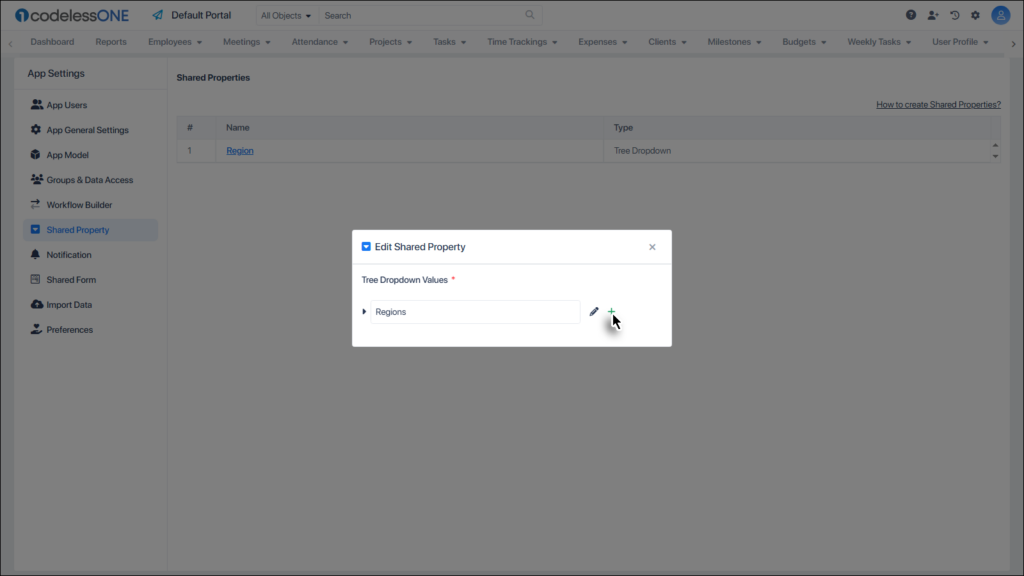
Click on the desired Shared Property from the list.
Click on the value adding link.
Type in the name of the root node (for the Tree Dropdown type property)
OR
Type in the name of the first value (for the Dropdown type property) and press Enter.
Click the + button to enter a child node.
Now we have a root node and a child node. To add top-level child nodes, click + besides the root node. To add child nodes of the Tier-1 child nodes, click + besides them.
Repeat the process, until the desired tree dropdown structure has been created. Close the window to complete the process of defining Shared Property.
Adding an existing Shared Property to any object
In the App Model, select the desired Object.
Click on the small triangle besides the New Property button and then click on the Select Shared Property option.
Click the + Add link against the desired Shared Property from the list.