Handling records is a key part of building an app. It’s all about how you save, sort, and find your data so it works best for your organization.
Here’s how Codeless ONE thinks about data:
Every piece of data is called a “Record,” and these are linked to something known as an object. You can imagine an object like a page in an Excel file. The details (or properties) of the data are like the columns, and the individual records are like the rows.
The cool thing is, with Codeless ONE, you don’t need to juggle lots of separate Excel files. Everything’s in one place. So, using Codeless ONE apps, it’s easy to gather and sort all your data in one main spot.
When it comes to data management in your app, the capability to add new records is fundamental. This ensures all pertinent information is systematically stored and organized.
Here’s a guide on how to seamlessly add a new record:
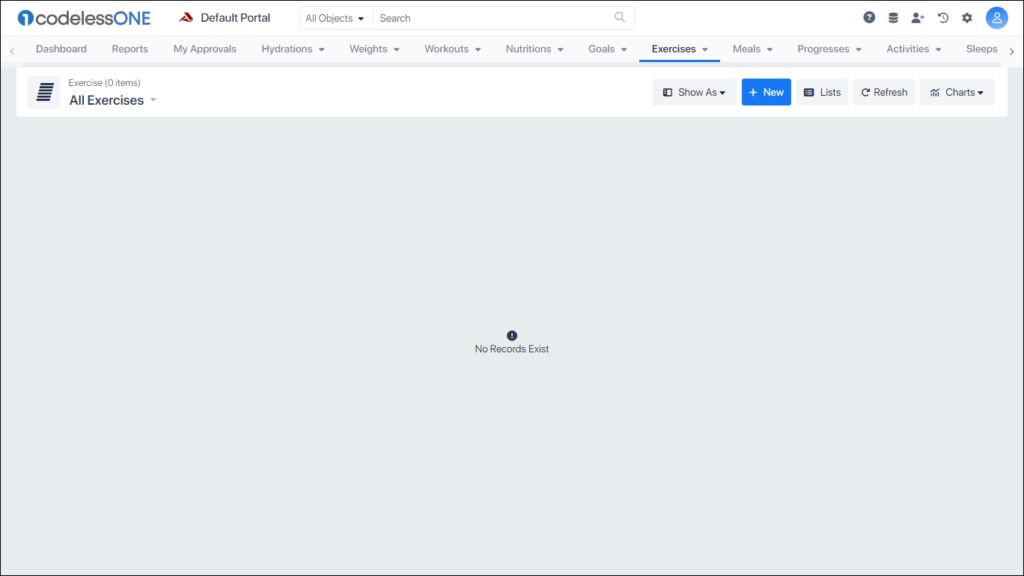
Each record is linked to a specific Object. First, select the right one.
For illustration, let’s use “Excercises”. Imagine it’s a blank slate with no data.
Step 2: Invoke the addition of a record
Now click the + New button at the top.
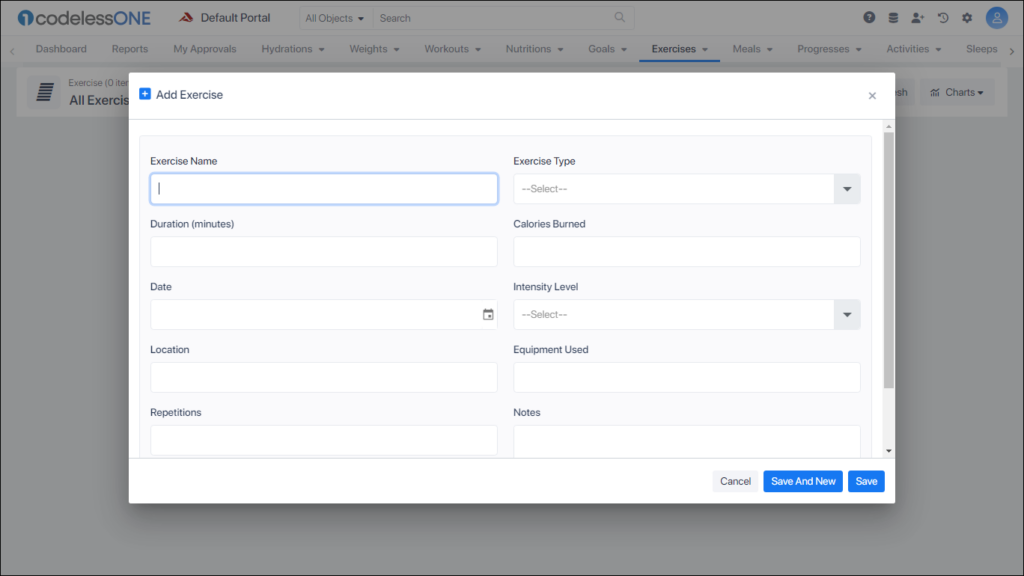
The app shows a fresh form for the new record.
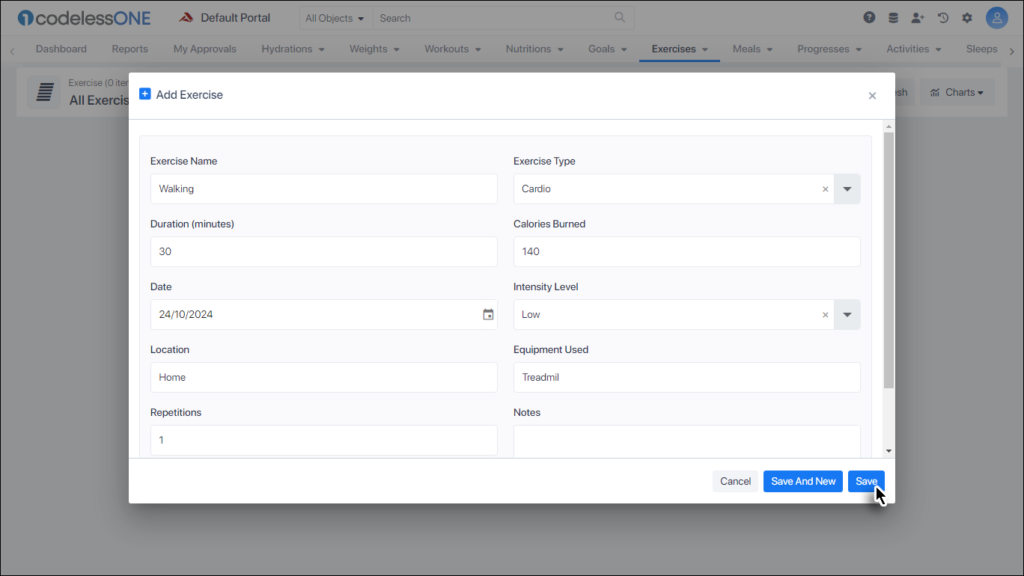
Step 3: Input the Details
Navigate through the form, entering all necessary data for each property. To maintain a smooth experience, ensure all mandatory fields are completed. Conclude by clicking “Save“.
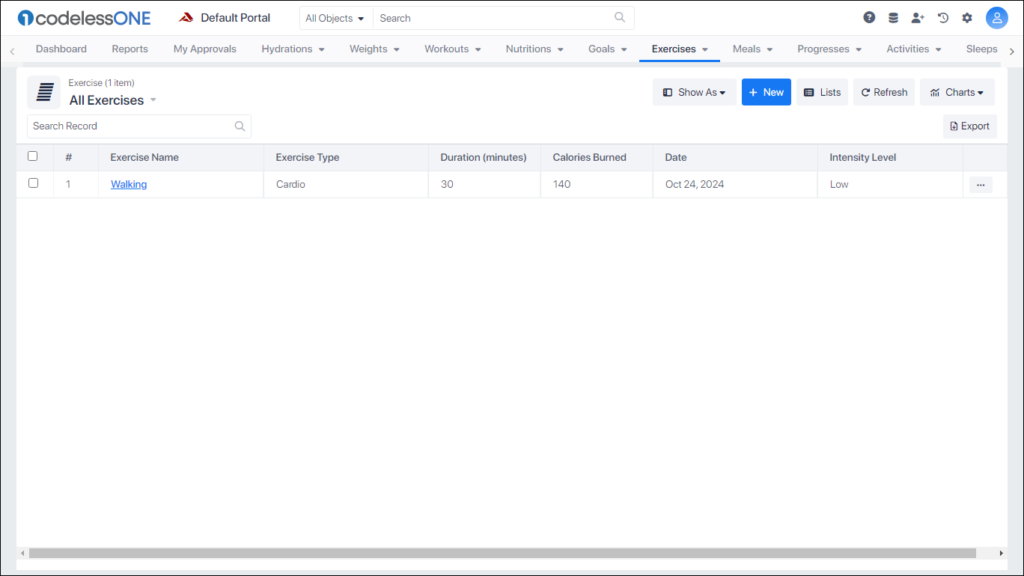
Review the Record
your freshly added record will be displayed in the table (or in the currenctly active view). Generally, the table shows the initial five properties of the records.
To fine-tune this, adjust the Properties settings via the App Editor.
Tip: For bulk additions, the “Save and New” option is a lifesaver. It allows continuous record additions without having to circle back to the start each time.
Understanding the Default Record Display
Your records’ appearance reflects your configuration in the App Model. For instance, in the “Excercises” object, if you’ve sequenced properties (Calories burned, Date, Intensity Level, etc.), that’s the order they’ll be displayed in. For any other personal configuration, the App Editor is at your service.
Note: It’s possible to adjust the view and subsequently add records. The records, once saved, will align with your current view setting.