Skip to content

Inviting Users to Your Workspace

Inviting Users to Workspace

Codeless ONE is a powerful platform that allows users to create and manage applications without the need for any coding knowledge. When working with Codeless ONE, it’s essential to understand how to invite users to your Workspace. Inviting users to your Workspace allows you to collaborate with team members and share access to your applications.
Play Video
In this article, we will walk you through how to invite users to your Workspace.
First, you need to register your account with Codeless ONE. Once you’ve registered, log in to your account, and you will be directed to your Workspace. In the Workspace, you will create and manage all your applications.
There are two methods available for inviting users to your Workspace. The first is through the “Add User” icon located at the top right corner of your Workspace home page. The second method is through the Workspace users tab found under the Workspace settings.
Let’s take a closer look at both methods.
Note: Each registered user will have a unique Workspace ID assigned to them

Method 1: Inviting users through the “Add User” Icon

To invite users to your Workspace, click on the on the home page of Workspace.
To invite users to your Workspace, simply enter their email addresses in the provided field within the pop-up window.
Next, select the Workspace role for the user you’re inviting
There are three types of roles:
Administrator: Users added as Administrators will be able to create new Apps and manage subscriptions and other workspace users.
Member: Users added as Members will be able to create new Apps.
App Participant: Users added as Participants will be able to collaborate in the Apps they are invited to.
Choose the role you want to assign to the User(s).
Once you have completed the process, click the “Send Invite(s)” button.
The added users will receive an email to accept your invitation to join your Workspace.
Invited team member(s) will receive an email that will resemble the following:

Method 2: Inviting users through the “Workspace settings”

To invite users to your Workspace, you can also use the Workspace Users tab under your Workspace settings.
To do this, click the “+ Invite users” button.
The Workspace Settings page can be accessed by clicking on the settings button on the home page of your Workspace.
Inviting users from the Workspace Users tab follows the same process mentioned above.
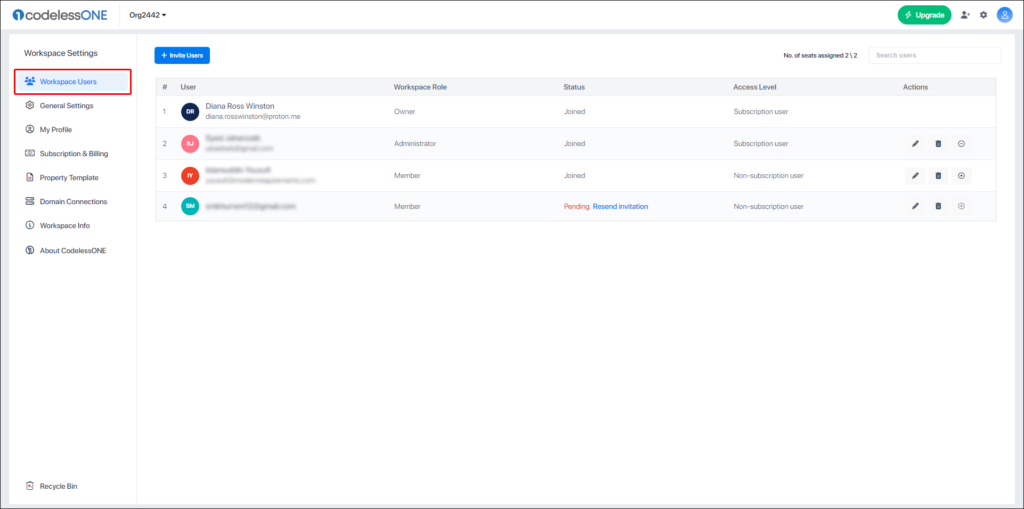
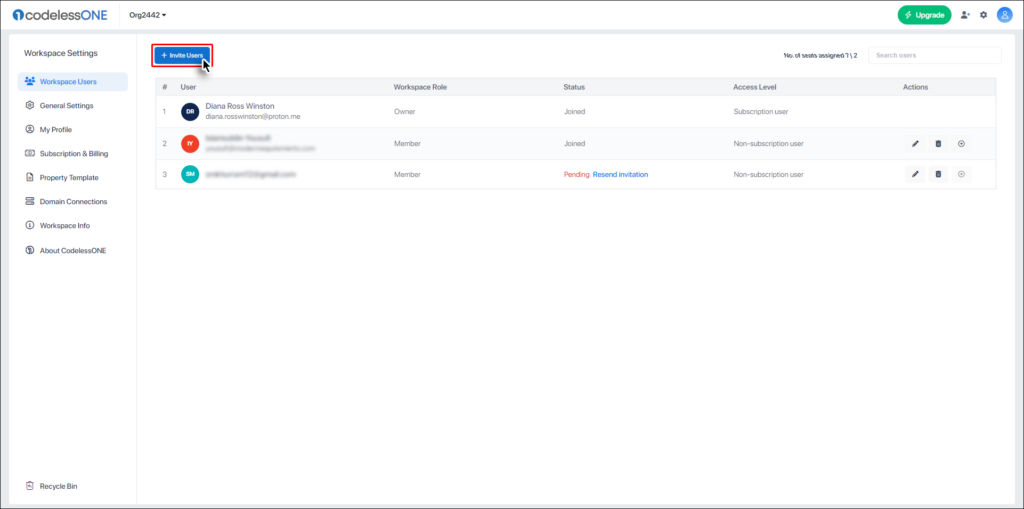
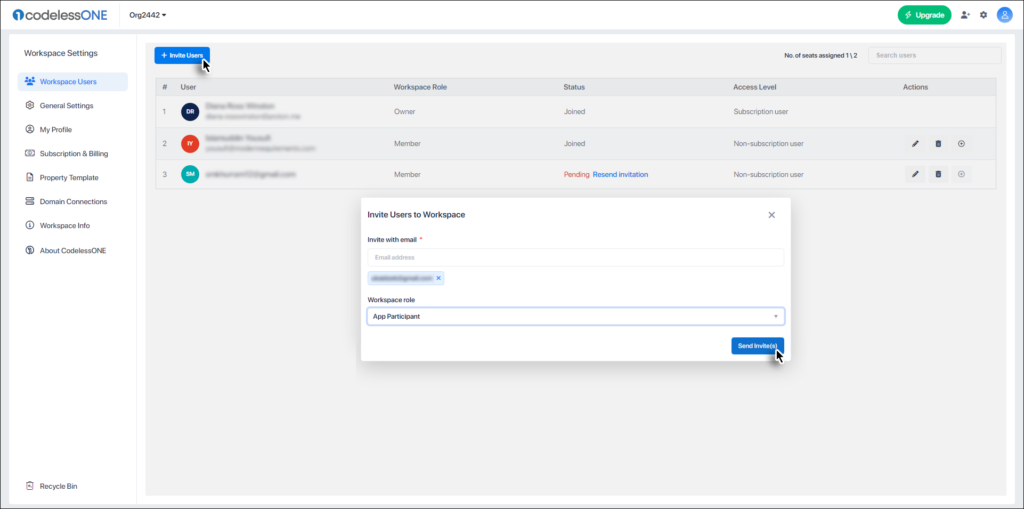
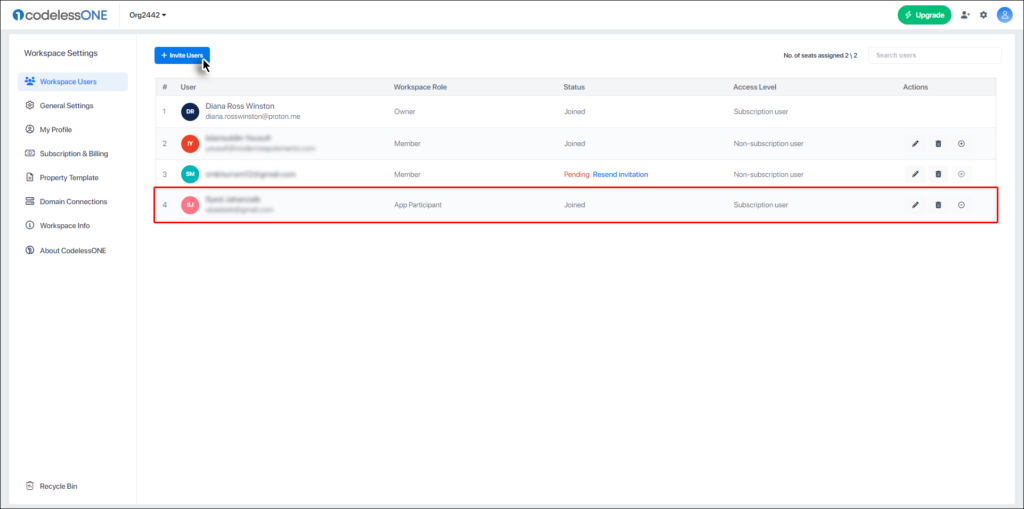
When you invite users to your Workspace, they will be added to the user list which can be viewed in the Workspace users tab. From this tab, you will be able to see all the users you have invited, along with their designated Roles, Status, and Access levels.
This method also allows you to manage user access levels, as well as edit or delete users that have been invited to your Workspace.
You can invite any number of users to your Workspace, but they must be assigned a subscription in order have access to it. The number of subscriptions available to you depends on the plan you choose, with the free plan automatically allocated to you upon registering to Codeless ONE, you can assign subscriptions to up to two users in the free plan.

Who can Invite users to the Workspace?

The ability to invite users to a Workspace is dependent on the role assigned to the user by the Workspace owner. Specifically, only users who have been assigned the role of an Administrator have the ability to invite other users to the same Workspace.
On the other hand, if a user with Member or App Participant rights attempts to invite another user, a warning message will appear stating that they do not have permission to invite users to the Workspace.