Building Applications from scratch can be not only tedious but also time-consuming. In Today’s World, where a single click can achieve everything, why not the applications?
To solve this issue, Codeless ONE has come up with the ultimate solution and has built an App Library with a wide range of pre-built applications for you to choose from for different teams of your organization.
Play Video
Here’s a step-by-step guide on creating an app using a pre-existing template.
Begin by registering on the Codeless ONE platform. Post-registration, you’ll receive a unique Workspace ID, crucial for identifying and managing your applications within the platform.
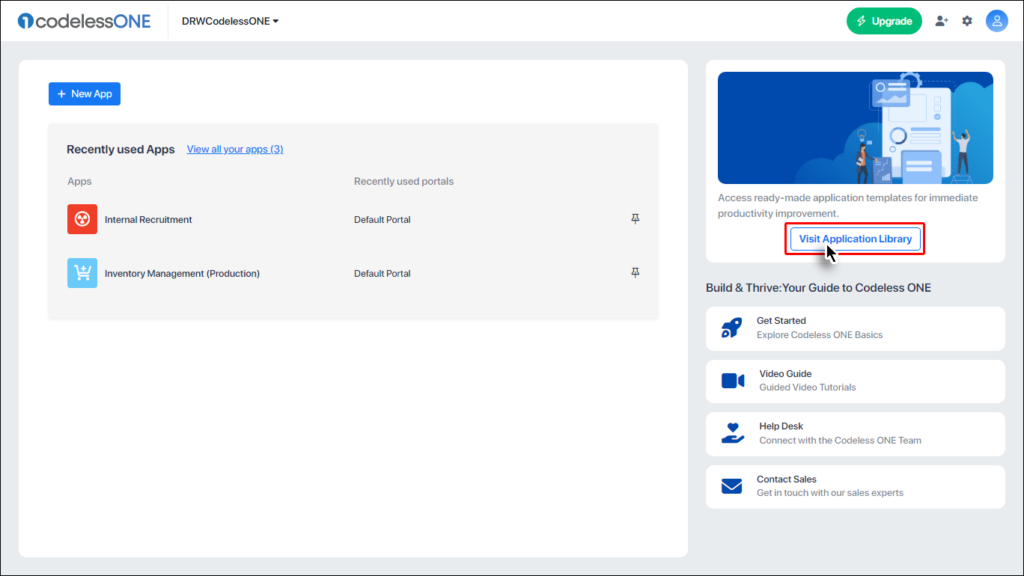
Navigate to the Application Library
Upon completing the registration process, you will be automatically directed to your App Workspace. Here, locate the “Visit Application Library” Button. This section provides a comprehensive collection of pre-designed app templates, readily available for your use and facilitating a streamlined app development process
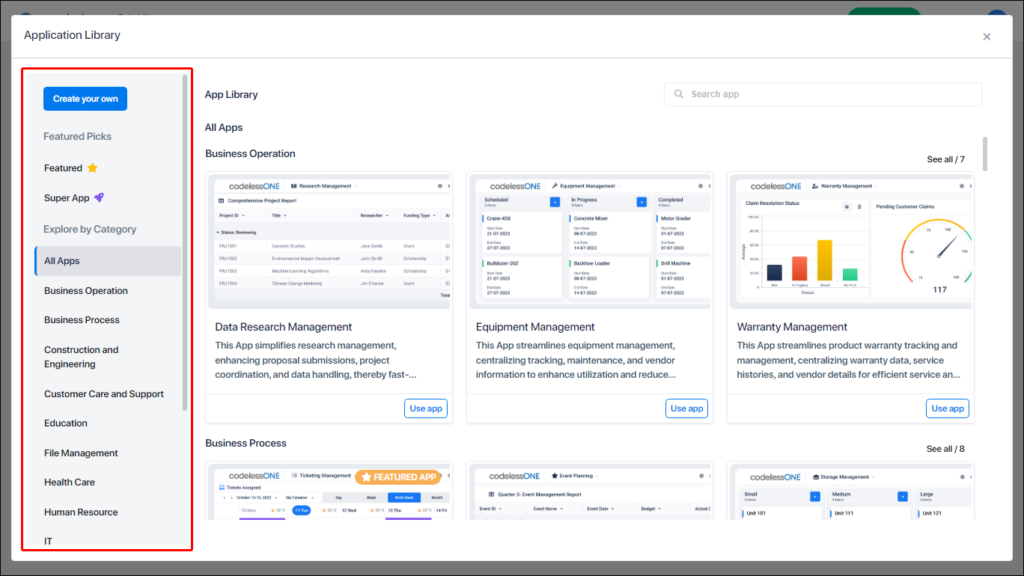
Selecting Your Template
The App Library organizes templates into various categories for ease of selection. Browse through these categories to locate the template that best suits your needs.
In the App Library, you can find the pre-existing application you want to use. You can click on the category related to your desired app or search for it using the search bar.
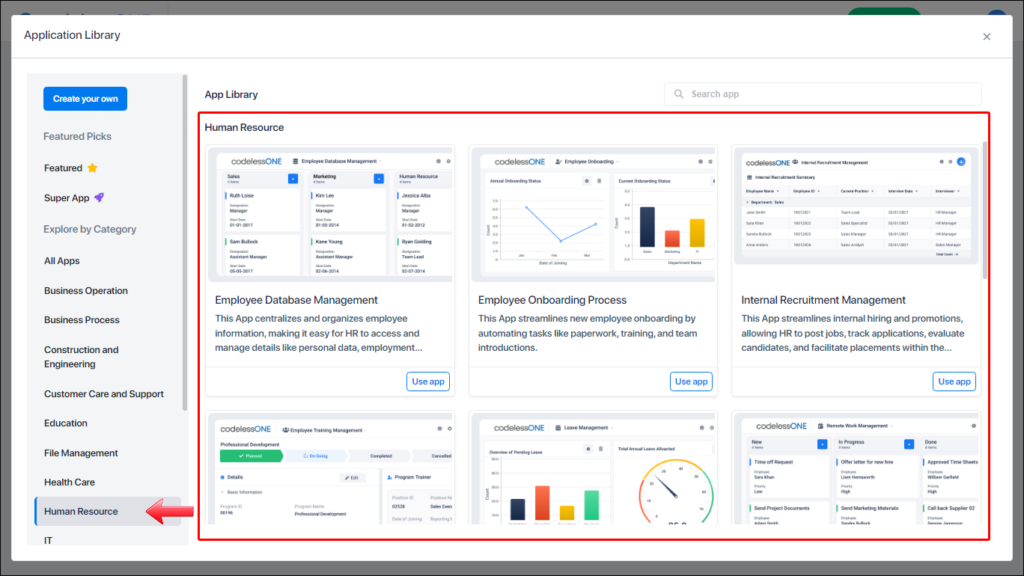
For example, suppose you are looking for templates related to Human Resources. In that case, you can select the Human Resources category to view all the available templates related to that category.
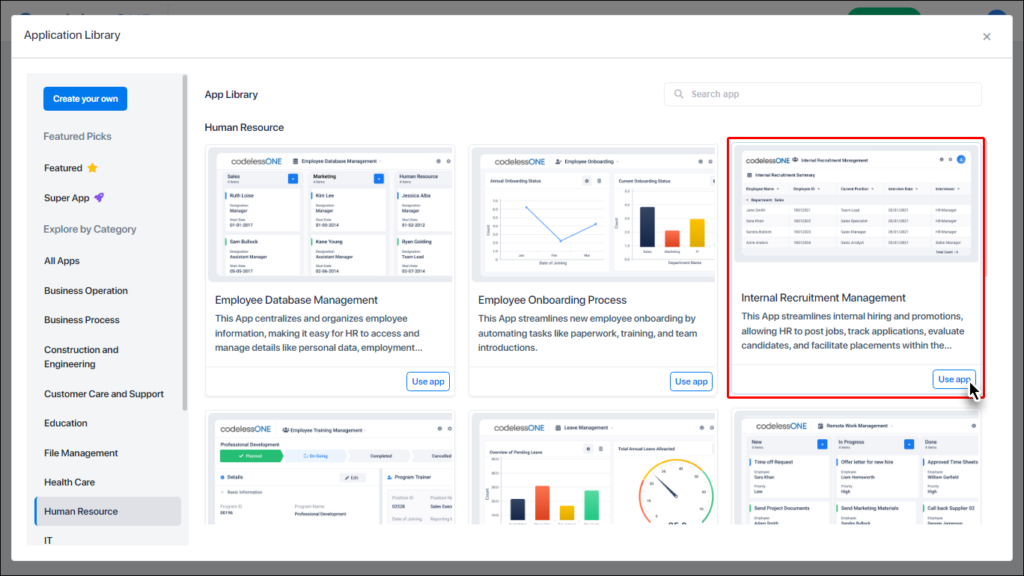
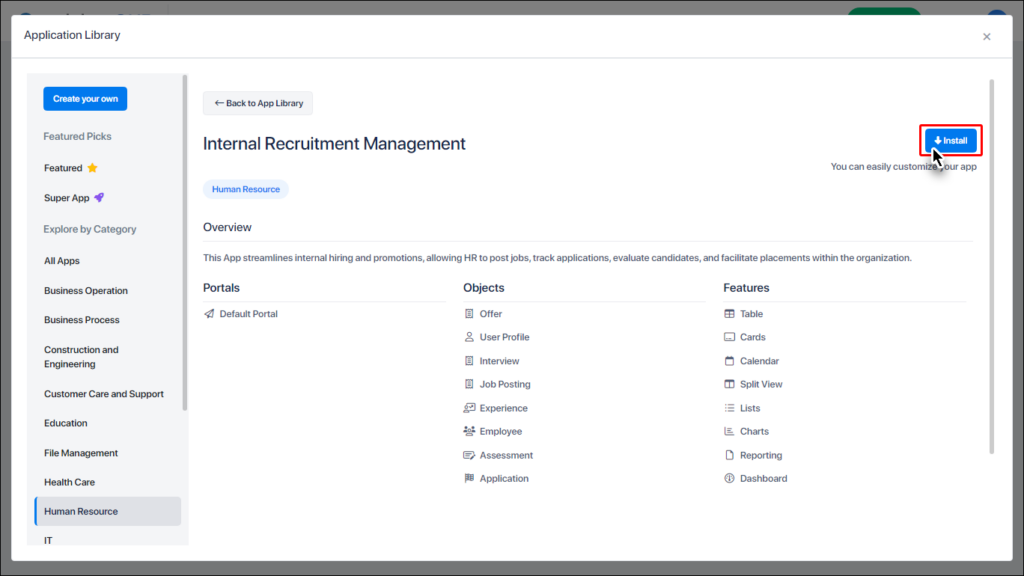
Install the application
Once you have found the application you want to use, click on the “Use App” button to install the App to your Workspace.
If you want to know more about the app details before installing, Simply click on the application. To proceed, click on the “Install” button to install the App to your Workspace.
Create, store, and link related records
After installing the application, the system will build the App schema and automatically publish the Application. It will then redirect you to your Application, where you can create, store, and link related records based on your App schema.
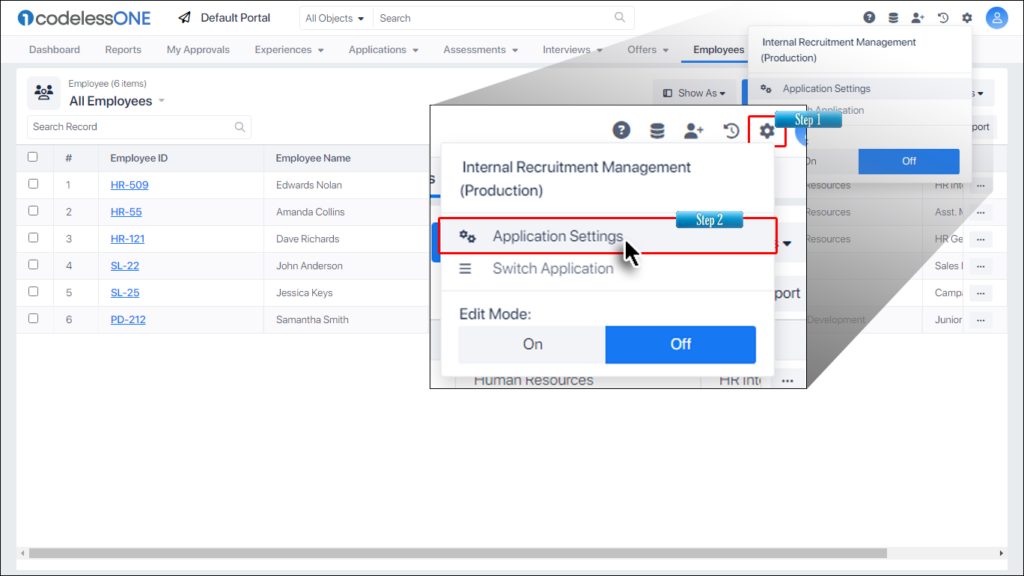
Extra Step: Customize Your App
Want to tweak your app? Click on “Settings,” choose “Application Settings.
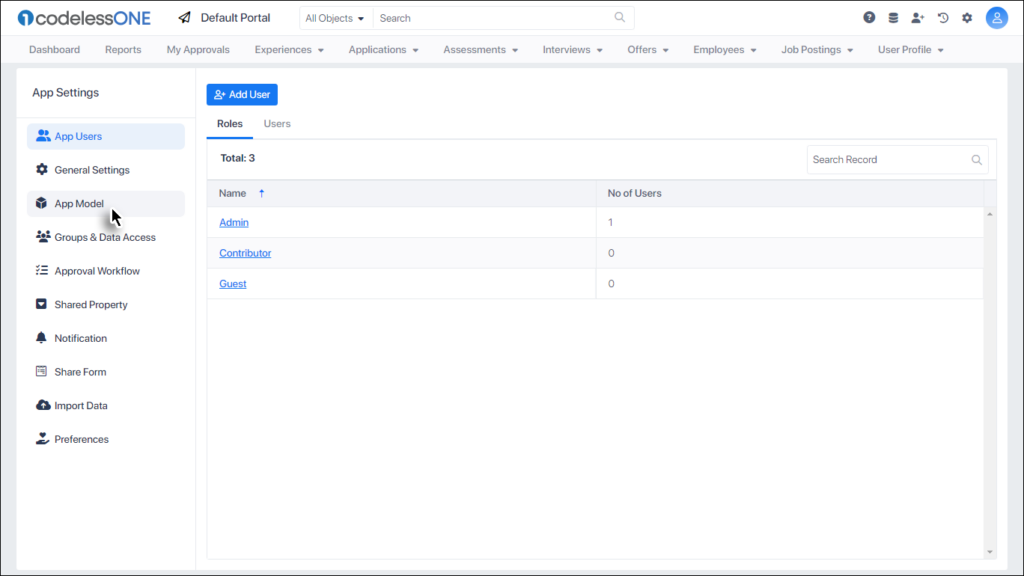
From here, click on “App Model” from the left-side menu.
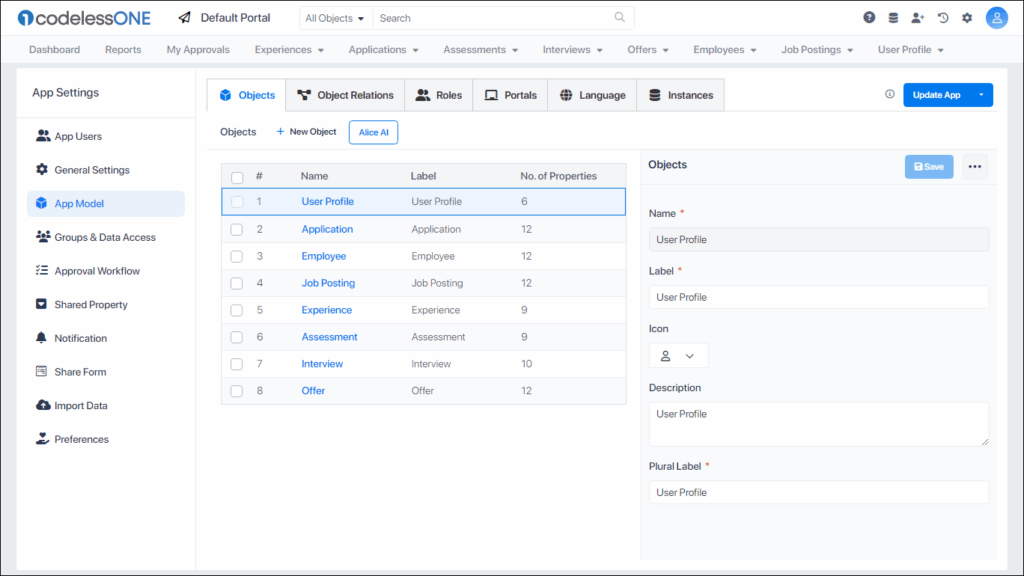
This will display your App Schema where you can add or edit objects, properties, establish relations, manage roles, and create new portals.
After you have made all the necessary changes, click on the Update App button to save your changes.
And that’s it! You’ve created an app without writing a single line of code.