Editing Data: A Guide to Modifying Records Keeping your records updated is essential for any app. It means you can make changes or fix mistakes, making sure everything is correct and current. Just as you add new records, you can also make changes or remove them from any view. Toggle Step 1: Choose the Record You Want to ChangeStep 2: Start EditingStep 3: Update the InformationStep 4: Save Your Edits Step 1: Choose the Record You Want to Change 
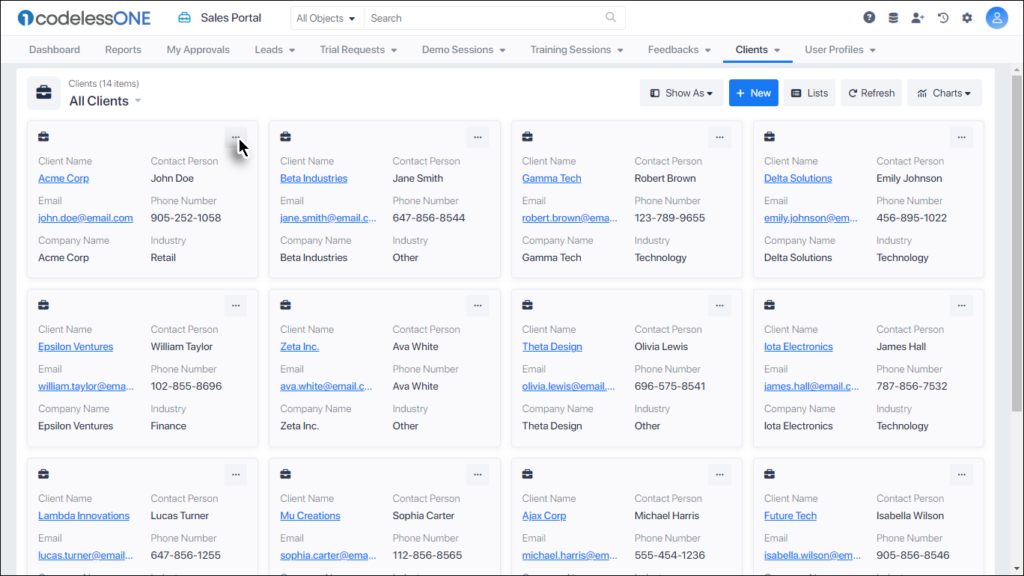
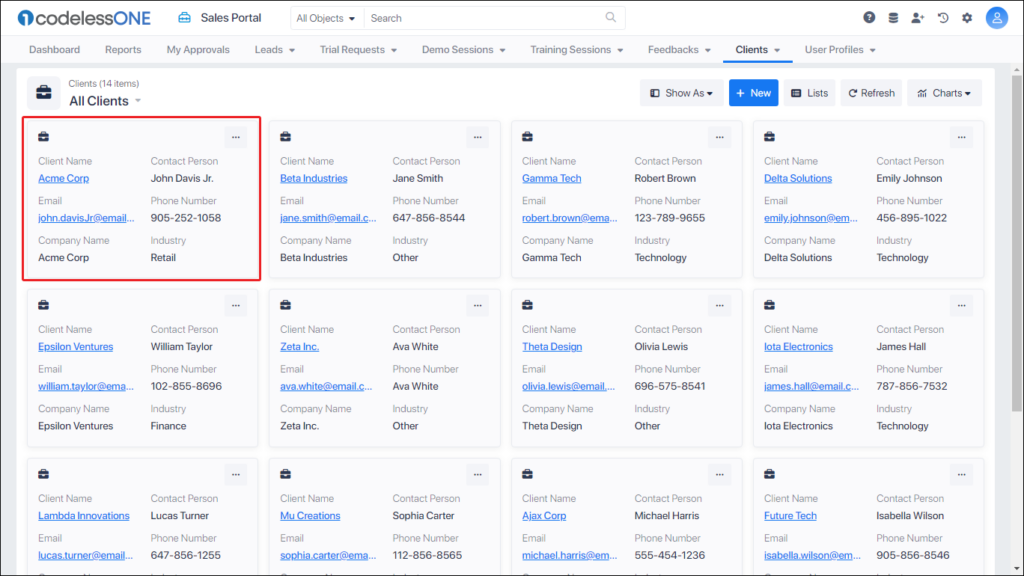
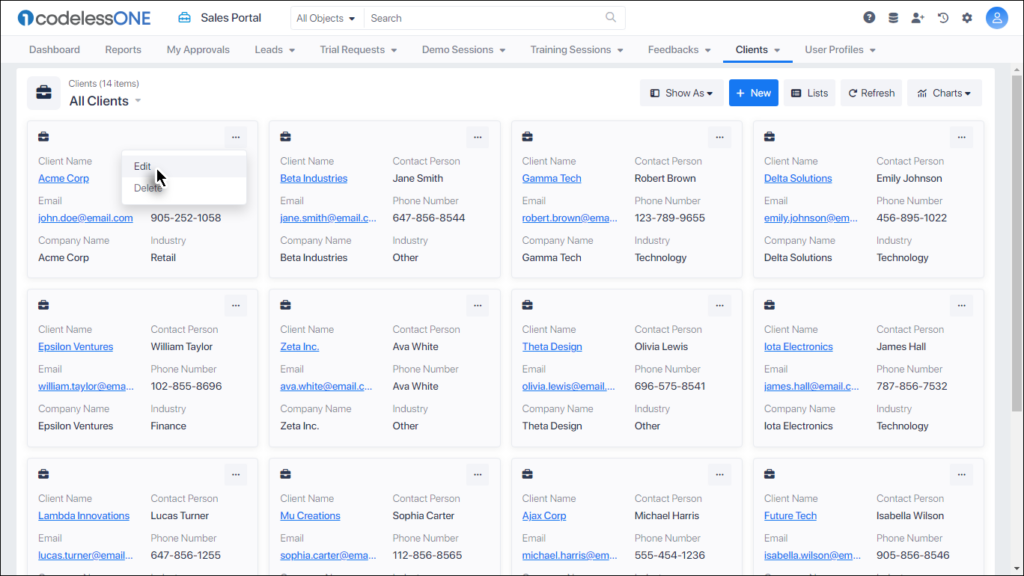
First, find the record you wish to modify. On the left side of each record, there’s a button. Click it, and you’ll see two choices: “Edit” and “Delete.” Step 2: Start Editing After selecting the record, hit the “Edit” button. An edit form will then pop up, allowing you to make changes. Step 3: Update the Information Go ahead and modify the record as needed. Double-check that you’ve completed all the required fields and that everything looks right. Step 4: Save Your Edits When you’re satisfied with the updates, hit the “Update” button. This will save and apply all the changes you’ve made. This will update the record in the application and ensure it reflects the latest data. Note: You can just Edit a single record at one Time.