How to enable language selection at the time of application creation
Normally at the time of application creation, the desired language selection option is not displayed.
To include the language selection option in this window, follow these steps:
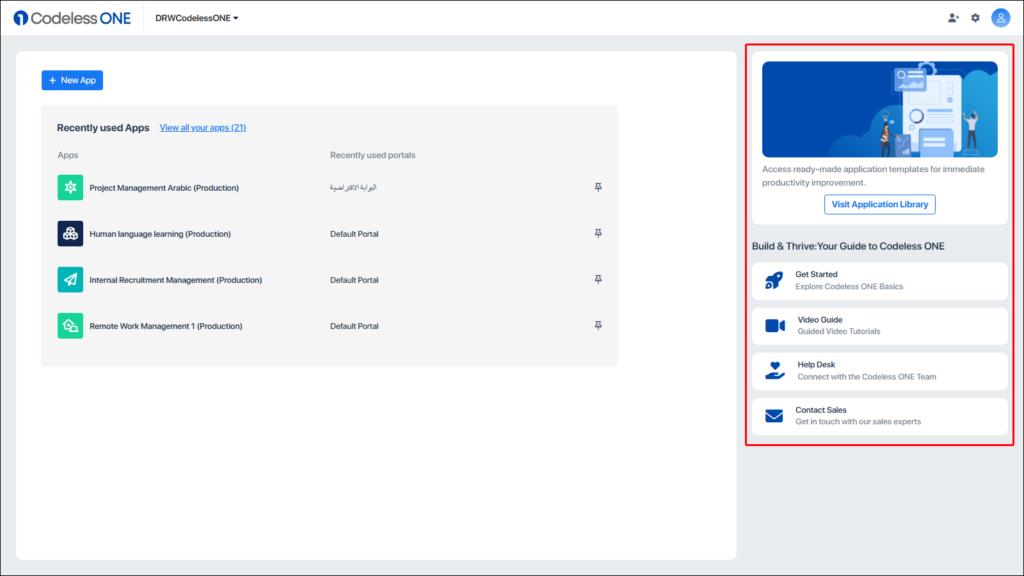
Click the Codeless ONE Icon to go to the Workspace page.
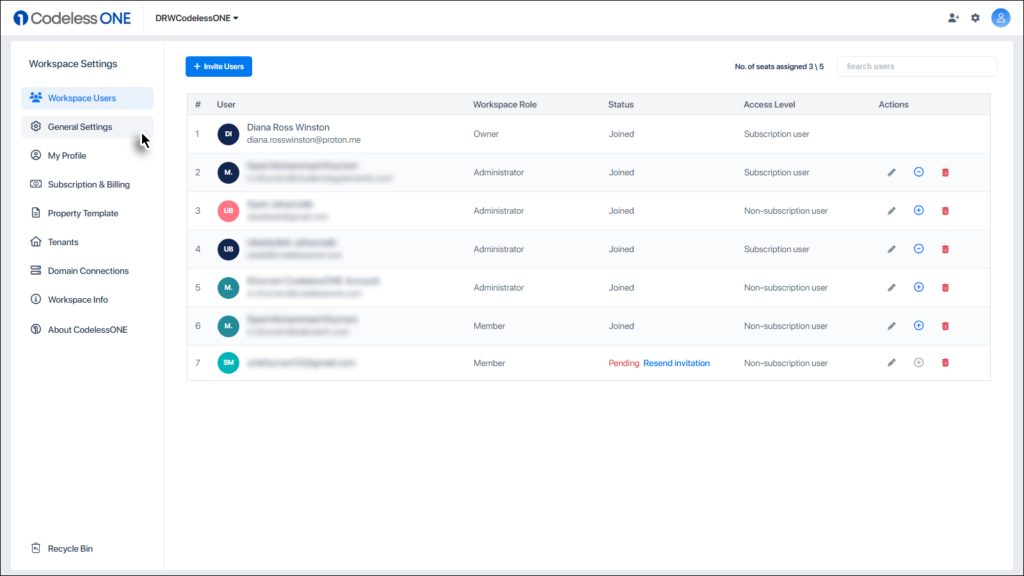
Click on Workspace Settings Icon.
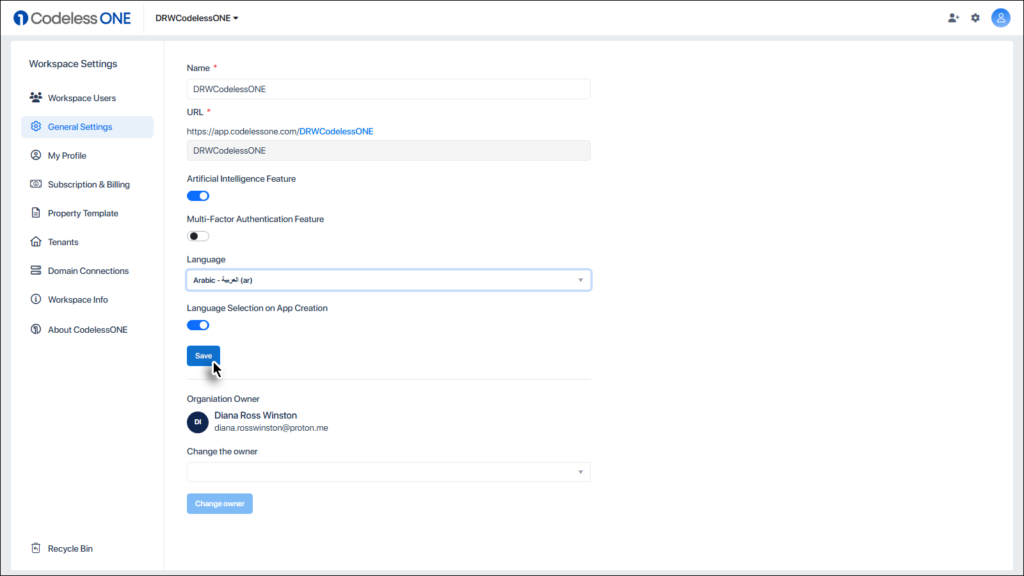
Click on the General Settings options.
Enable the toggle button.
Click the Save button.
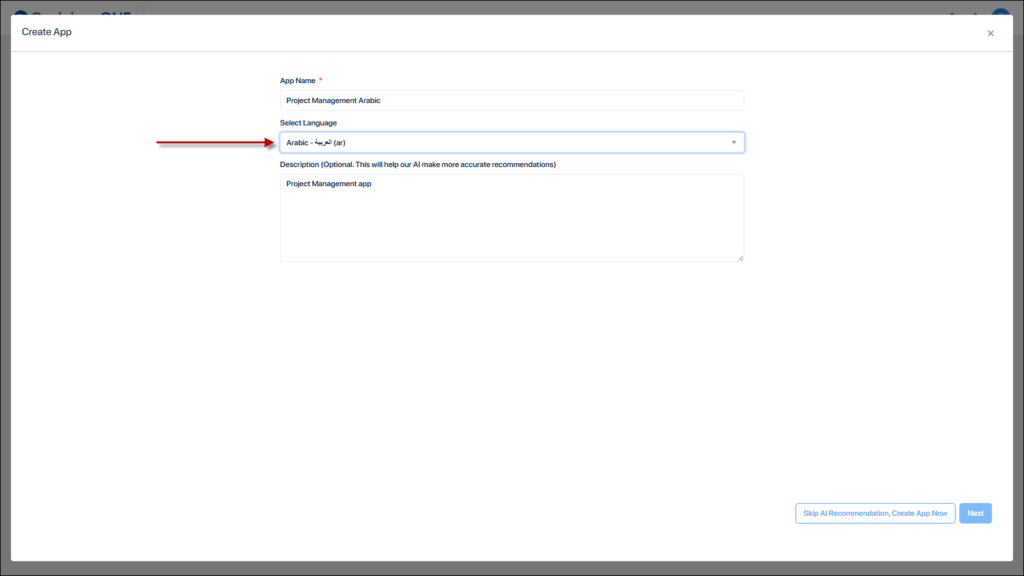
Now whenever a new app is being created the language option would be there.
Once the user selects the desired language, all subsequent steps would be shown in the selected language.
The app, once created, would also be shown in the selected language.
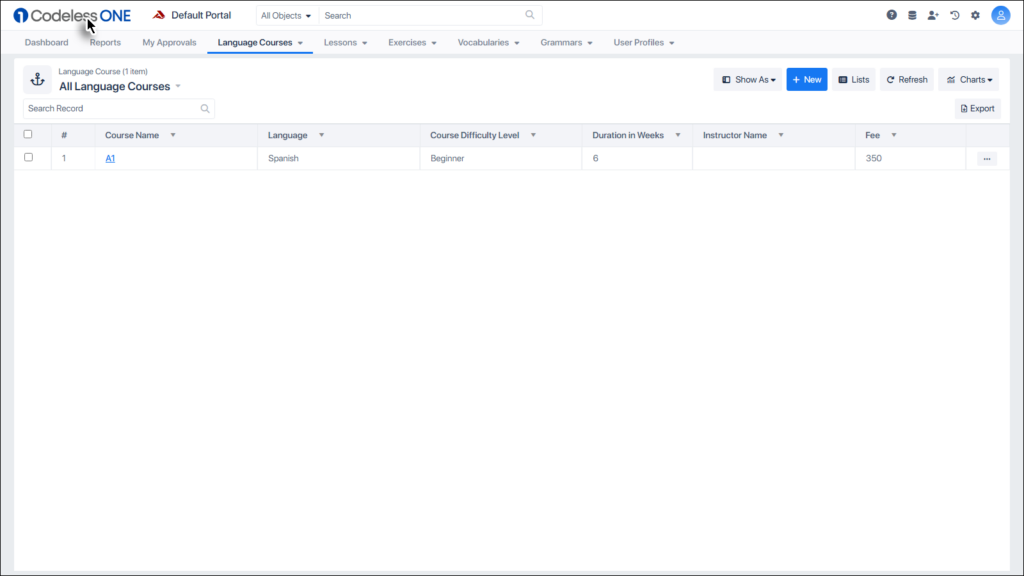
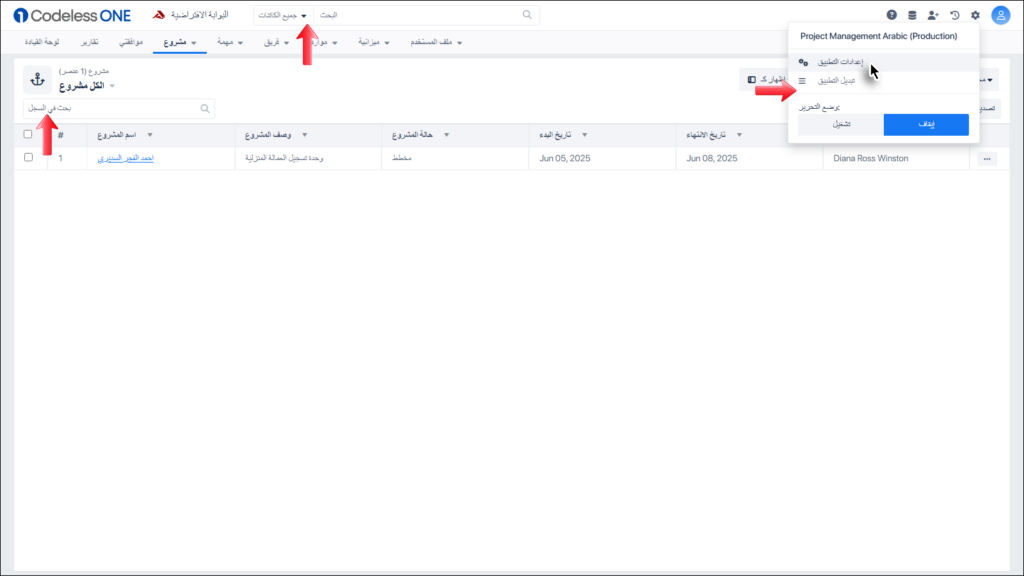
Changing the language does not change the records’ language. In the following image only the dropdown controls have Arabic values because the schema is created in Arabic at the time of app creation. The textboxes have English values because they were typed using a regular keyboard. If Arabic keyboard is used, the values in textboxes can also be entered in Arabic.
What does not get covered by this language-support? How to cover those as well?
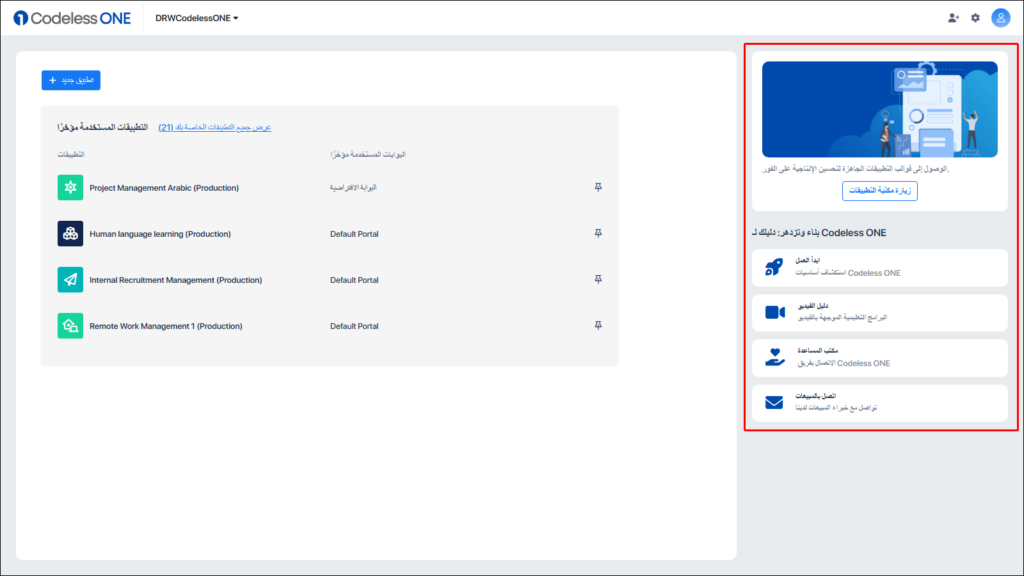
Workspace Page
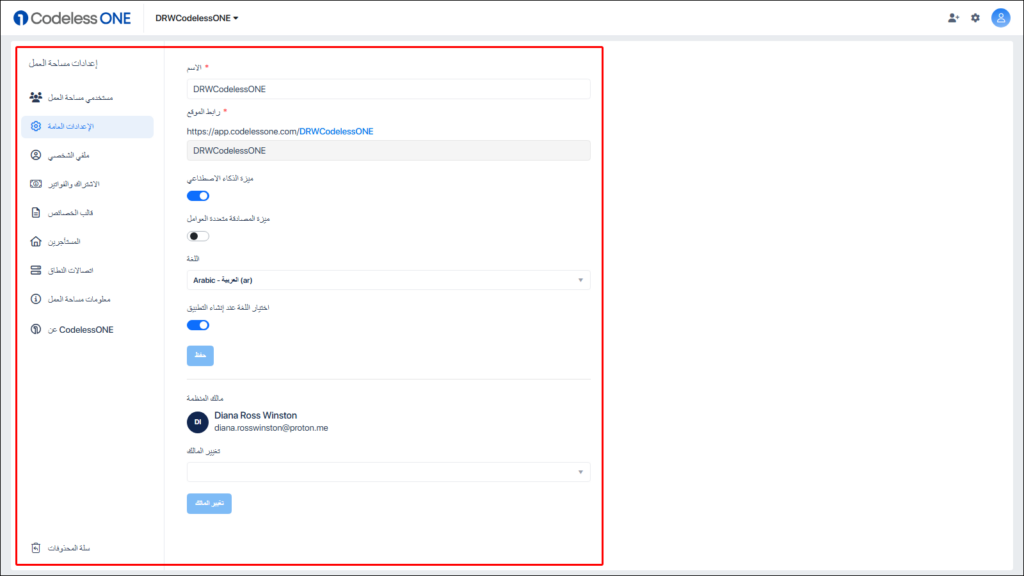
Workspace Settings Page
Search options & Settings popup Menu options
If you want to change the above pages/sections to the desired language as well then:
Click the Workspace Settings icon.
Click the General Settings option in the panel.
Select the desired language under the Language dropdown control.
Click the Save button.
Now all the above-mentioned pages/sections would also be supporting the selected language.