The Shared Form is a form that can be used as a public survey or issue ticketing system etc.
As the name suggests it can be shared with anyone regardless of they being CodelessONE users or not.
After the Shared Form is created its URL can be shared anywhere or it can be embedded in a website.
The feedback of the Shared Form is stored on the Codeless ONE server in the relevant app, as a record. This means that we can make anyone (with access to our shared form), a relevant record creator for our app.
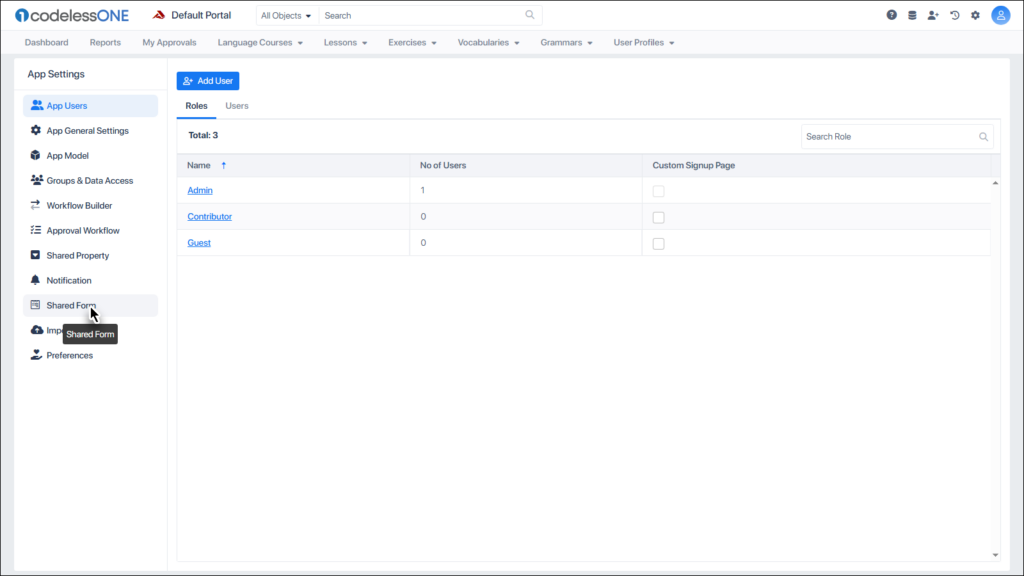
To Access Shared Form, go to Application Settings.
Click the Shared Form option in the panel.
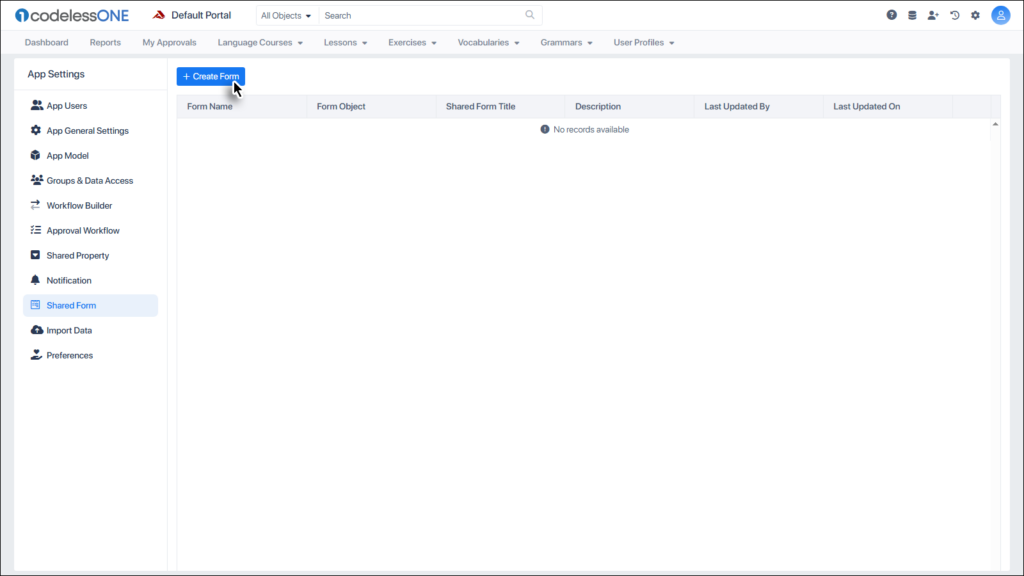
Click the Create Form button.
The Shared Form window is displayed.
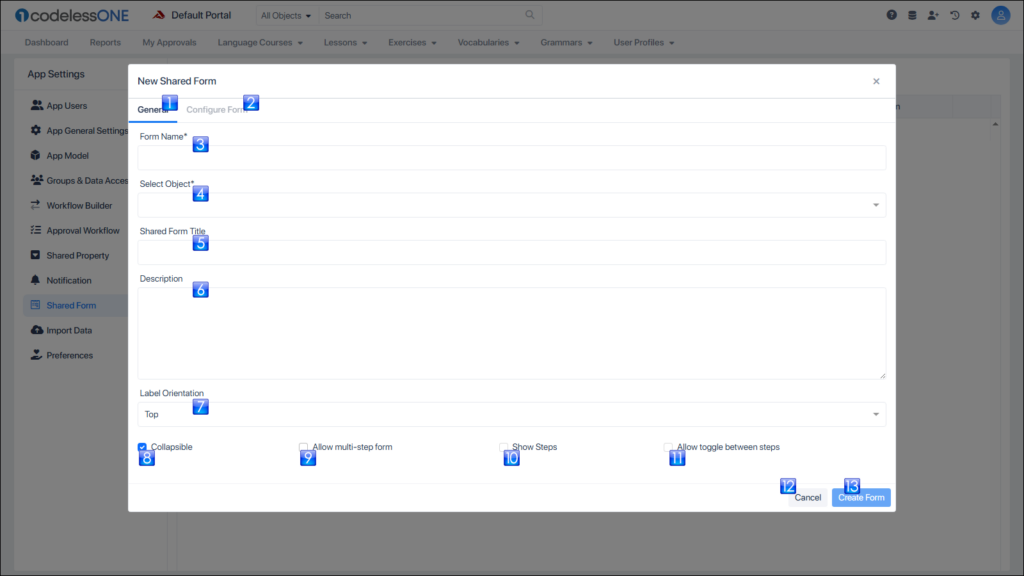
General Tab: Contains general options for the Shared Form
Configure Form Tab: Contains options to configure the form
Form Name: Name of the Shared Form (as to be saved on the server)
Select Object: The object whose properties would appear on the form
Shared Form Title: Name of the Shared Form (as appears on the form)
Description: Description of the form
Label Orientation: Where would the labels appear
Collapsible: Is the form collapsible or not
Allow multi-step form: Can the Form be displayed in multiple steps?
Show Steps: Should the multiple steps be visible?
Allow toggle between steps: Can the user toggle between steps or can only go linear
Cancel: Close the window without saving the form
Create Form: Create the form based on information provided and options selected
Provide the required details and click the Configure Form tab.
The Configure Form tab options are displayed.
Properties: The list of properties that can be added to the form
Add Section Button: Used to add a new section in the form
Step Name: Name of the Step (editable)
Section Name: Name of the Section (editable)
Form design Grid: Used to add properties and design the layout of the form
Configure the form (visually) as desired and click the Create Form button.
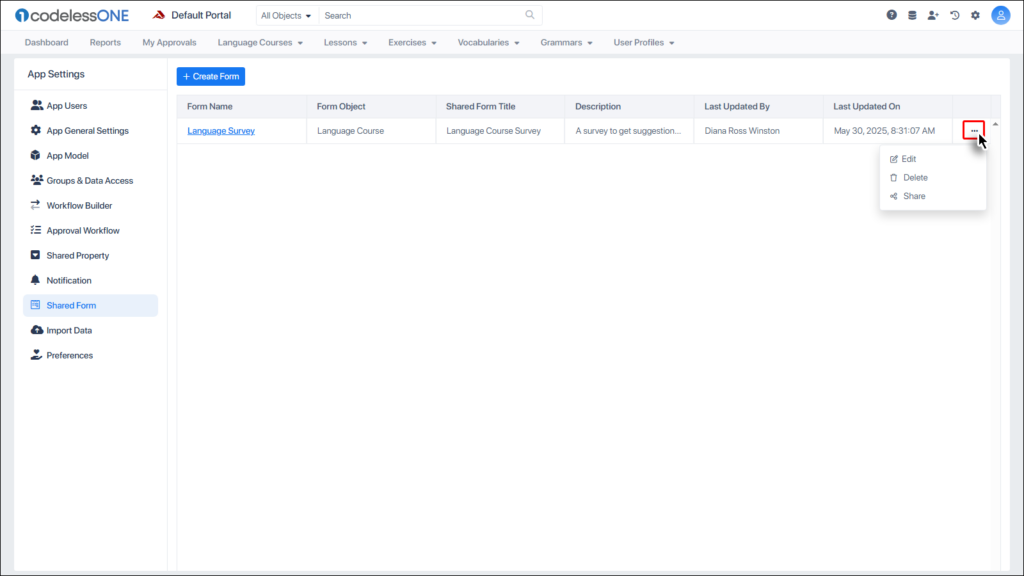
The Shared Form is created.
Click on the Ellipsis button to view the options available for the relevant Shared Form.
Clicking on the Share option displays the sharing window.
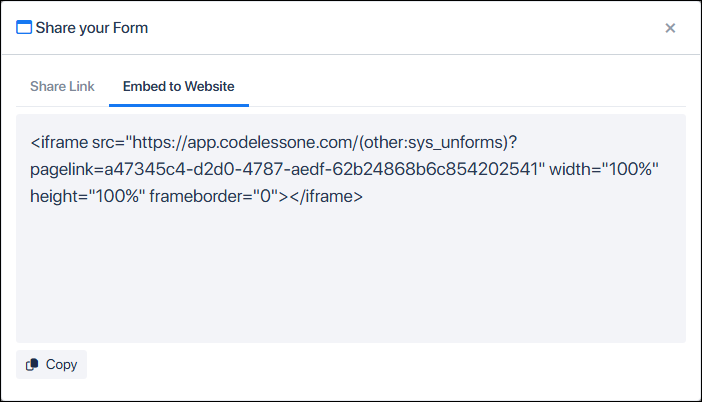
There are 2 tabs on the share window: Share Link and Embed to Website.
The Share Link tab shows the URL that can be used to directly access the Shared Form.
The Embed to Website tab shows the URL that can be used to embed the link of the Shared Form in a website.
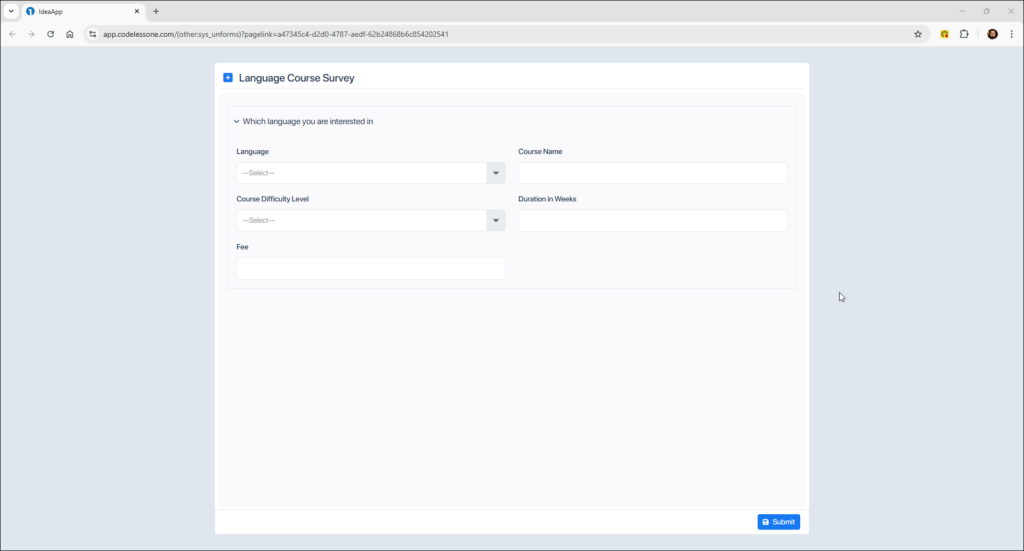
When the link is clicked, the Shared Form is opened.
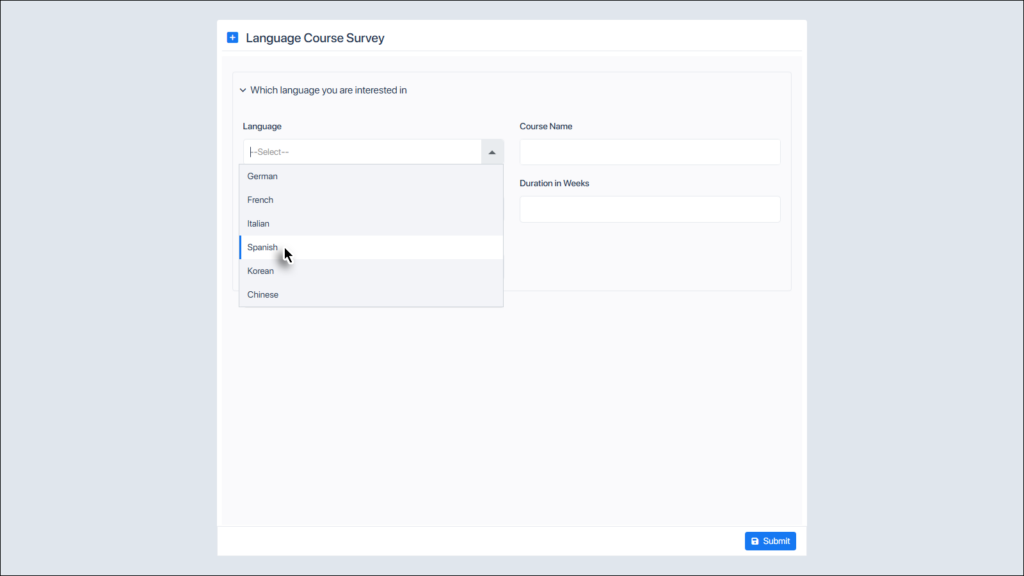
The user (who accessed the link) can now start entering the required info.
The user clicks the Submit button, to complete the process.
The information from the form (submitted by the user) is incorporated in the app as a record. Note that one field of the record is empty. That’s because this field was not originally added to the Shared Form.
This record can now be edited or deleted as a regular record.