The Custom Signup option is used to invite users directly to a CodelessONE app.
Guest and Contributor roles can be added using Custom Signup. However, Admin roles cannot be added using this option (due to security concerns).
As a Contributor, the invited user has limited Workspace Settings options available, and as a Guest, the Workspace Settings option are not accessible altogether.
Normally when a user is invited to an app, the process is as follows:
The intended user is added to the relevant workspace
The user is then added to the relevant app
However, when Custom Signup is used, the intended user is directly added to the relevant app and the workspace simultaneously.
Custom Signup page configuration
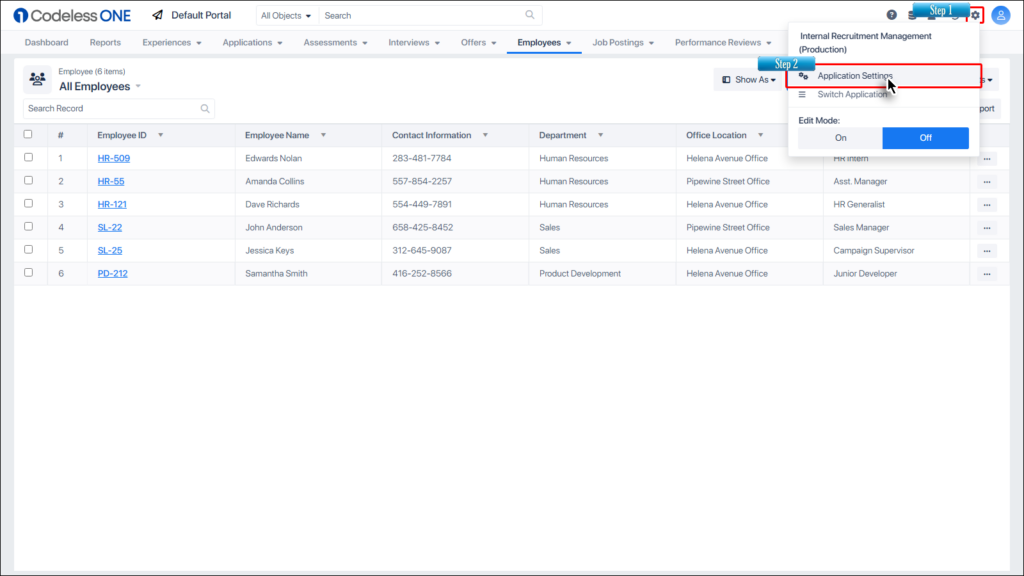
Click on App Settings icon and then select the Application Settings option.
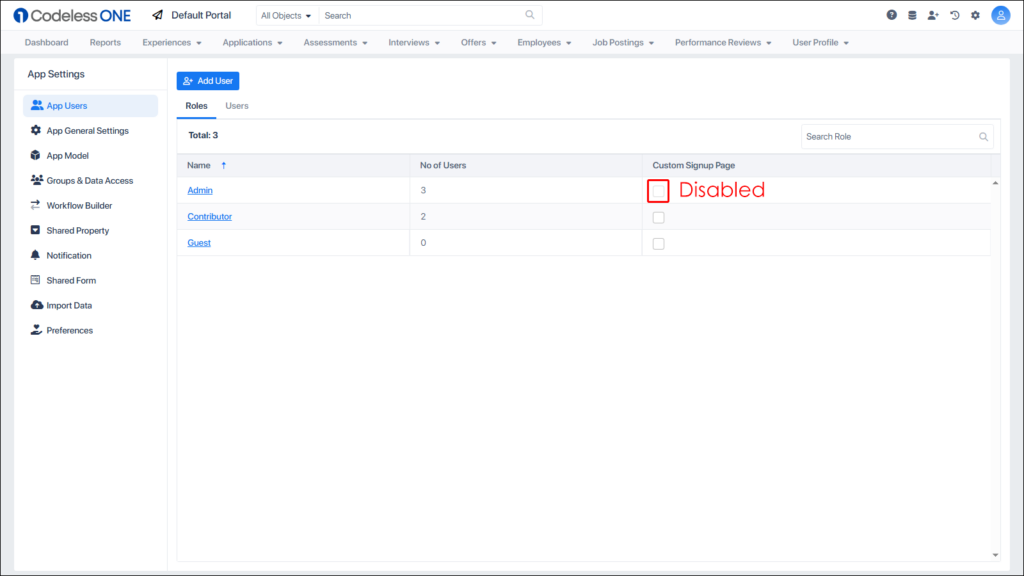
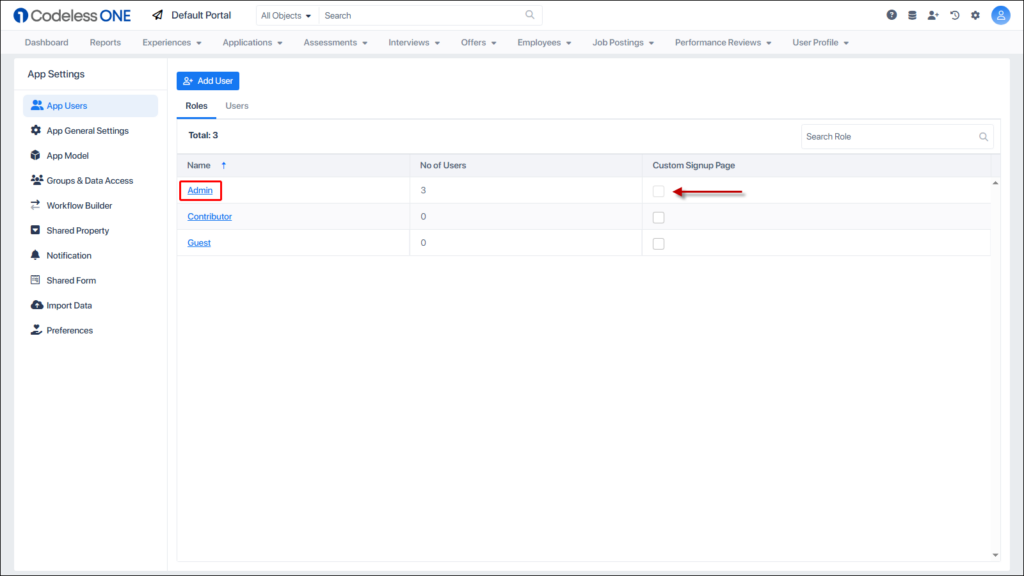
For Admins, the custom signup option is disabled.
It is only available for contributor or guest roles.
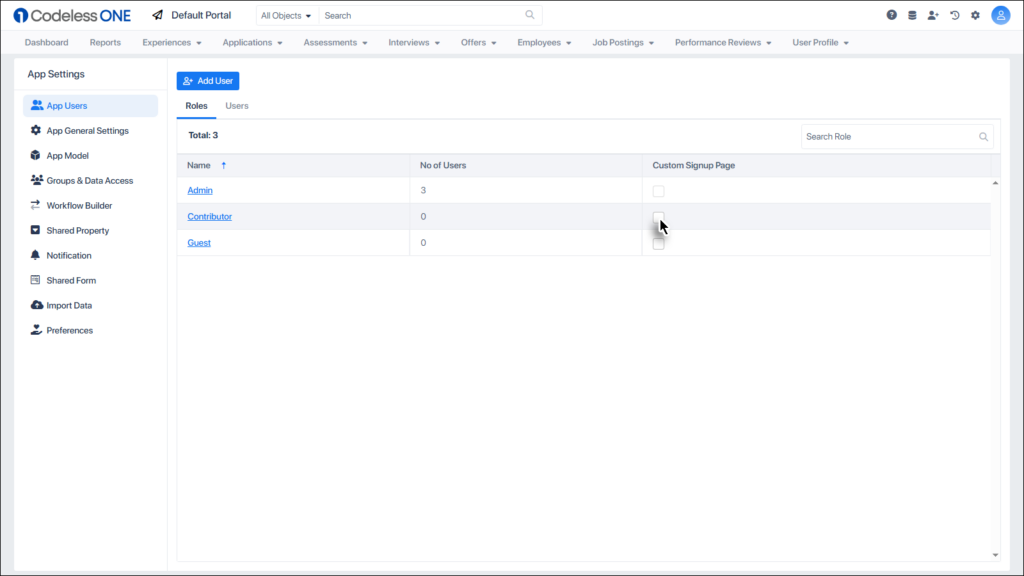
Enable the checkbox for the desired role (Contributor or Guest).
Click the Edit icon that appears besides the selected checkbox.
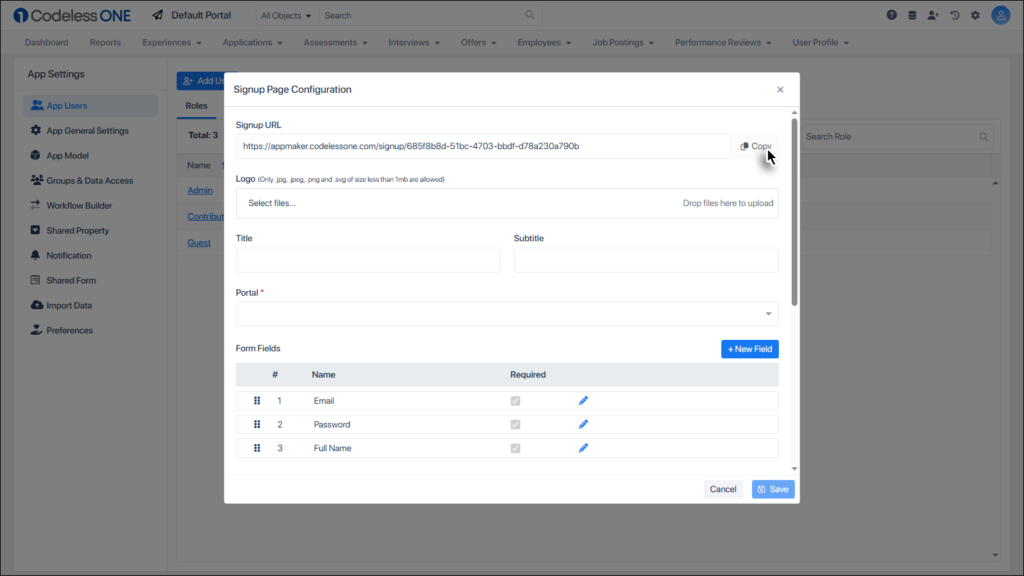
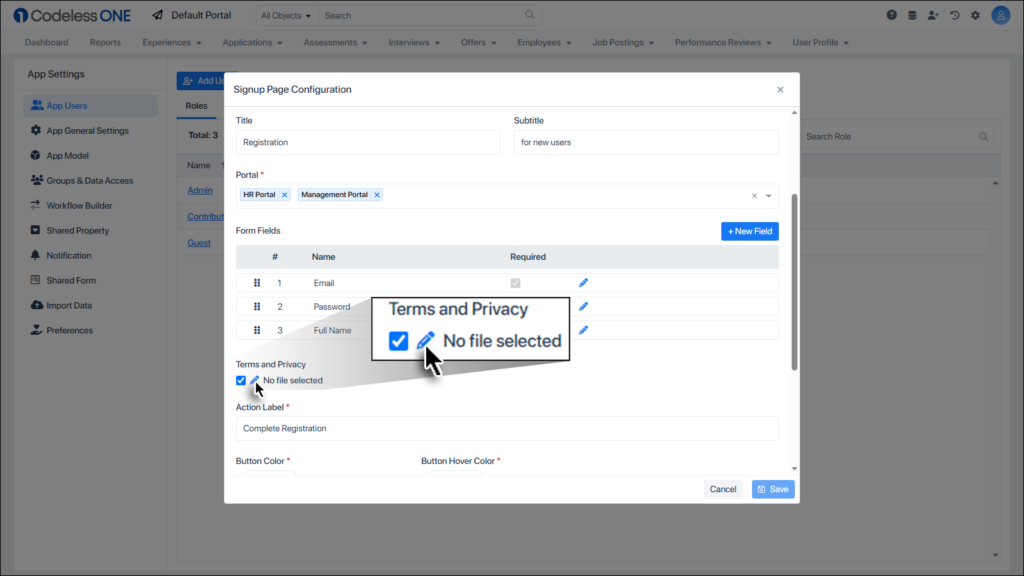
The Signup Page Configuration dialogue box is shown. Using the controls in this window, the Custom Signup page is designed.
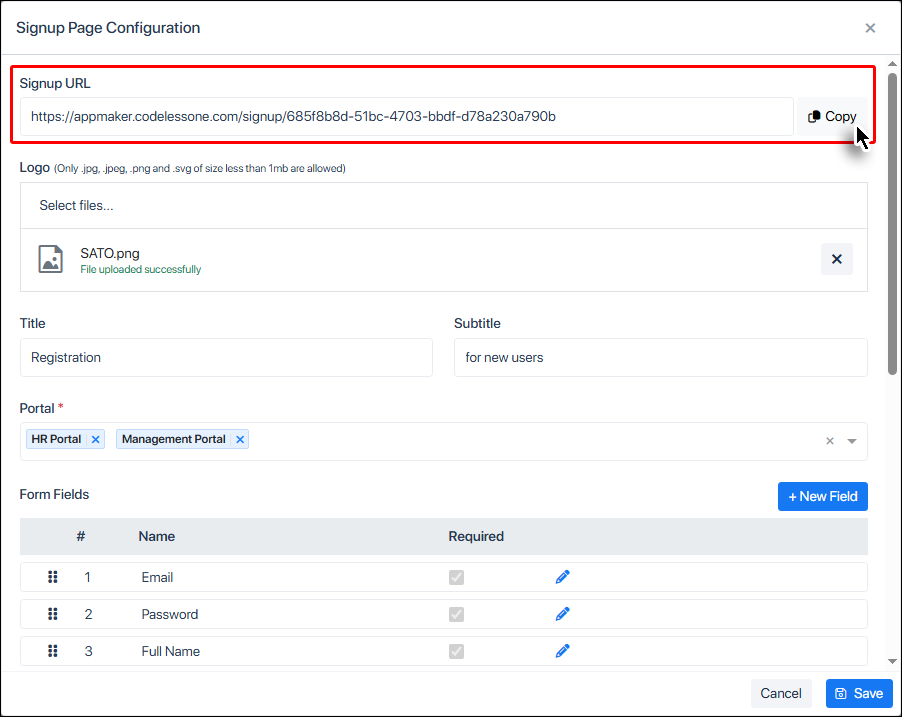
At the top, the Signup URL is the weblink that would be shared with the desired user. This can be copied using the Copy button. Currently it is disabled because the page is not configured yet.
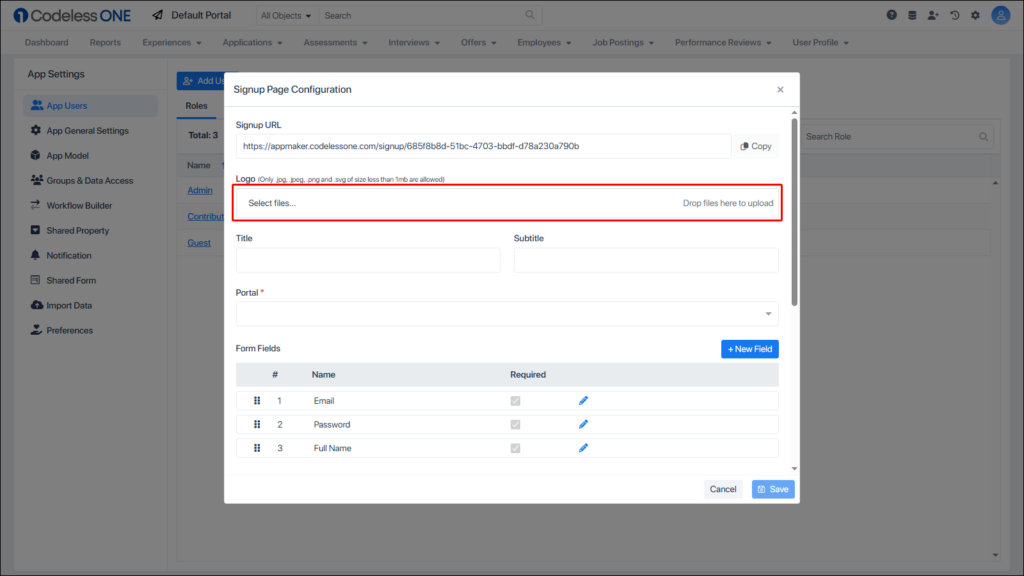
A Custom logo can be added to be displayed on the signup page.
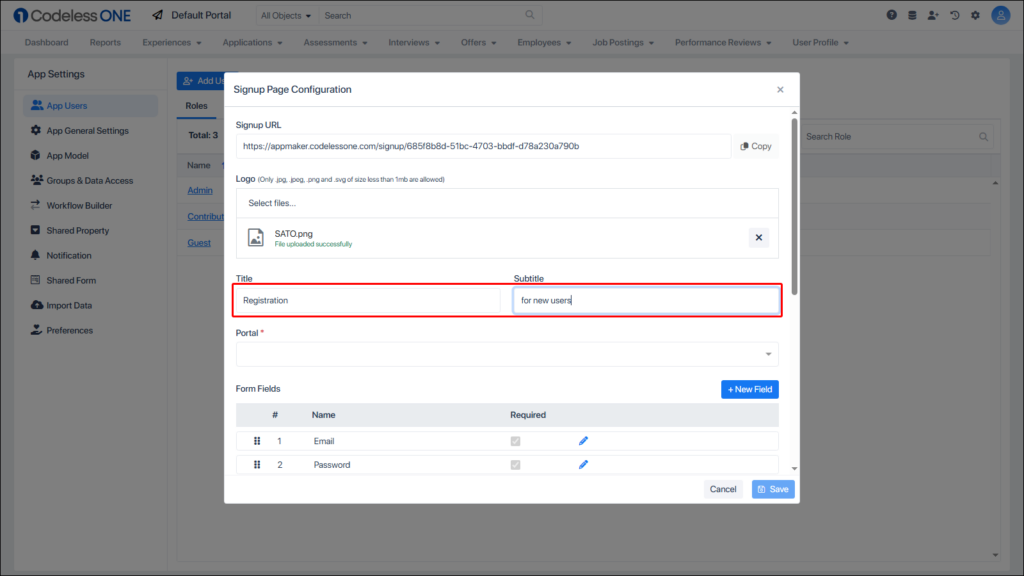
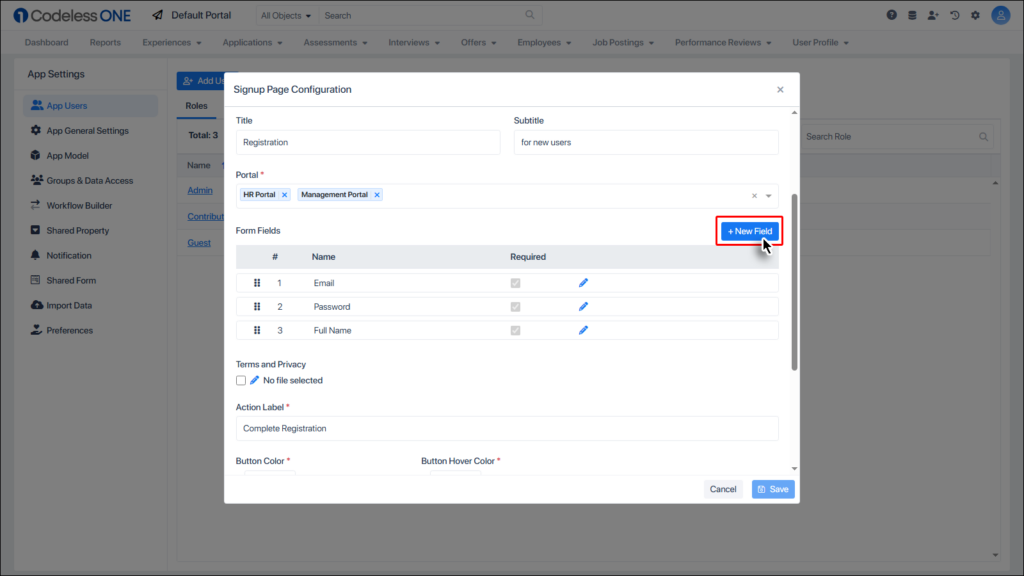
Title and Subtitle are displayed as text labels.
Select the relevant portals that would be accessible to the new user.
Next are the registration form fields that the user would be required to fill. Email, Password and Full Name are mandatory, but users can include additional fields using the + New Field button.
If a terms and conditions file needs to be attached then select the relevant checkbox and click the edit icon to attach the relevant file.
Note: If this checkbox is enabled, then the invited user won’t be able to complete the registration process unless the corresponding checkbox (on the signup page) is enabled.
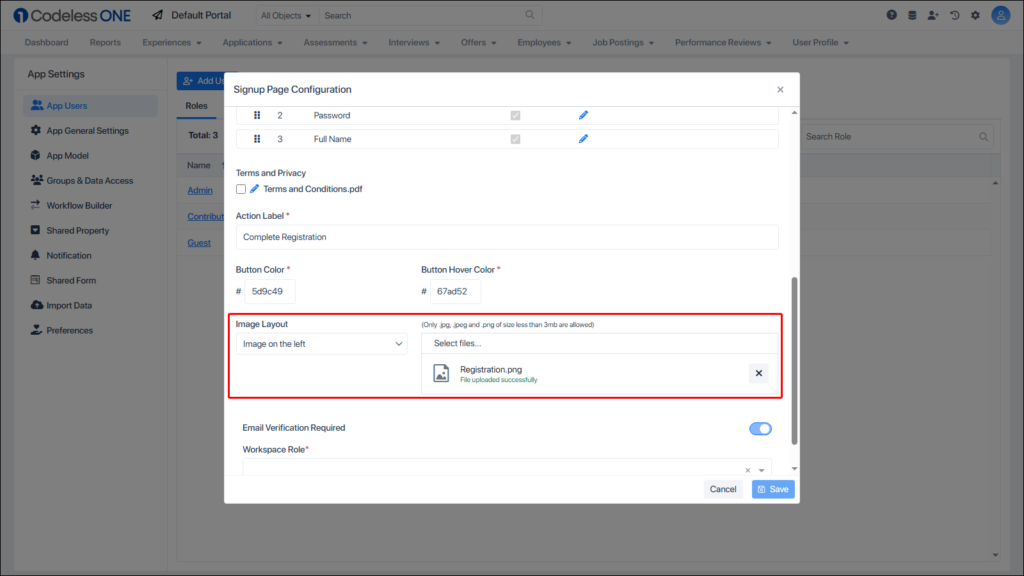
The next three controls refer to the button that the new user would click to complete the registration. Update the label and colors (if desired).
Provide the static image (if desired) that you would like to appear on the registration page. Also select its orientation relevant to the textboxes.
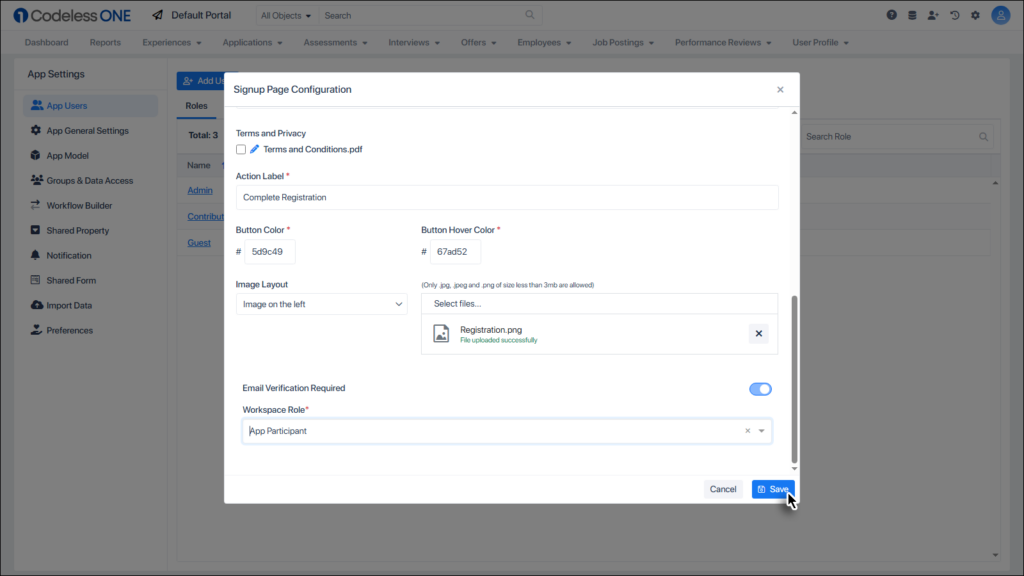
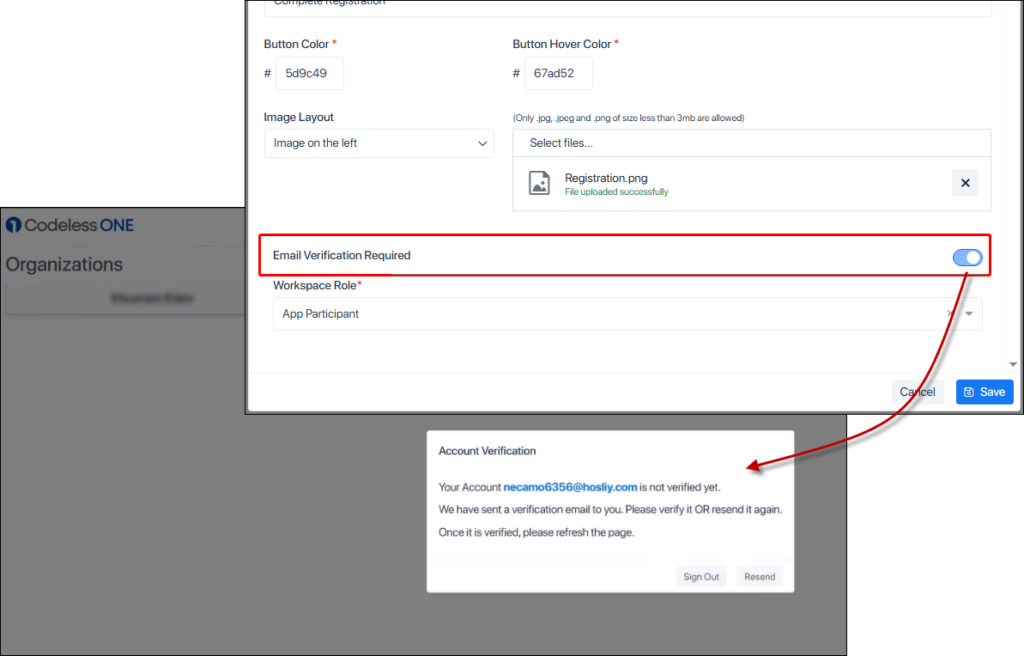
The toggle button for Email verification is read-only now, therefore, should not be bothered. It’s role is defined further down the page.
Select the relevant role for the new user.
Click the Save button to complete the Signup Page Configuration.
Now the URL at the top of the dialogue box can be shared with the intended user for registration using the customized signup.
A sample signup page is shown in the following image as it may appear as per the customization done in the above steps.
The mapping of the Signup Page Configuration can be understood using the following image. The configuration element highlighted with blue numeral corresponds to the display element highlighted with yellow numeral.
Custom Signup at the invited user’s end
The customer receives the URL and uses it to launch the login page.
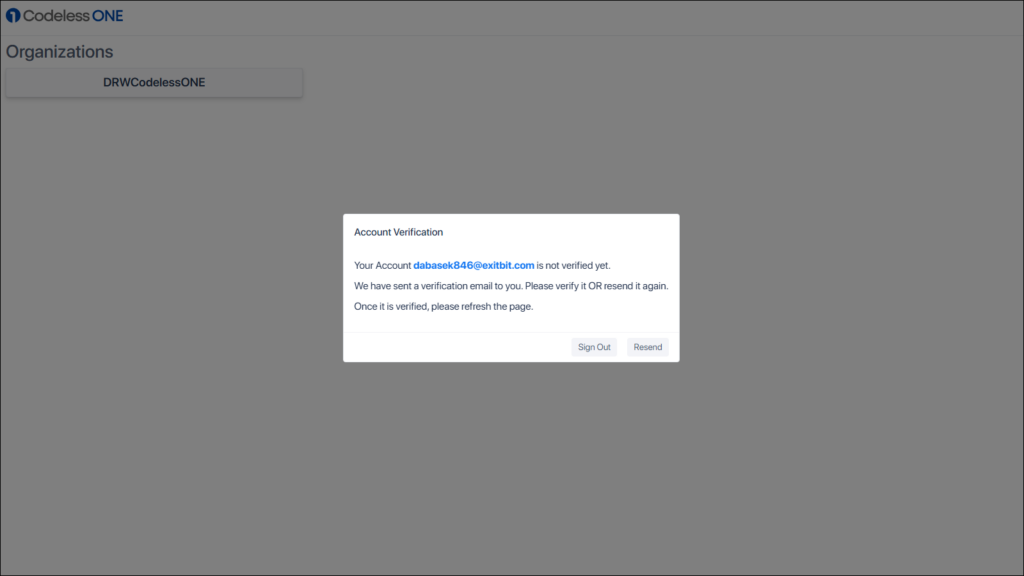
After the user provides the required info and clicks the registration button the account verification message is displayed.
The message is displayed because of the Email Verification toggle button in the Custom login form. This toggle button is auto-configured to be always true.
The user now must check the email account (provided in the registration form URL) and click the Complete Registration button.
This completes the custom signup process, and the user is taken to the workspace page of the app shared with them.