Limited Access User is a new role type introduced in Codeless ONE. The purpose of creating this role is that this type of role would be able to only view records created by themselves. The records created by other people would not be visible to this role.
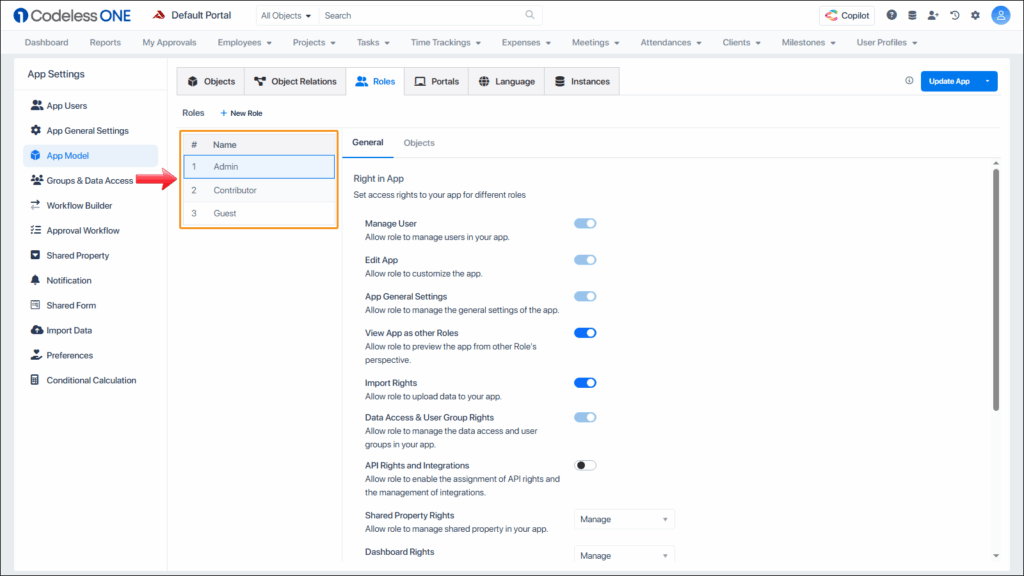
By default, every app comes with the following three roles: Admin, Contributor and Guest.
Additional roles can be created but needs to be customized for desired rights and restrictions.
A new predefined type of role called the Limited Access Role has been added to the CodelessONE. The process to create the role is as follows:
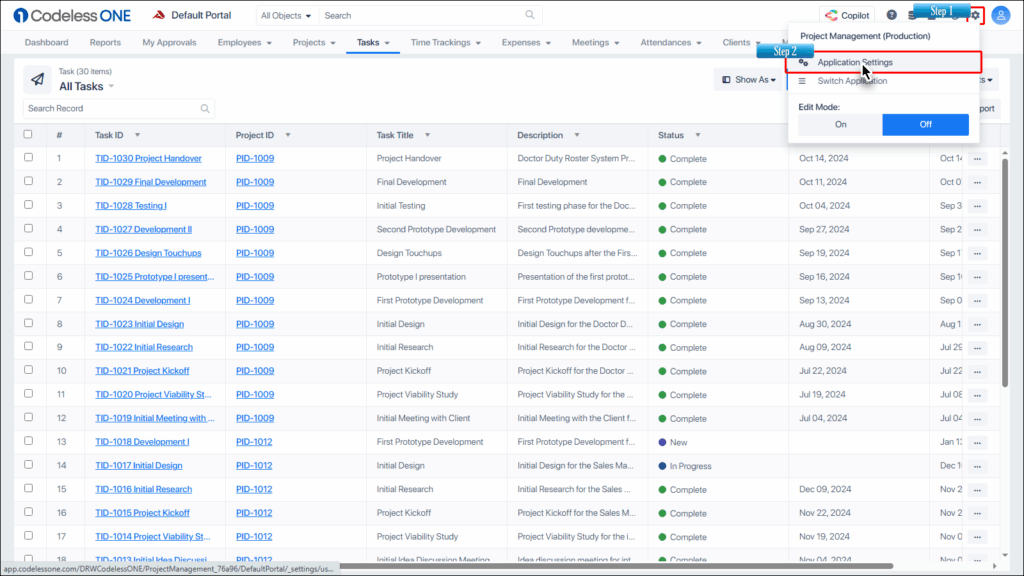
Click on the App Settings icon and then select the Application Settings option.
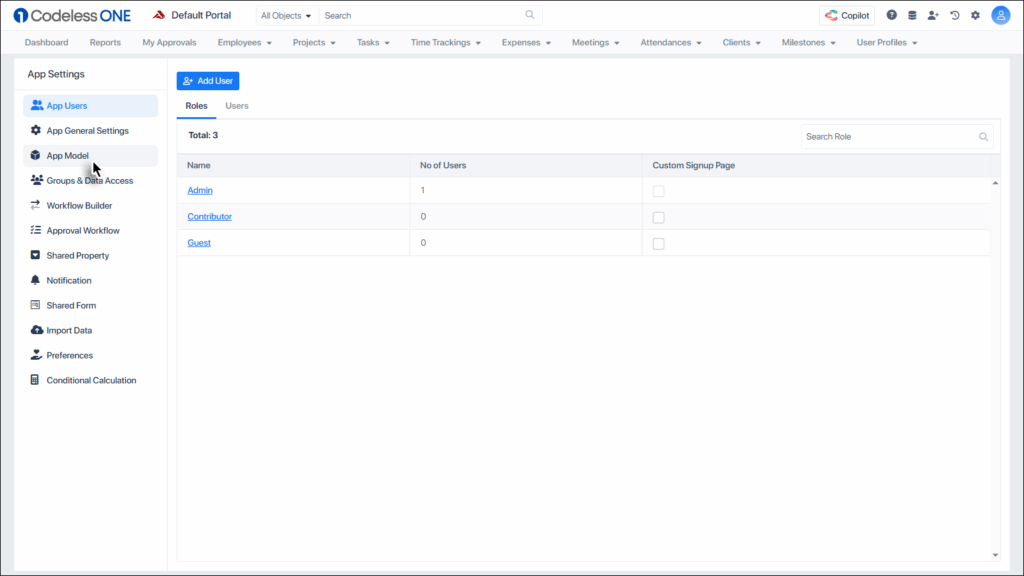
Click the App Model option from the menu.
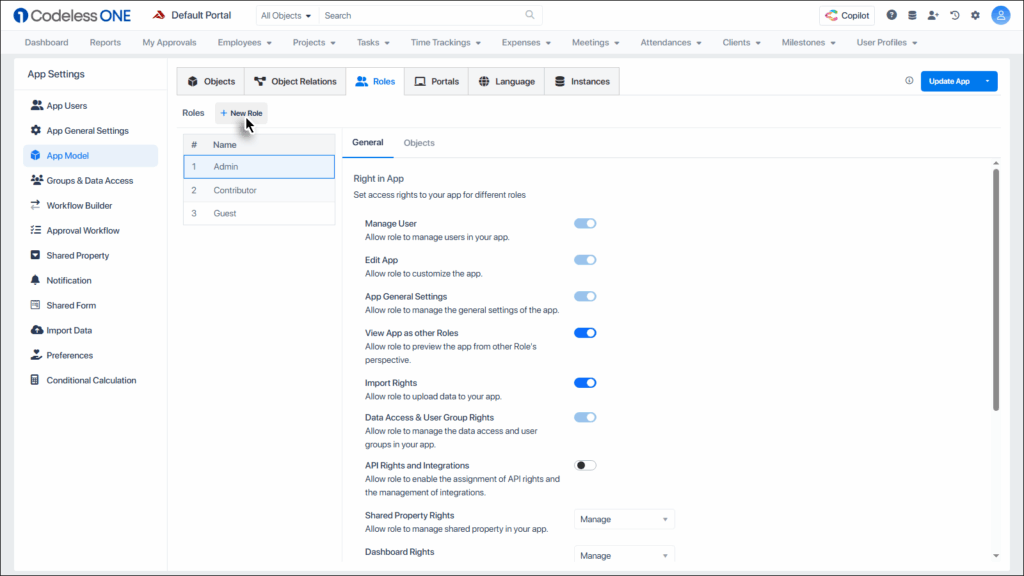
Click the Roles tab.
Click the + New Role button.
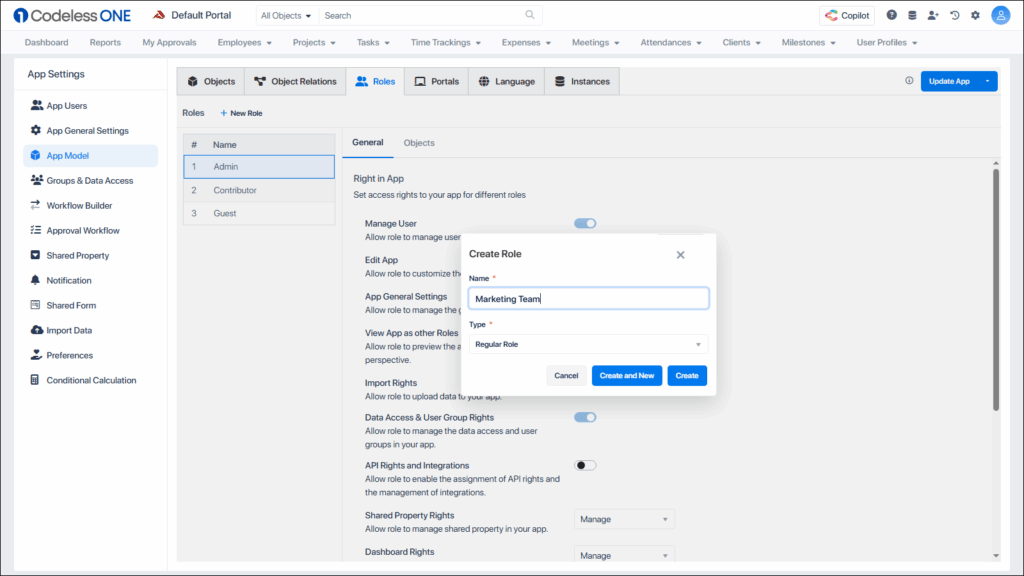
Provide a name for the role.
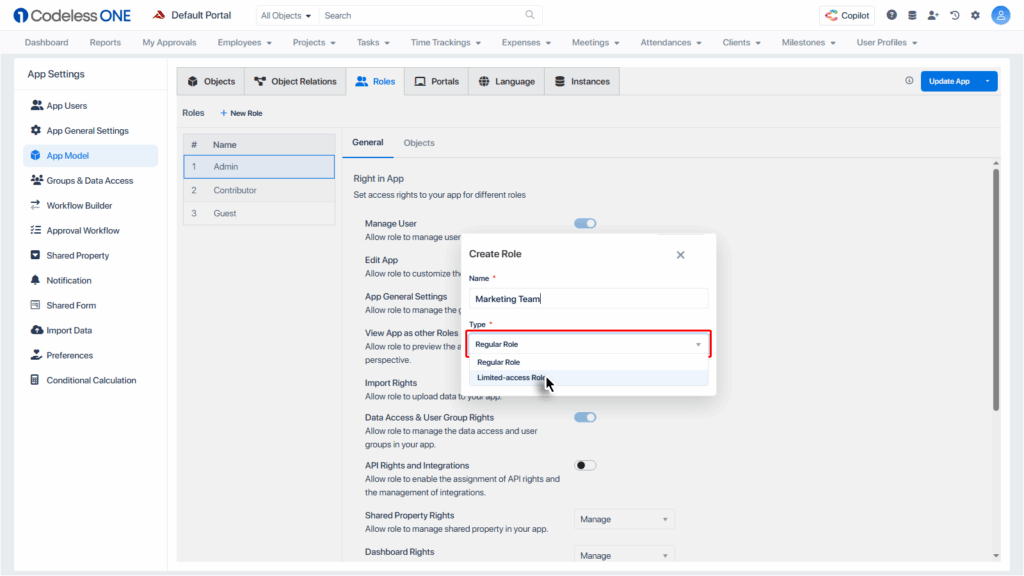
Select the Limited-access Role as the role type.
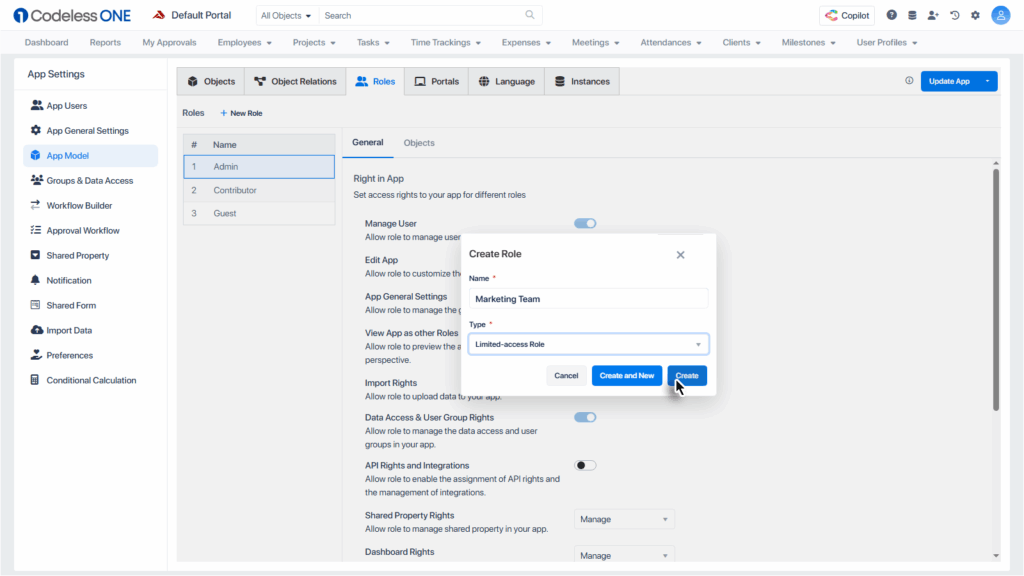
Click the Create button.
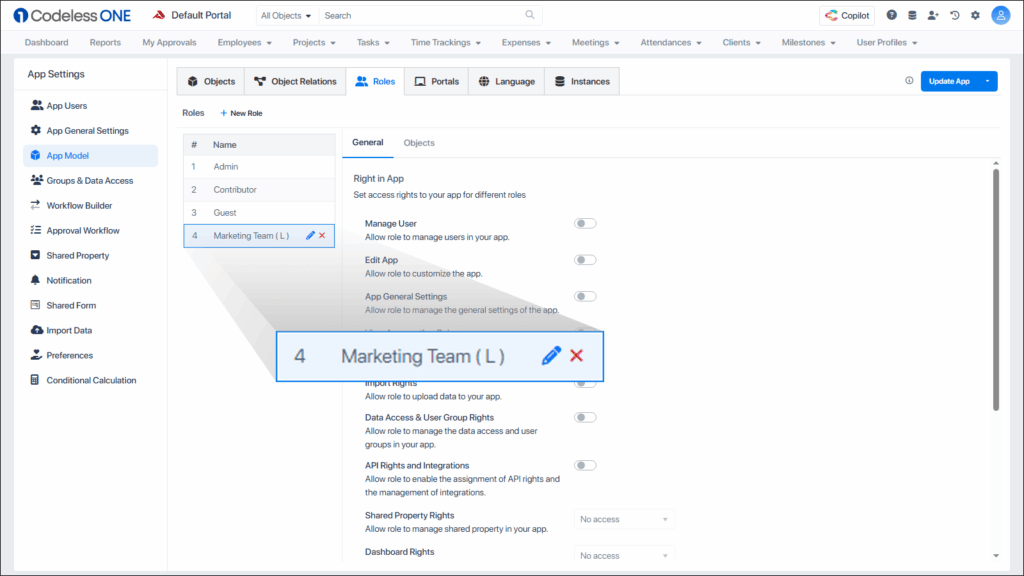
The Limited-access role is created with the L denoting its type.
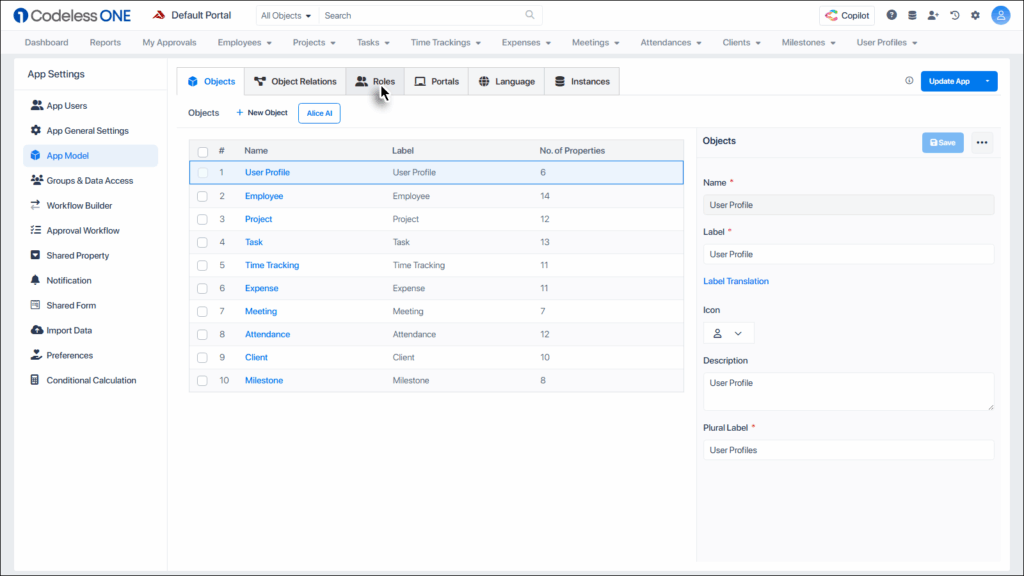
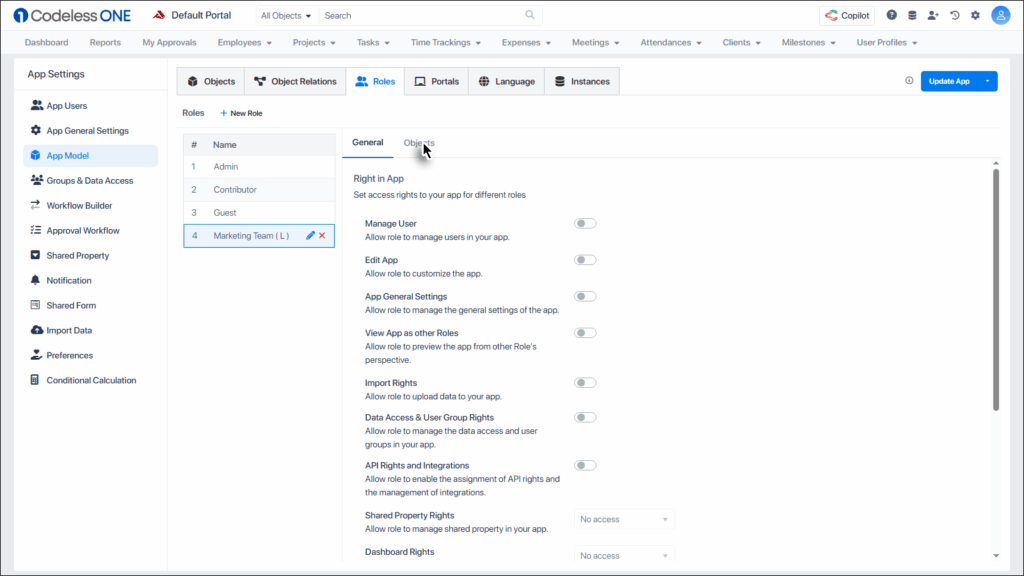
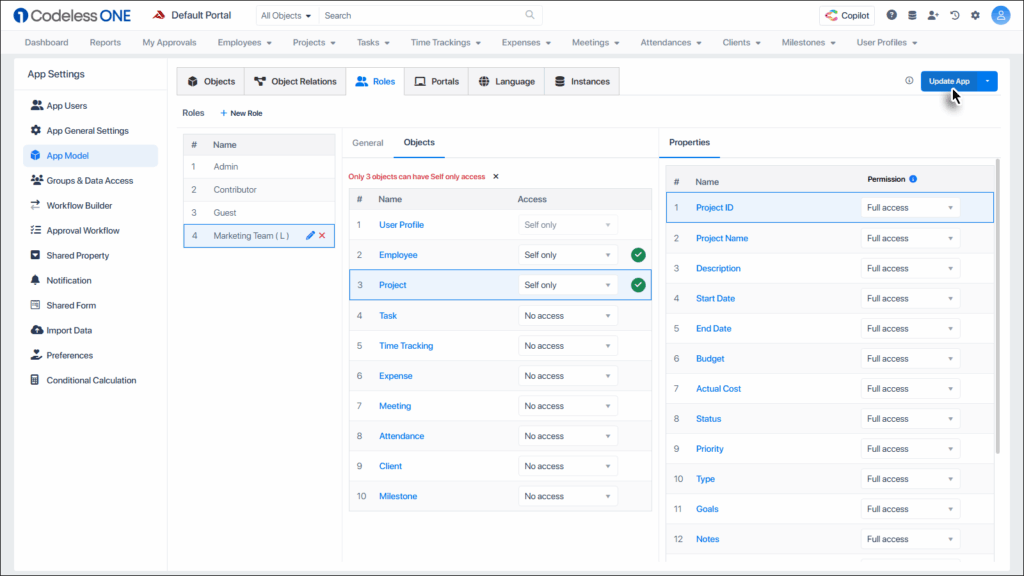
Now click the Objects tab.
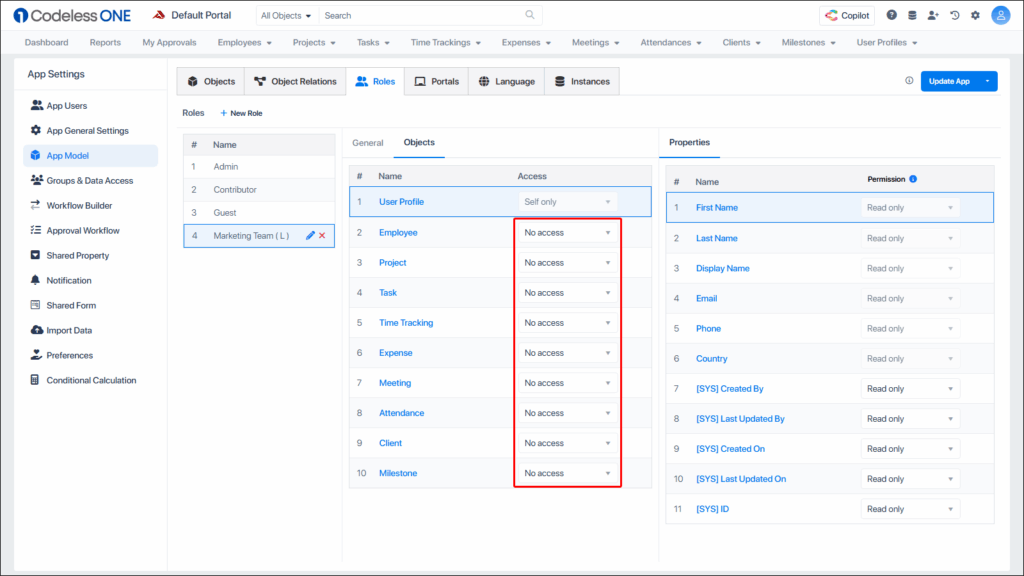
You can see that all the objects are currently configured as No Access for the limited access role.
The access levels for the limited access user are the following:
No Access
Read only
Self only
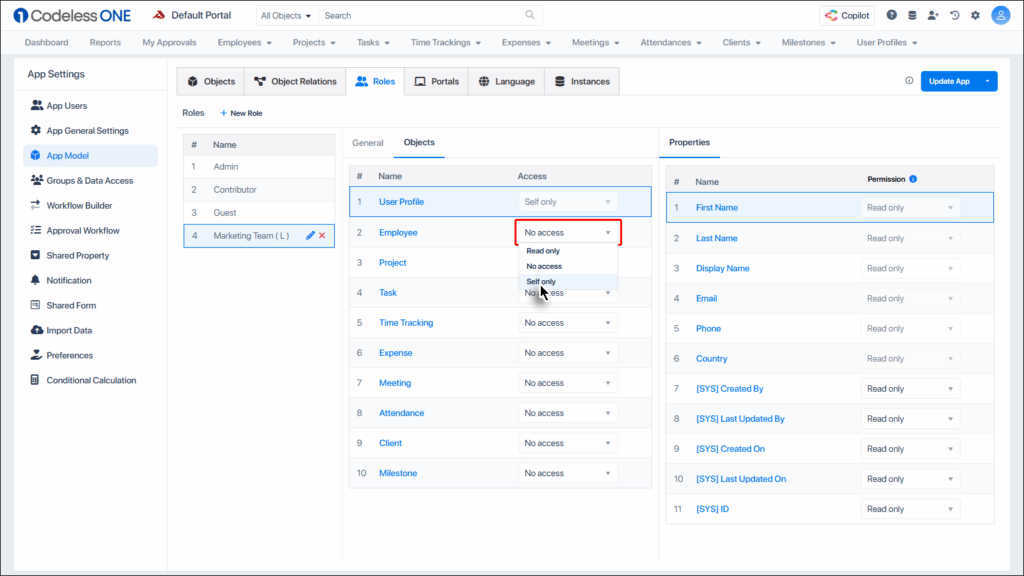
Change the desired object access to Self only.
As soon as the access is upgraded, all properties of that object are automatically set to Full Access.
Now repeat the access upgrade to another object of your choice.
Note: Only two (2) objects can be configured for Self only value by the user. The third one User Profile is set to this value by default and can’t be altered.
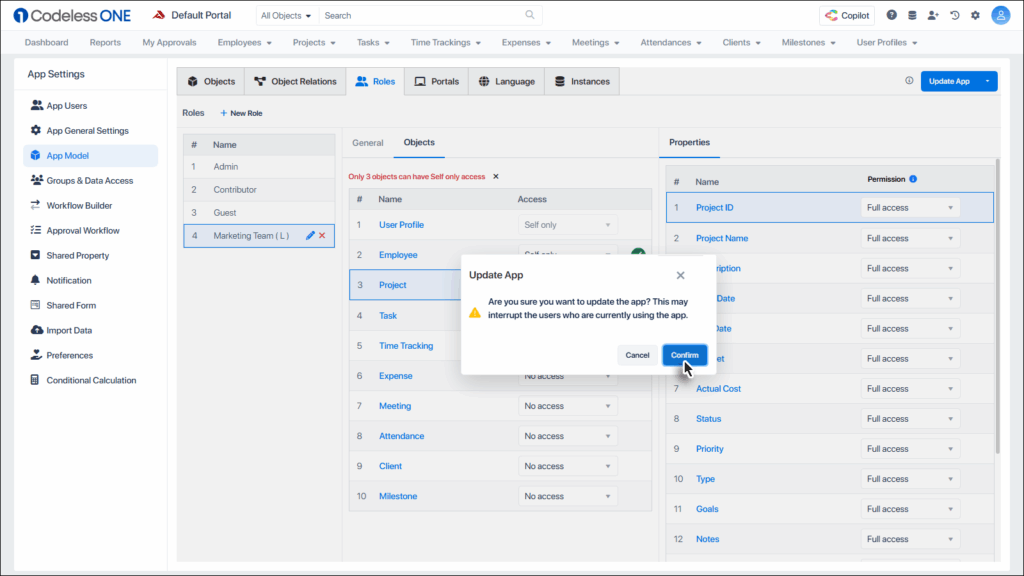
Click the Upgrade App button.
Complete the process by clicking the Confirm button.
Adding a Limited-access role user
Although we have created a limited access role in our app, but no user has been assigned this type of role yet. So, the next step is to add a user to the app with this role.
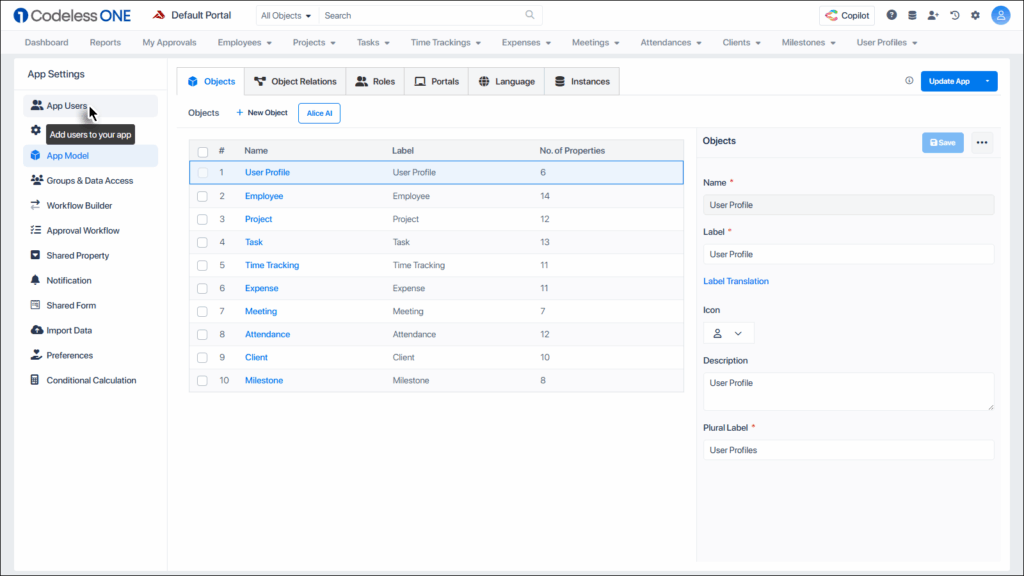
Click the App Users option in the App Settings panel.
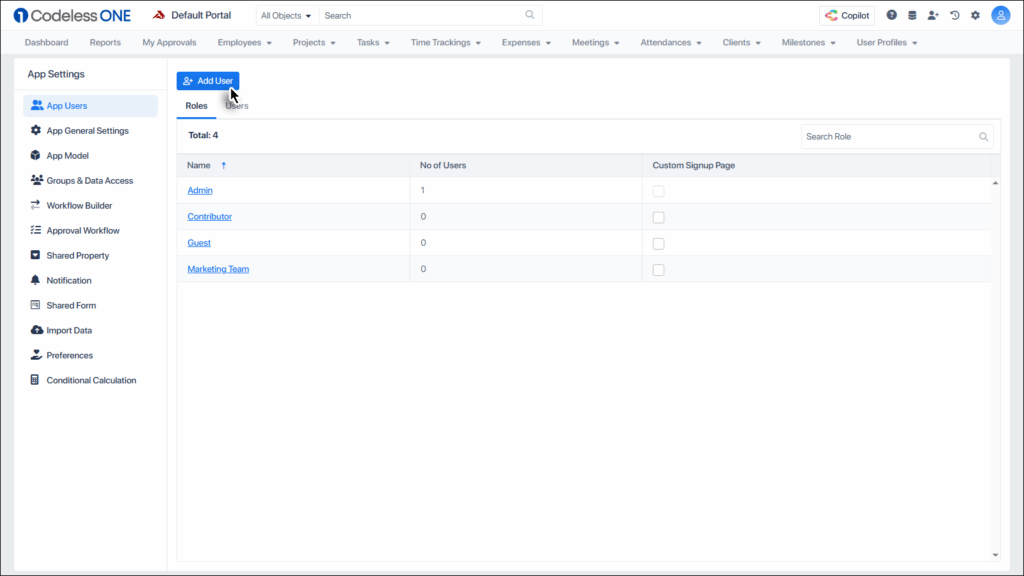
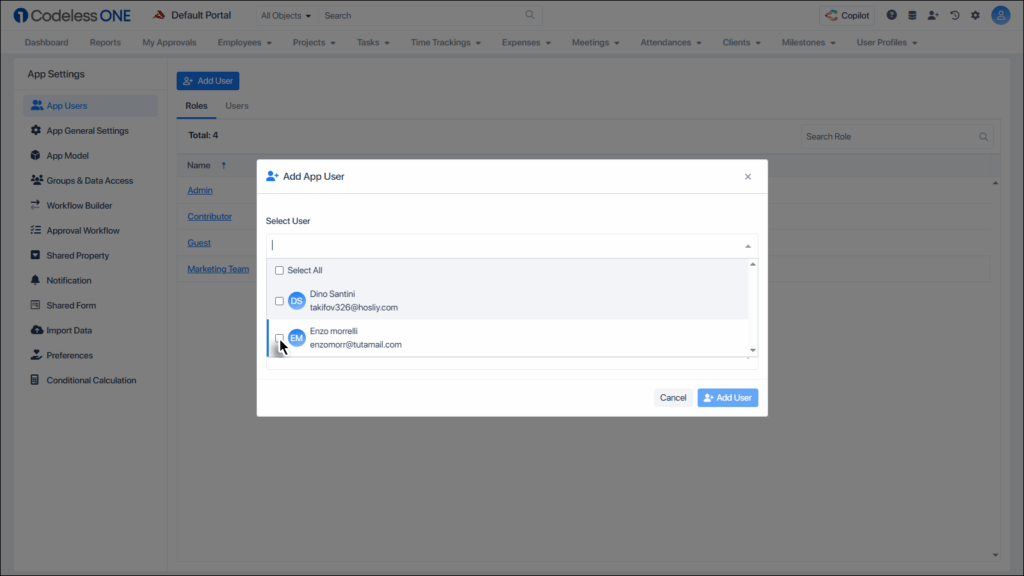
Click the Add User button.
Select the desired user from the list of Workspace Users.
Note: If the desired user is not on the list then invite the user to the workspace first. The process is elaborated here.
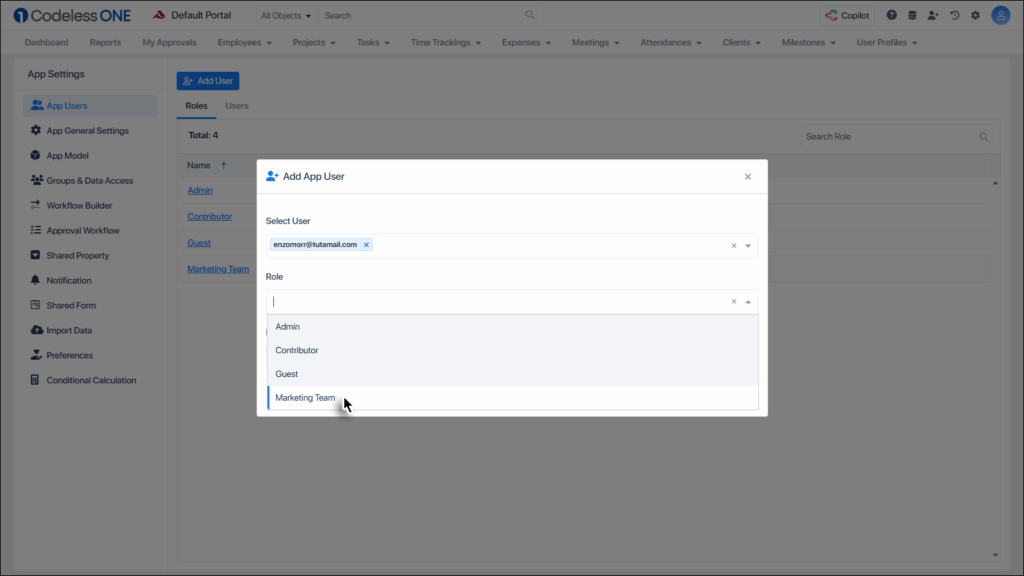
Select the Limited-access role (created earlier) for the user.
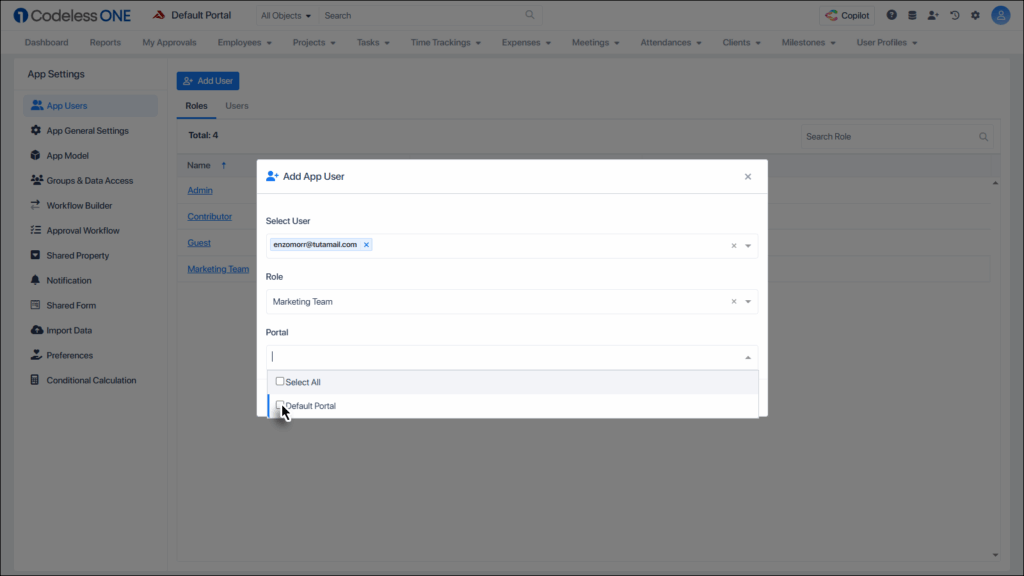
Select the desired portal.
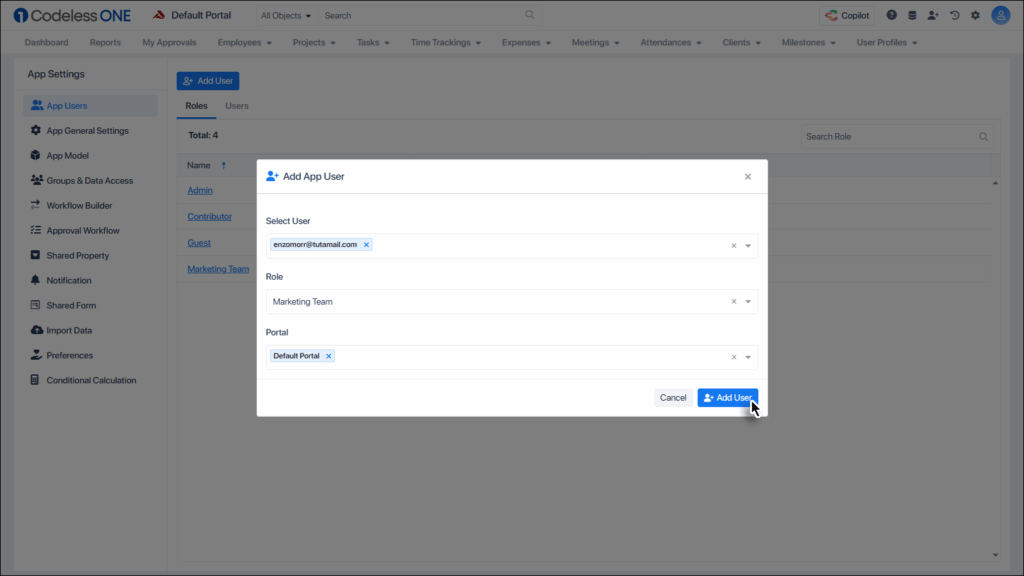
Click the Add User button.
This completes the process of adding the Limited-access role to the app.
Restrictions in action!
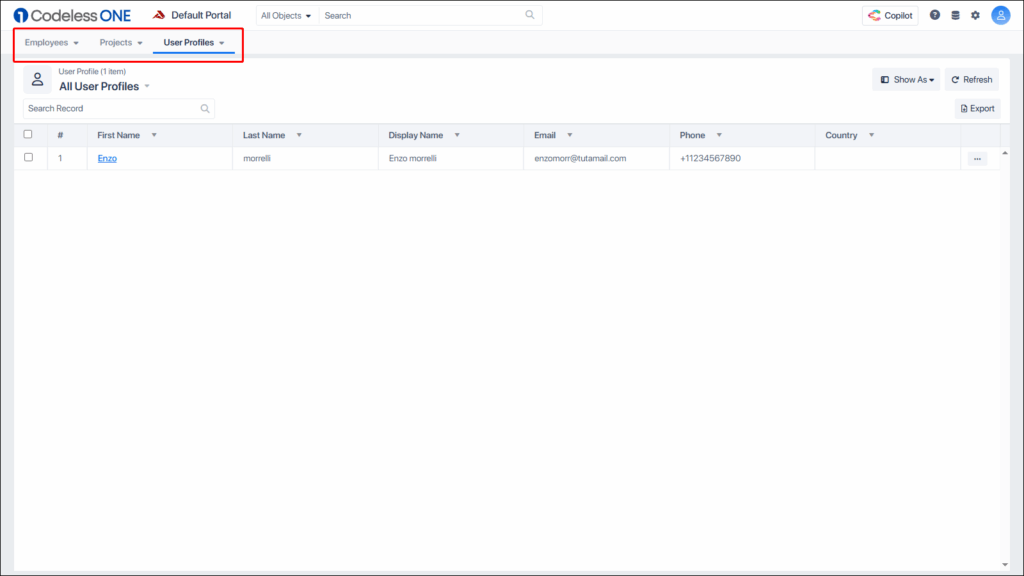
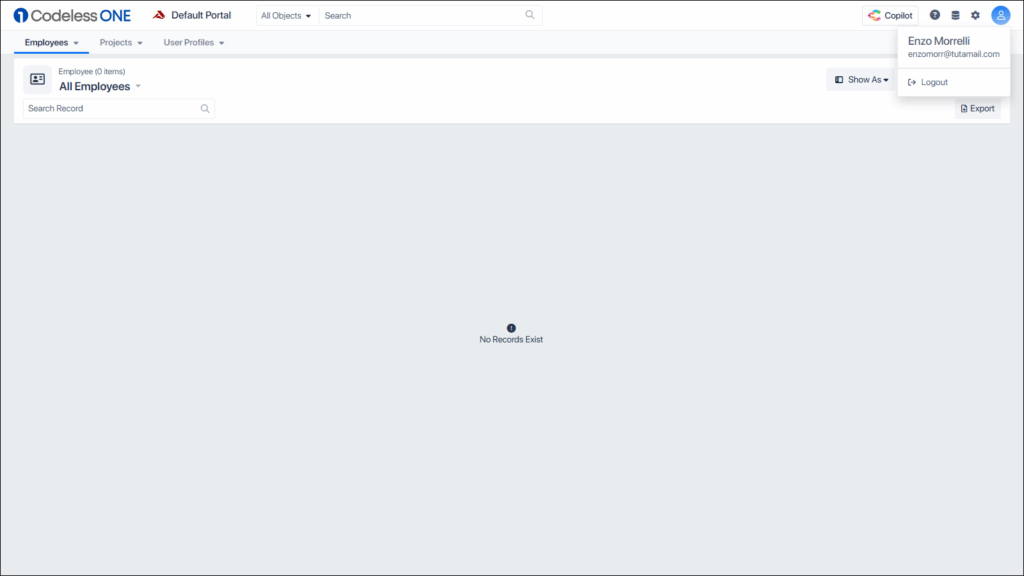
When this user accesses the app, only the 3 objects (selected at the time of role creation) are visible.
The objects when accessed show no records, because the user hasn’t created any records yet.
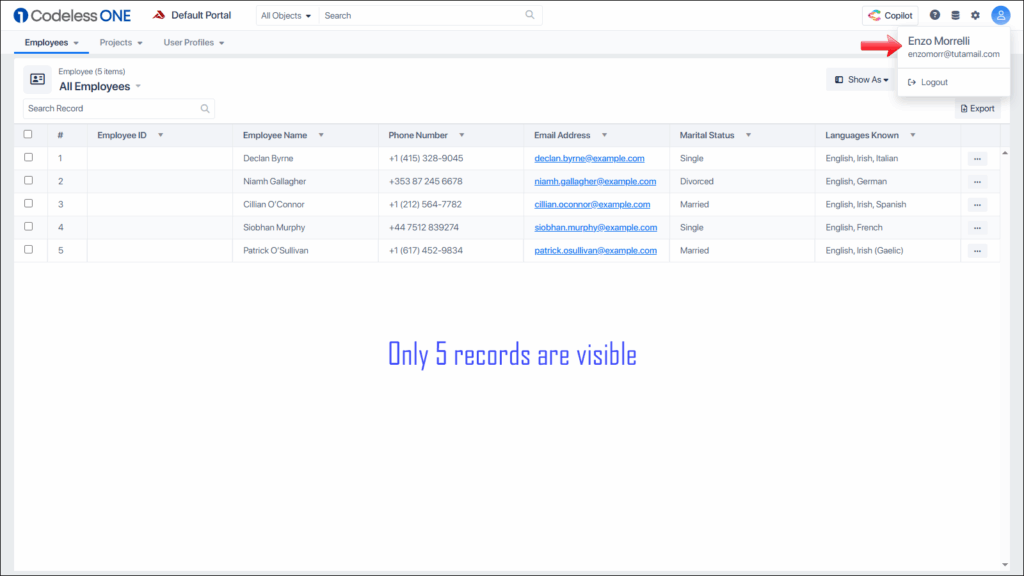
The user starts to add records to the object.
The image below shows that the user has added 5 records. The User ID of all these have been left blank for the sake of identification that these are added by a Limited-access user.
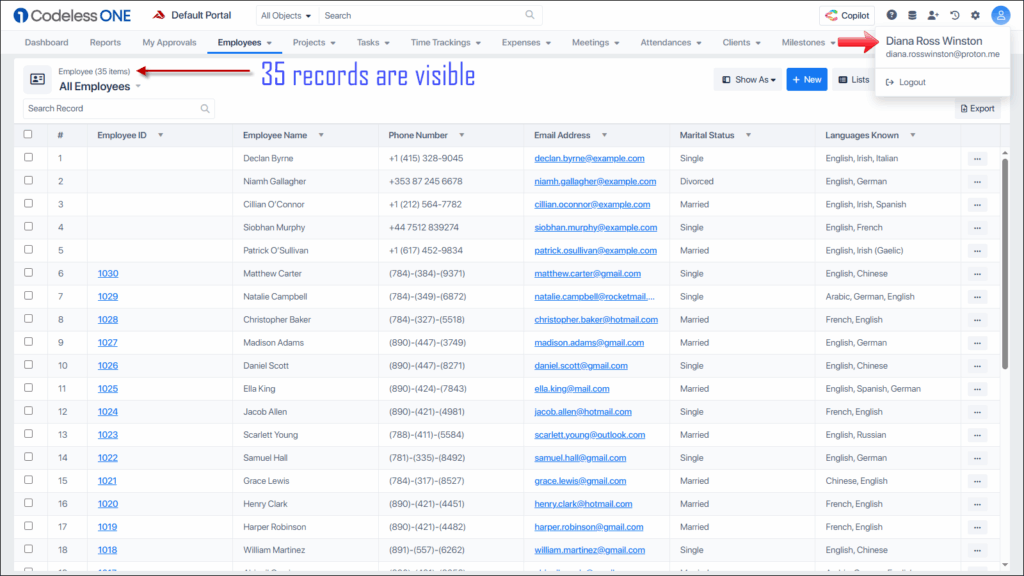
Now when a regular user opens this object, it shows the objects created by all the users and the count stands at 35.
The regular users can view objects created by themselves as well as by other users. However, the Limited-access users can only view the records created by them. They can’t even view the records created by other Limited-access users.
Coming back to this image:
At the moment there are 35 Employee records in the table but since Enzo Morielli is a Limited-access user, only 5 are being shown, which are created by Enzo Morielli himself. The other 30 records are hidden from him because of his lower access level status.