Skip to content
Home » Editing a form using Application Inline Edit

Editing a form using Application Inline Edit

Editing a form using Application Inline Edit

The Application Inline Edit feature offers users a powerful and flexible tool to directly modify and update the user interface (UI) of their application to suit their specific needs, without requiring extensive technical expertise. Much like an artist’s brush, this feature allows users to customize and fine-tune the way information is displayed and collected, giving them creative control over the appearance and functionality of their application.

Much like tables, forms of the application can also be edited using the Application Inline Edit mode. This article elaborates the process in detail using the following steps.

Step 1: Enable Application Inline Edit Mode

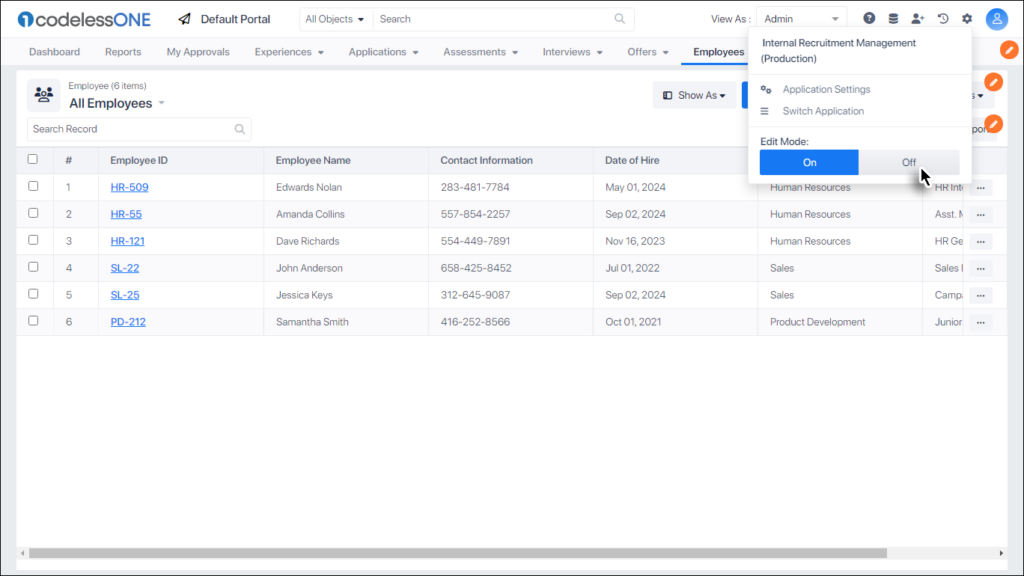
While on the relevant page, click on the App Settings Icon Settings Icon and then select the On button at the bottom left.

Enable Inline Editing Mode

A message is displayed that the feature is enabled. Click the OKAY button, OR, wait for 5 seconds for the message box to disappear automatically.

Close message box

Step 2: Open the relevant page

Open the relevant page, containing the form that needs to be updated.

Click new button

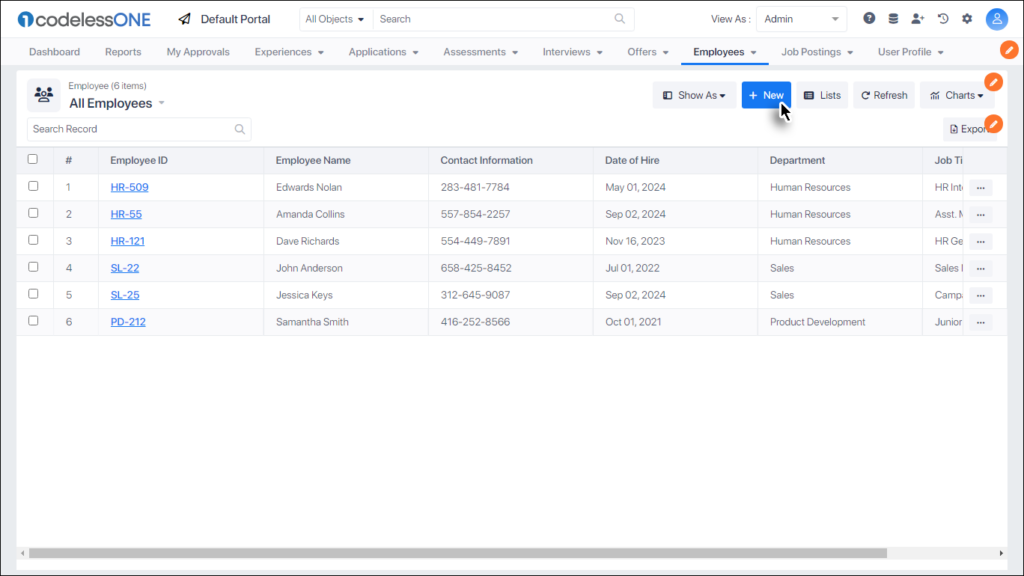
The form appears with the inline edit icon , which means that it can be edited.
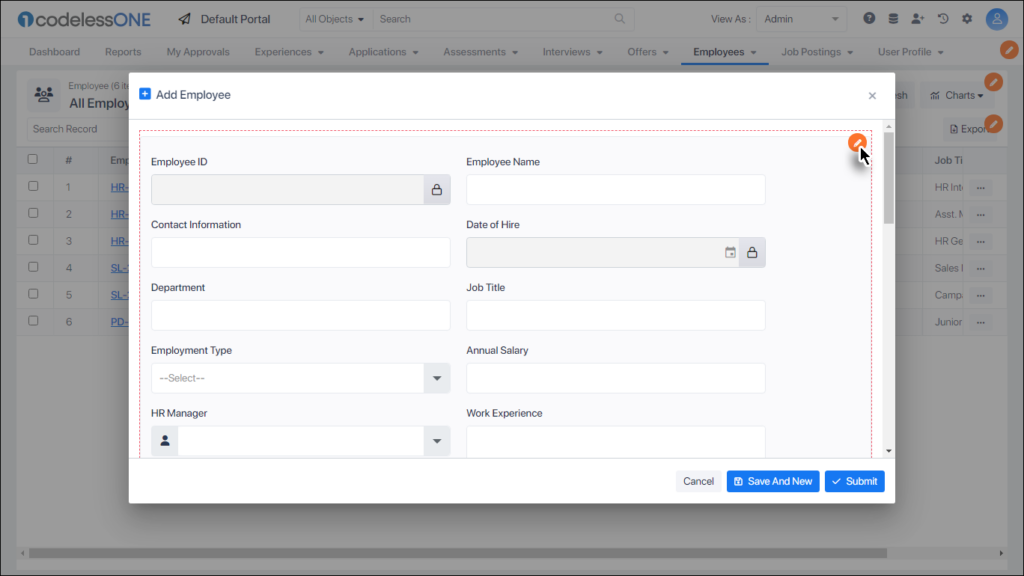
form appears

Step 3: Initiate the form editing

Click the inline edit icon to start the form-editing process.

Click the orange icon

Step 4: Click the Form Builder option

Click the Form Builder option to get to the page where form-editing is done. 

Click Form Builder

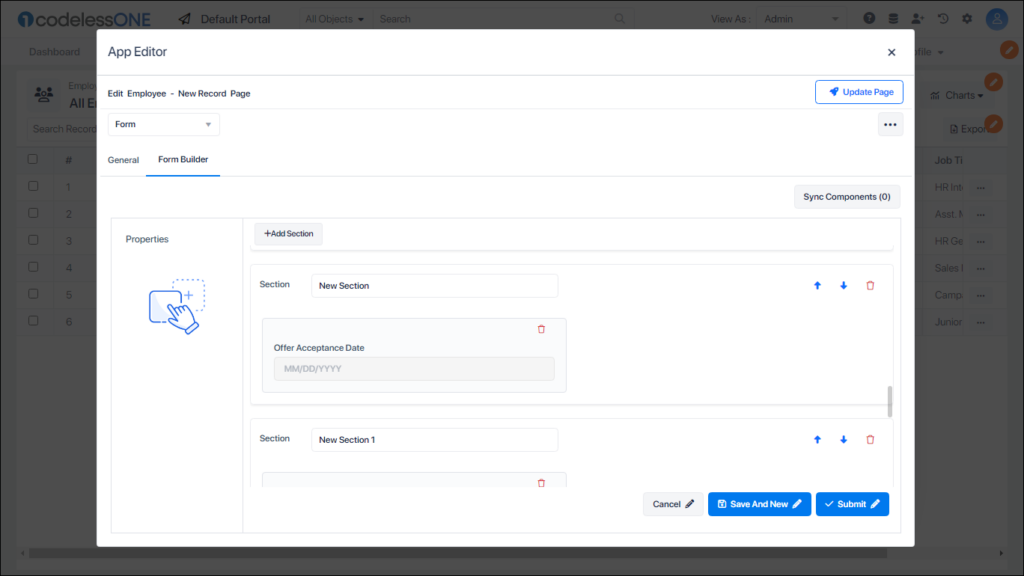
There are controls for each section and then for each textbox  (or other controls). 
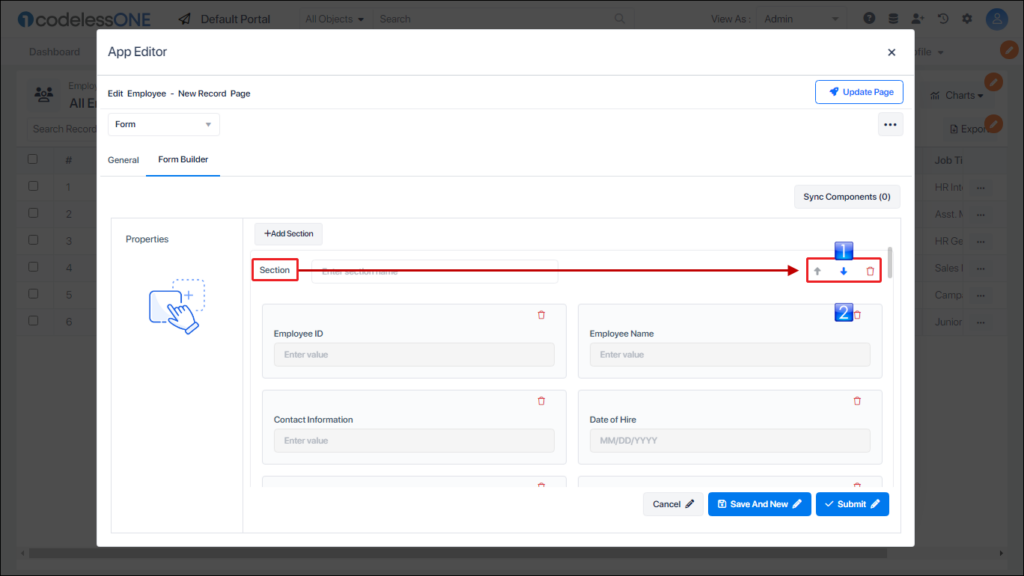
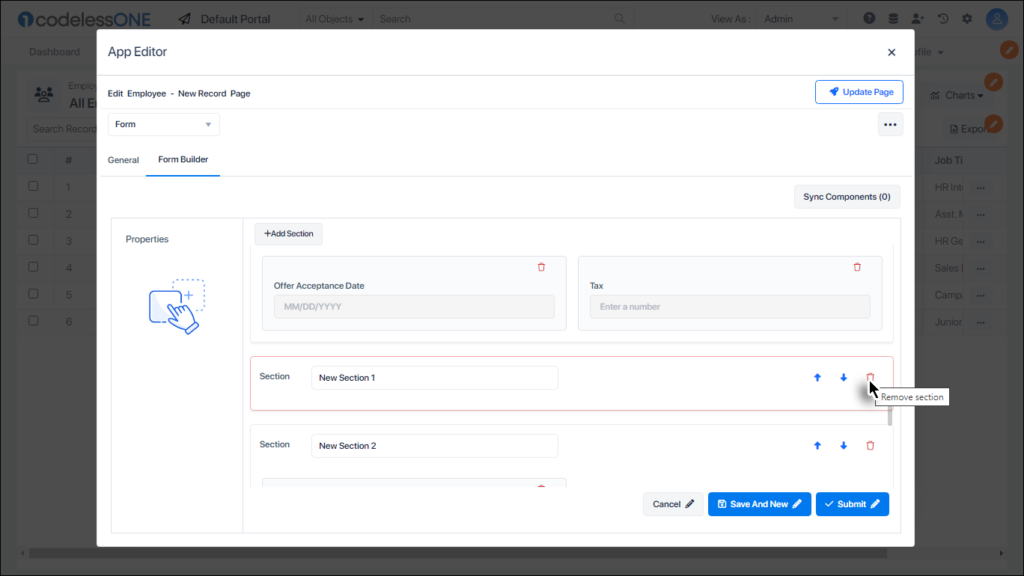
This section has three buttons; the Up and Down buttons are used to move the selected section up and down the page. The Delete button in this section is used to delete the section altogether. 
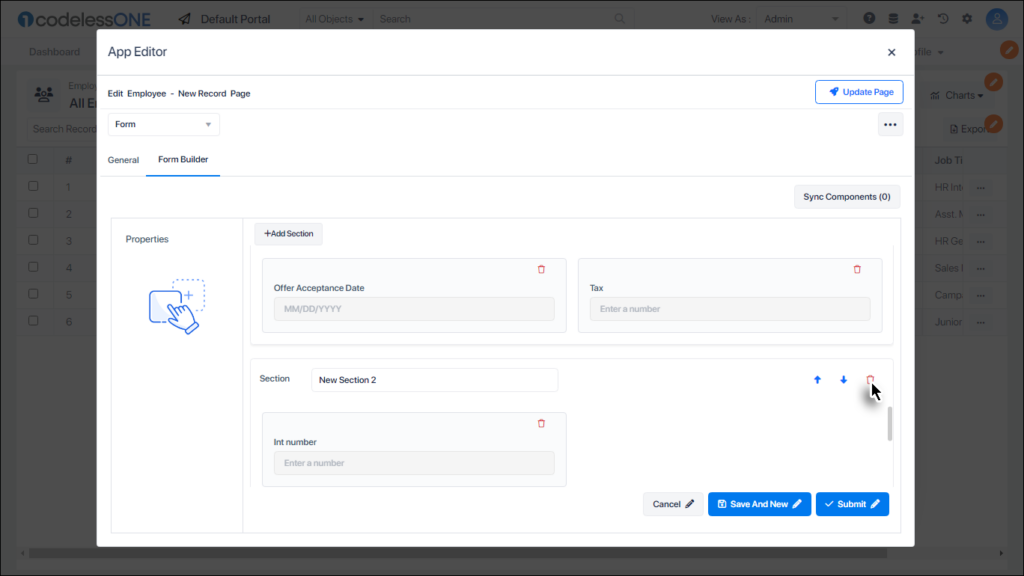
This Delete button is used to delete the relevant textbox from the form.
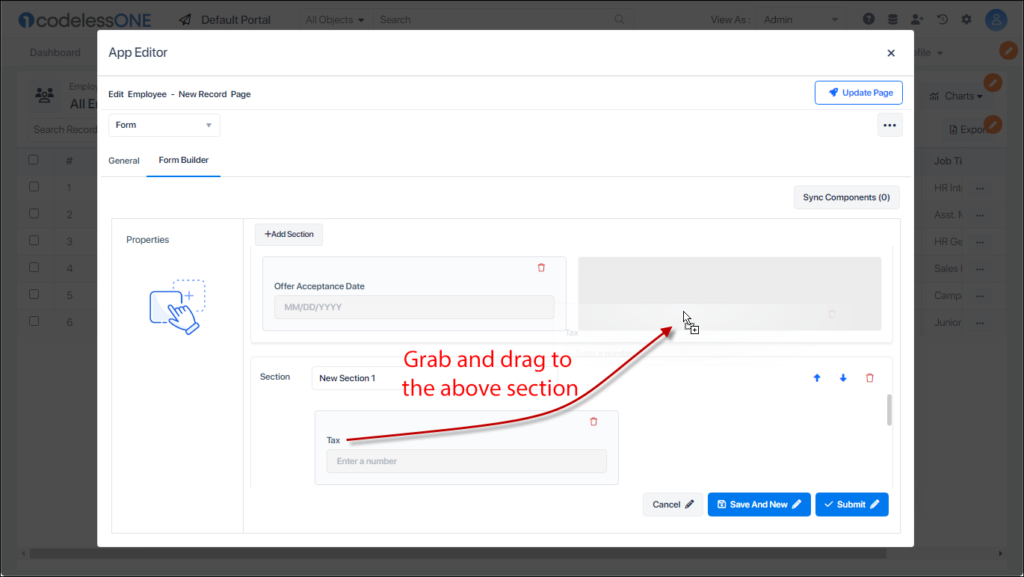
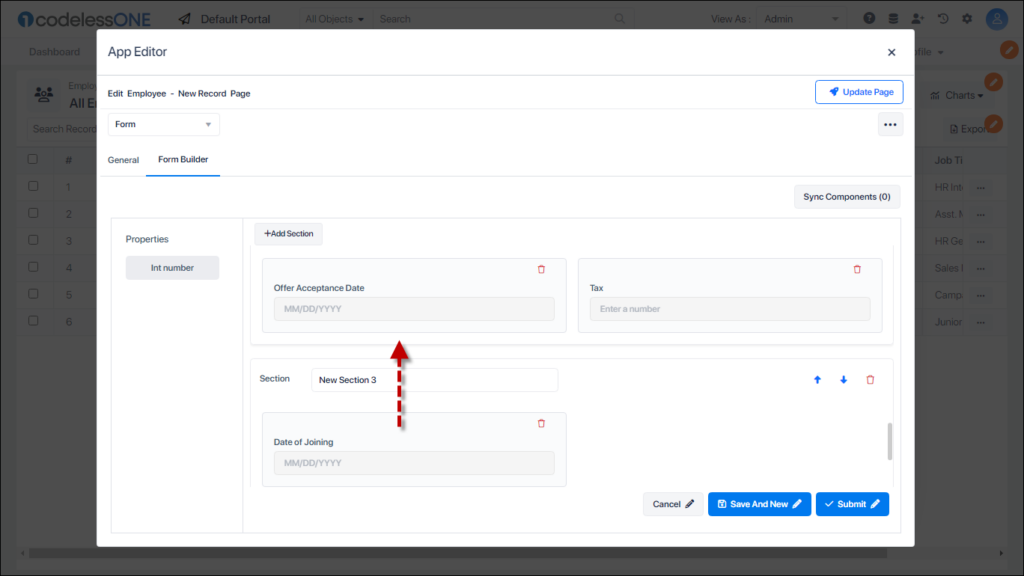
Section controls

Step 5: Move to the potential editing place

Scroll down to the section of the form where the intended edits need to be made. Here we can see that there are two sections with few controls in them. Let’s merge these into a single section.

move to impact zone

Step 6: Drag the control from one section to another

Since our goal is to merge two sections into one, therefore, we need to combine their controls in one section. To do it, grab a control (textbox in our case) from one section and drag it into the other section.

Drag and drop to the other section

 – The text box has been moved to the desired section.
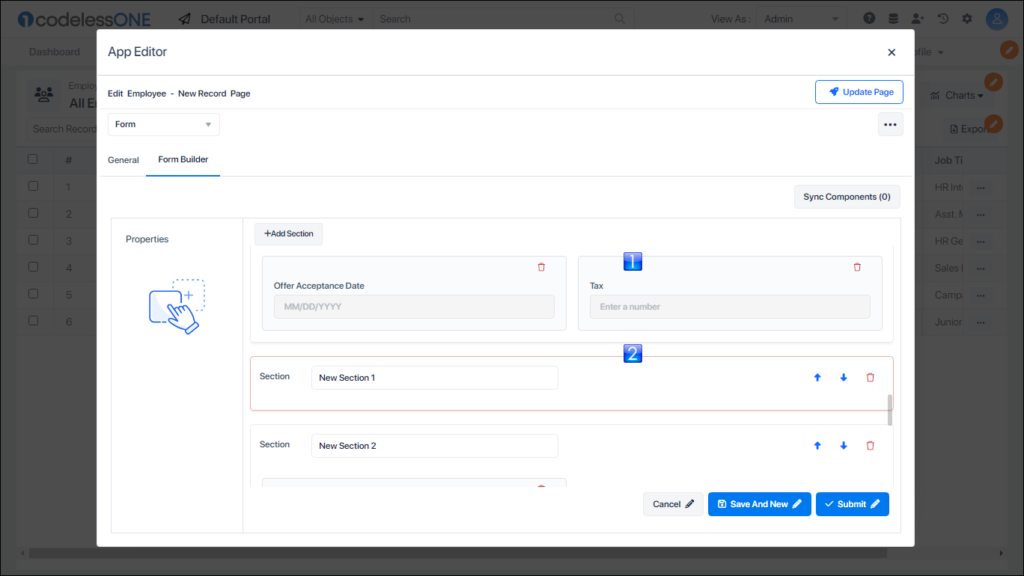
 – The source section is now empty and hence is shown with a red boundary.

control moved to other section

Step 7: Delete the unwanted section(s)

Now that the lower section has become empty, we can safely delete it by clicking the Delete button.

Delete empty section

The next section is also not required so we can delete it as well.

Delete unwanted section

Again we come across a section with just one textbox, which can be moved to the section above.

Drag and drop

After all the desired displacements of controls to combine them in one section, we are now ready to rename the section as per the relevant textboxes/controls in it.

Step 8: Rename the section

Click in the name textbox of the section and rename it accordingly.

Rename section

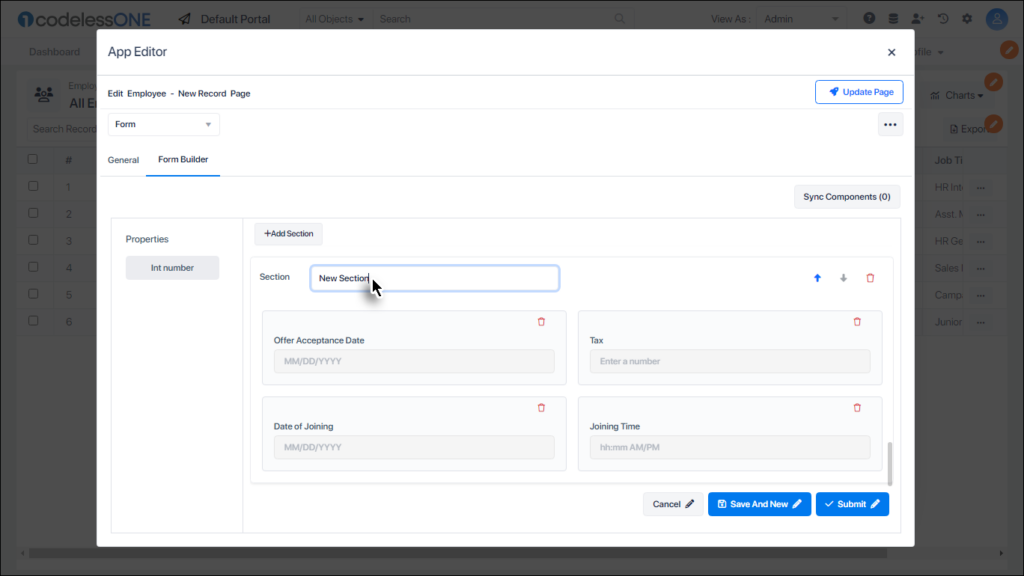
This completes our sections merging part of editing. Now lets take a look at what other kind of editing we can do in forms.

The Properties section lists down the current Object’s properties that are not used in this form and hence can be added by drag and drop. Since we don’t want to add further, we won’t discuss it in detail here.
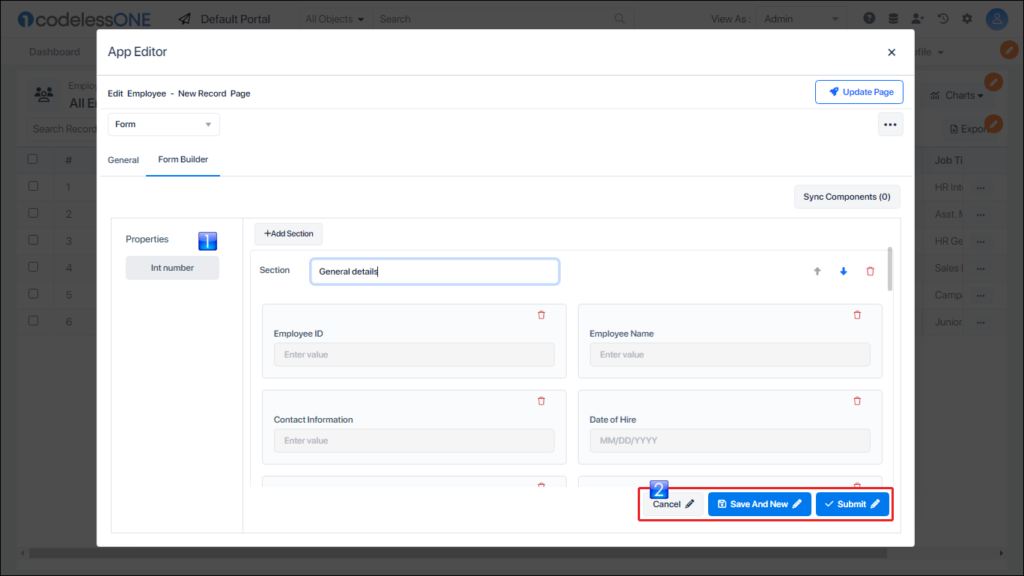
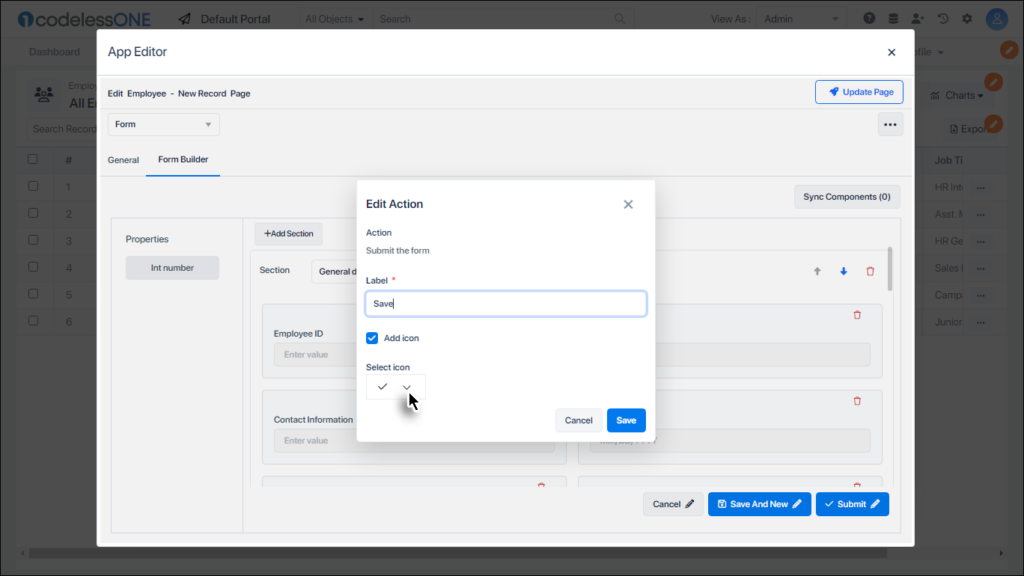
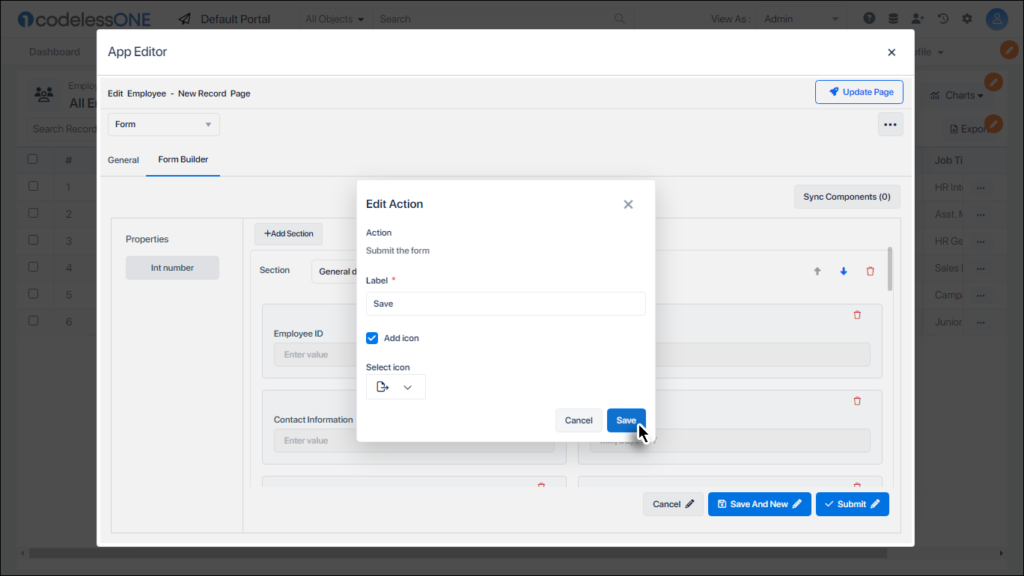
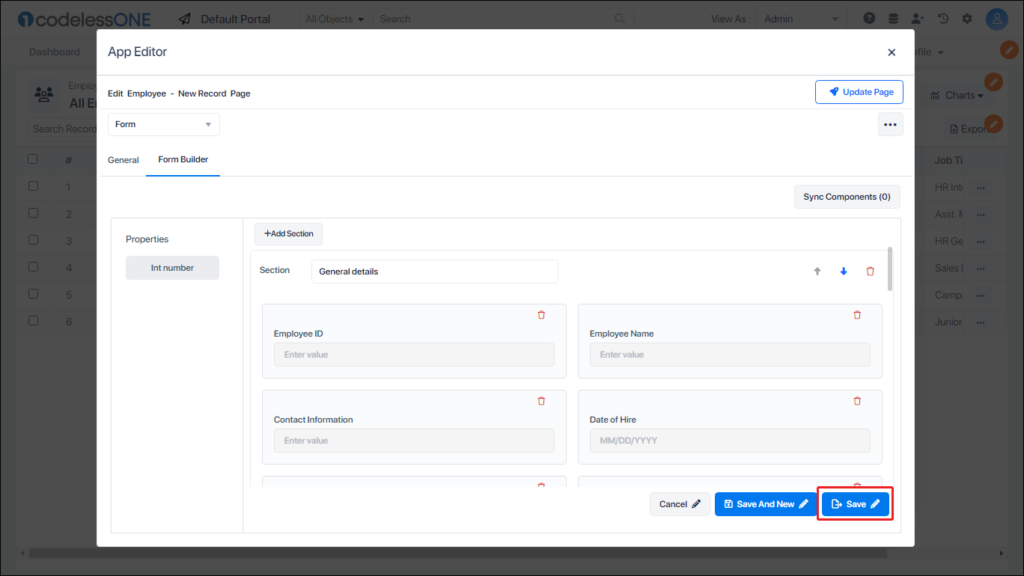
 The buttons can also be edited (labels + icons).

Other editing options

Step 9: Edit Button labels

Click on the desired button to edit it’s label and icon etc.

Click buton to edit

The button edit window is displayed.

Button edit window

Step 10: Edit button's label, Icon etc.

Edit the label of the selected button and then click the Select Icon dropdown.

Update label and icon

Select the desired icon.

Select desired Icon

Click the Save button to complete the selected button’s editing process.

Click Save button

The button updates (Label + Icon) become visible in the form.

Button updated

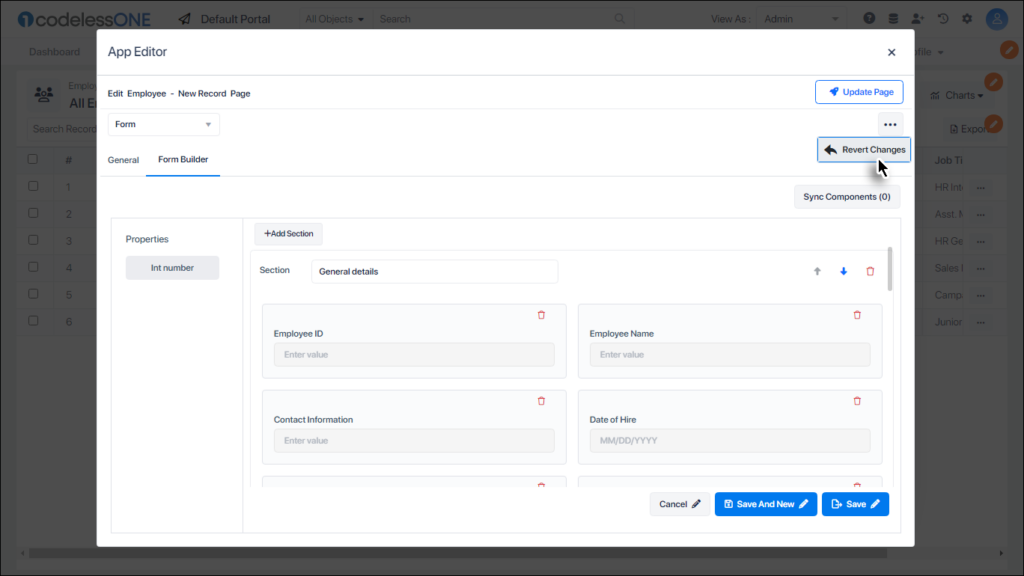
In case you want to go back to the original form, without saving any changes, then click the Ellipsis button  and select the Revert Changes option. This option, however, works only BEFORE saving the changes to the page. 
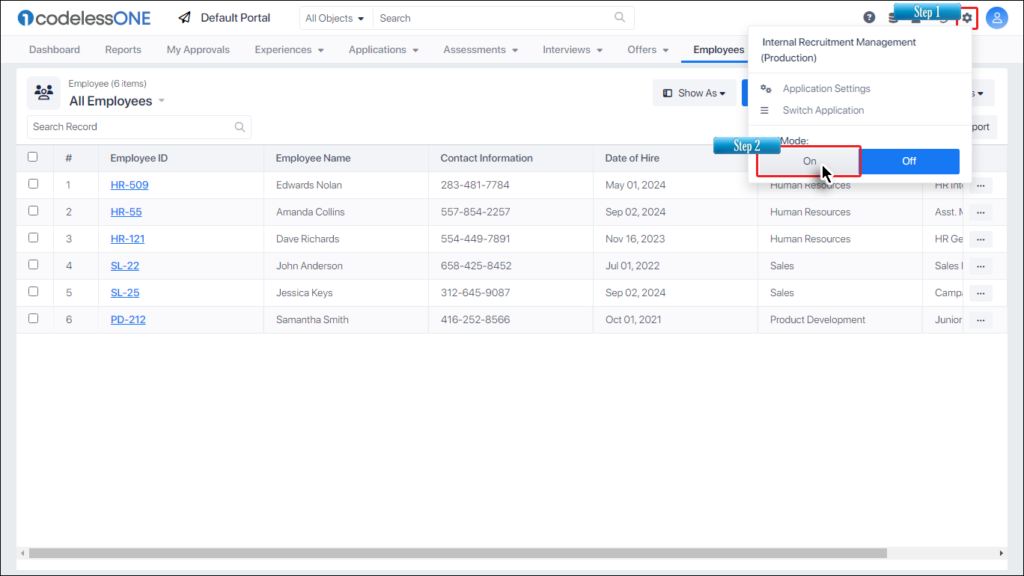
Revert Changes option

Step 11: Save the updates

Click the Update Page button at the top-right of the dialogue box to save all the updates done so far in the form.

Save changes

Step 12: Turn off the Inline Edit Mode

Click on the App Settings Icon Settings Icon and then select the Off button at the bottom right.

Turn Off Inline Edit mode

Step 13: Test the updates

Click the New button. 

Click New button

This is the form that we just updated. Scroll down to the bottom. The Joining details section displays updates reflecting all the changes made to the page. The Save button also shows an updated icon and label.

Form after updates