Create App using AI recommendations: A Step-by-Step Guide
Creating an app is the first and foremost thing a user does to be able to work on that app. The updated method to create an app gives the user more control over the configuration of the app, from the very beginning. Although AI puts forward its suggestions but as a user, YOU are the one who is at the helm of affairs.
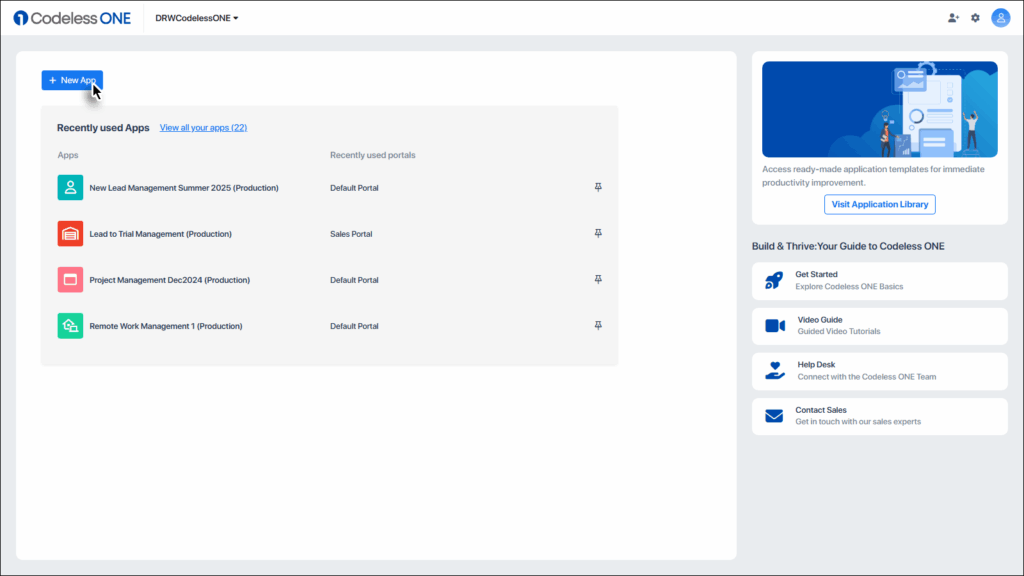
After signing up, you’ll go straight to your App Workspace. It’s the place where all your app creation happens. Ready to start? Just click on the big “+ New App” button.
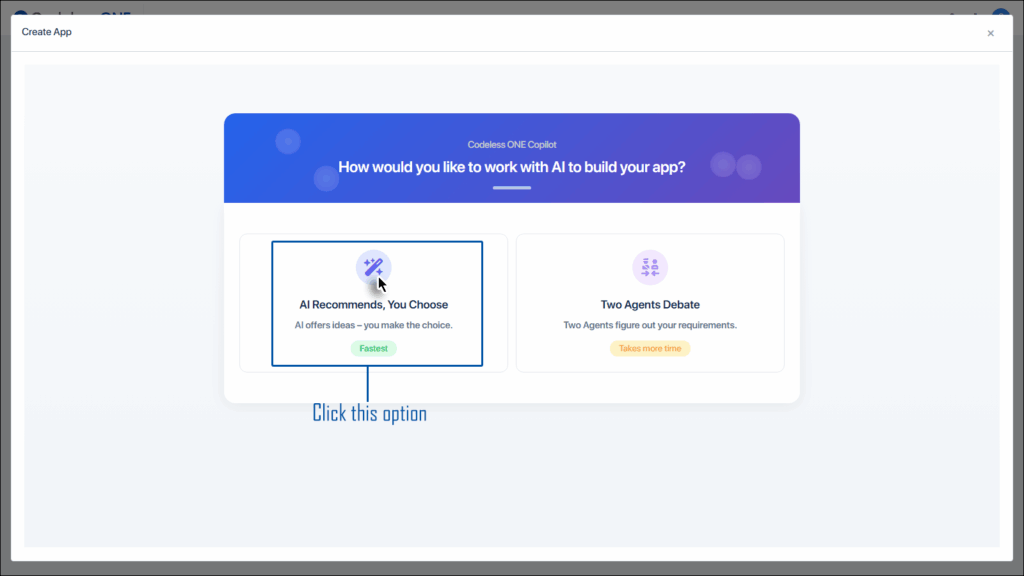
As soon as the app creation button is clicked, the user is presented with the choice to either create the app using AI recommendations or through Two Agents Debate.
This article elaborates the AI Recommends, You Choose option. So go on! Click that option.
This option leads to a 7-Step process to create the app.
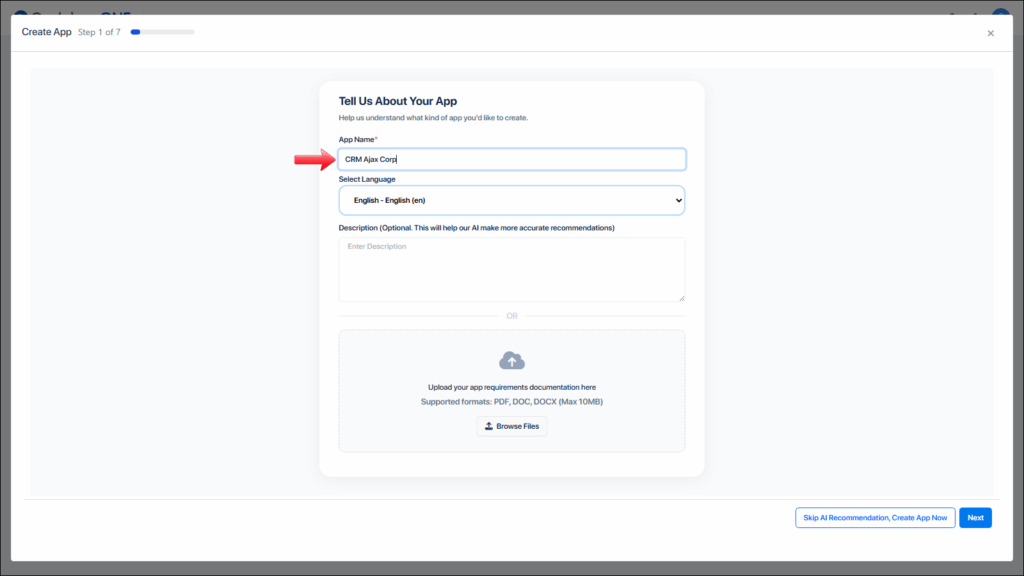
Step 1: Describe the app
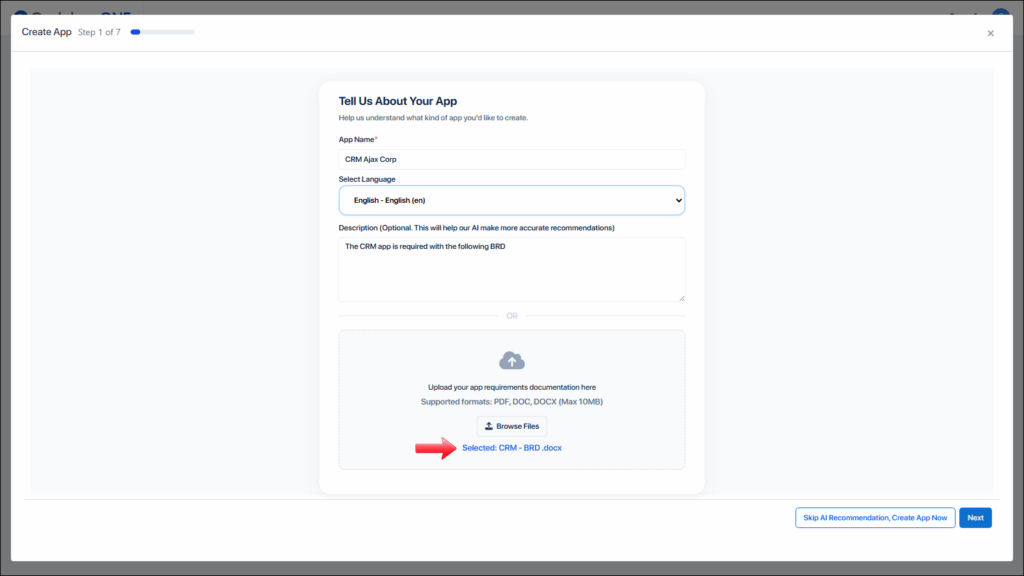
Start the step by providing a name to your app. This is of utmost importance that a proper name is given to the app. If no description is provided then the AI would use the name of the app to chart out all the details, therefore a proper name should be given.
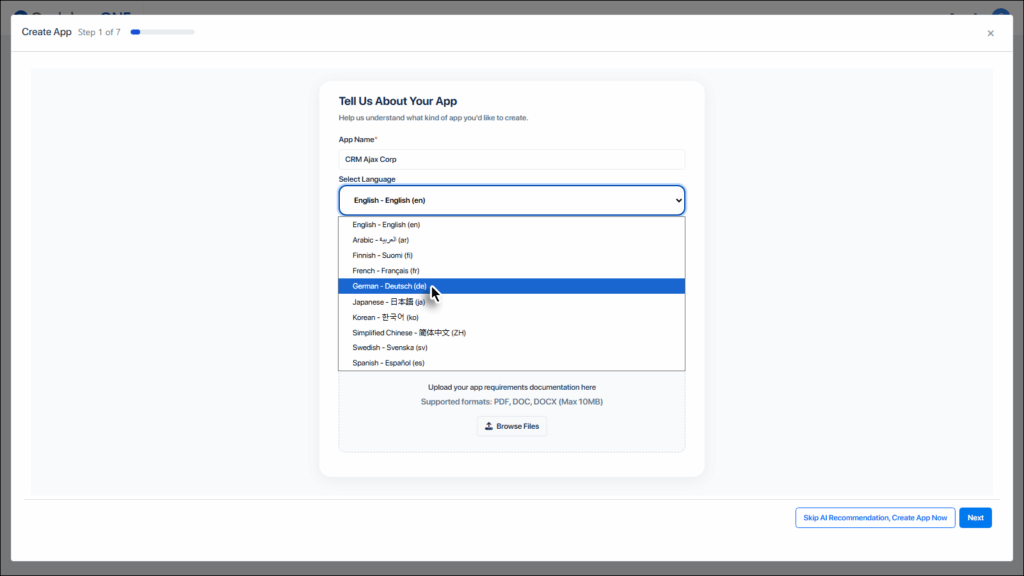
Select the desired language.
Provide the description of the app. This would help the AI to provide appropriate recommendations for the app.
Attach a requirements document if available.
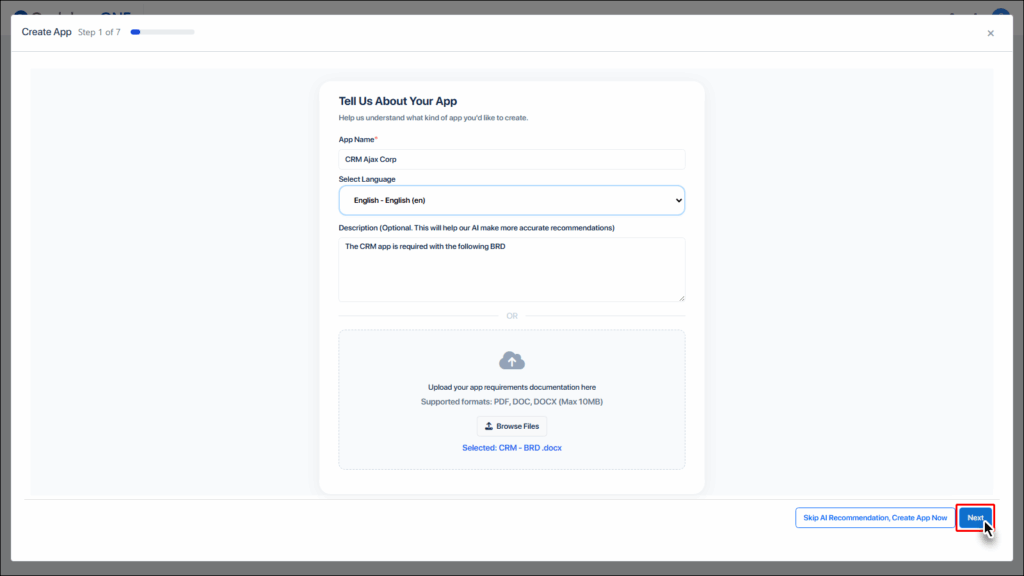
Click the Next button.
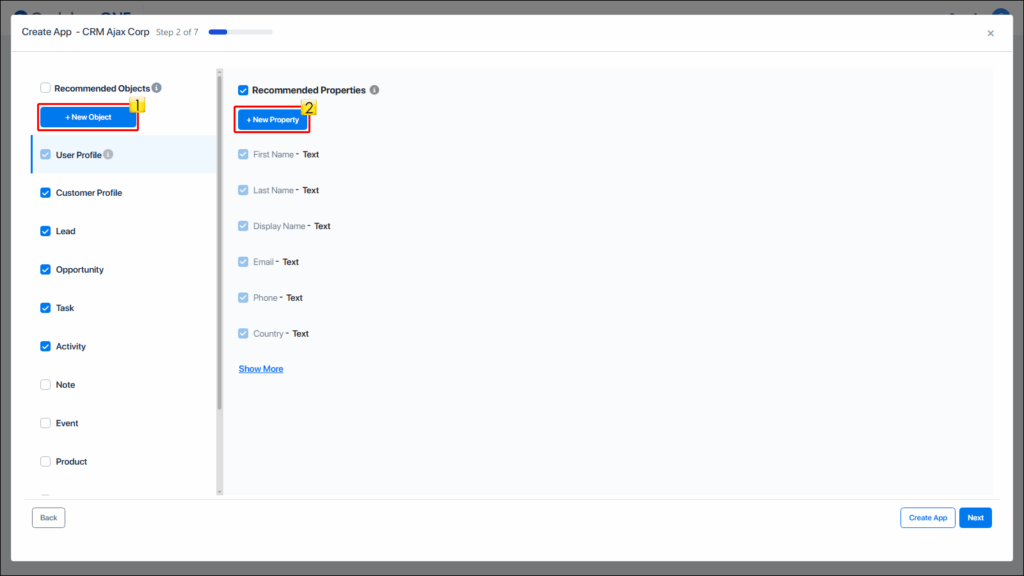
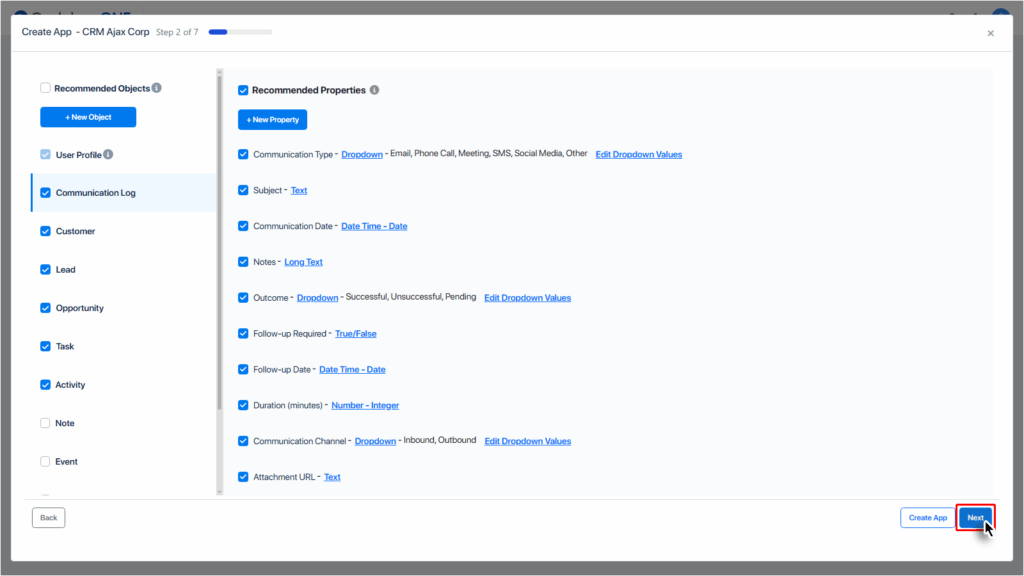
Step 2: Configure the objects and their properties
The second step is THE most important step in the overall app creation process. Based on the information provided in the previous step, AI suggests objects and their properties. Previously users can only add objects (and their properties) from the list that AI suggested, however, with the newly updated process, Users can add objects and their properties as they desire, using the buttons heighted in the image.
If a new object is added it comes with all the relevant properties.
Note: Like addition, users can also remove the objects/properties from the app by disabling the relevant checkboxes.
Click the Next button to proceed.
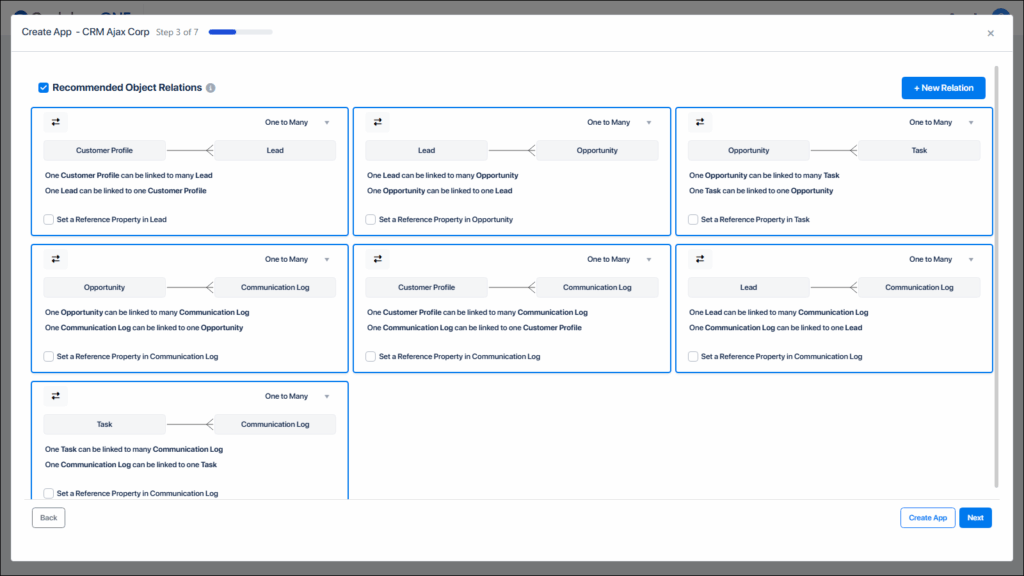
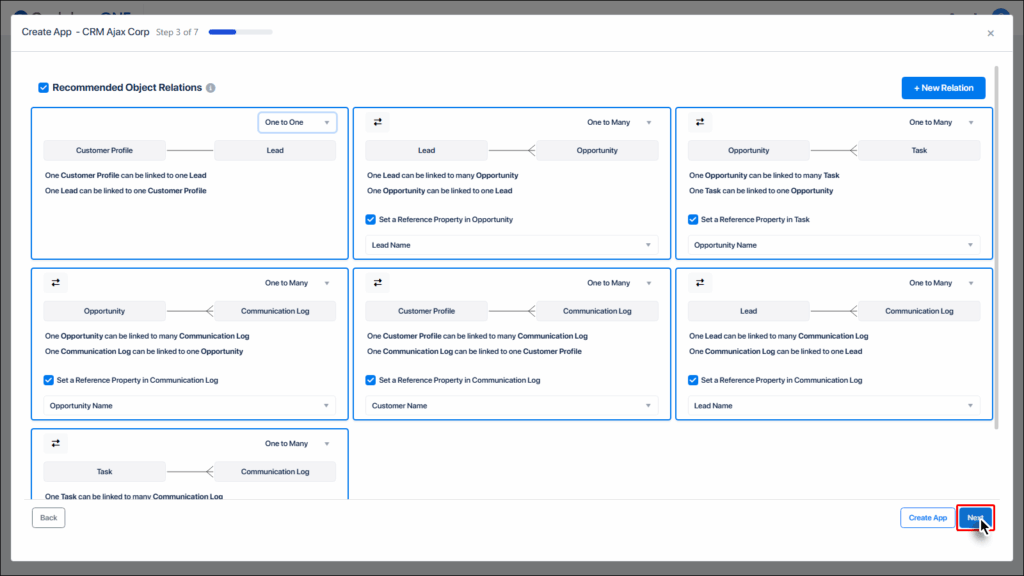
Step 3: Configure relations between objects
Now it’s time to manage the relationships between objects.
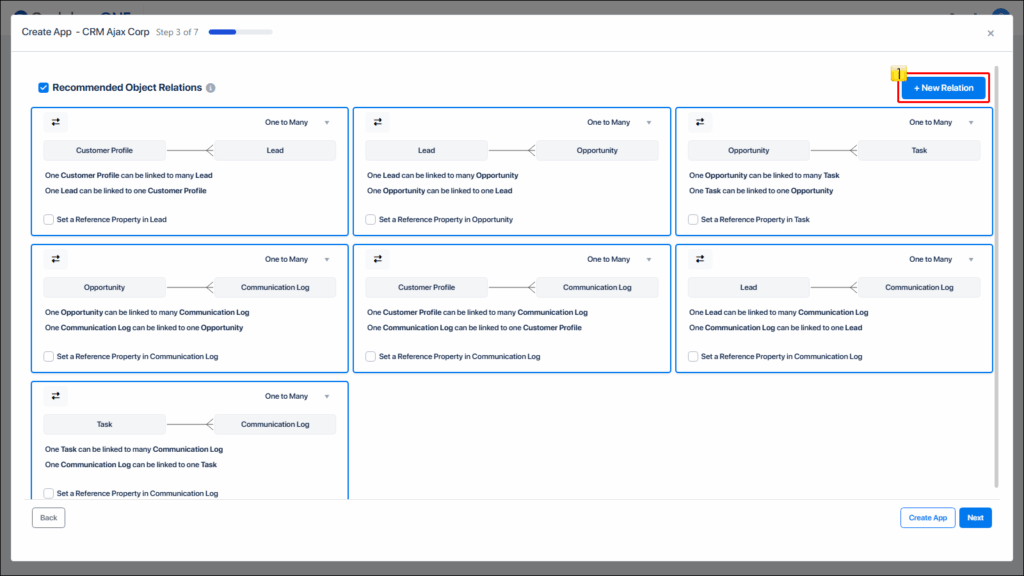
Previously, users could not add relations themselves but now you as a user can add the relations of your choice if AI hasn’t recommended it. You need to click the + Add Relation button to initiate the process.
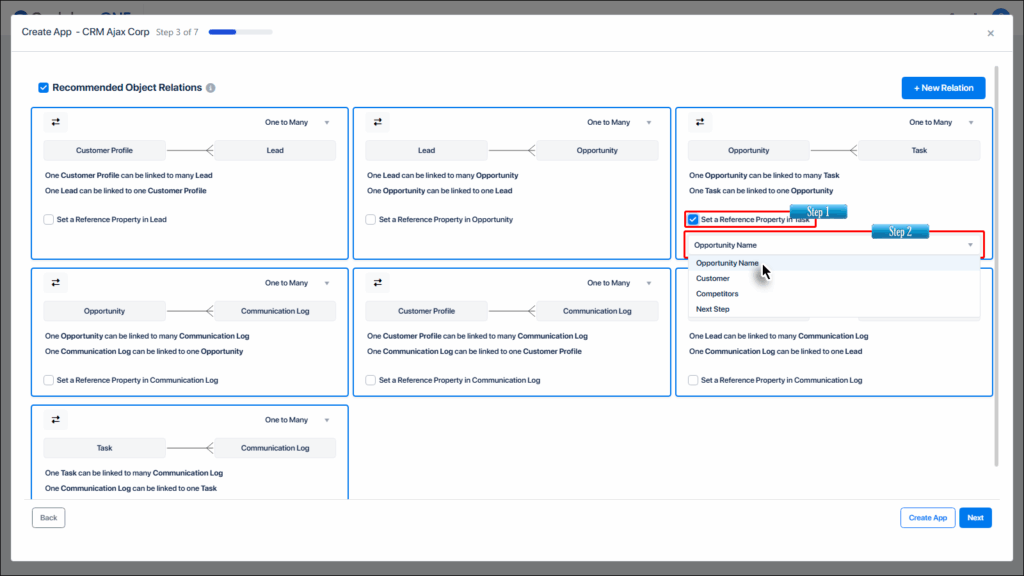
For the related objects You can also set a reference property of one object to be included in the other related object. Enable the reference property checkbox and select the desired property.
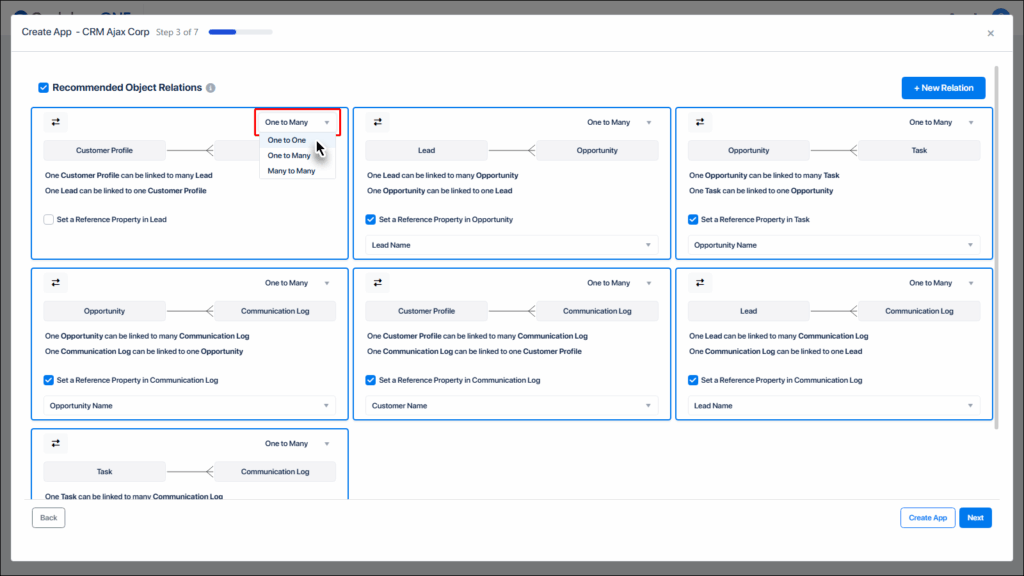
You can also set desired Cardinality between two objects.
When relations are as per your requirements, click the Next button to proceed.
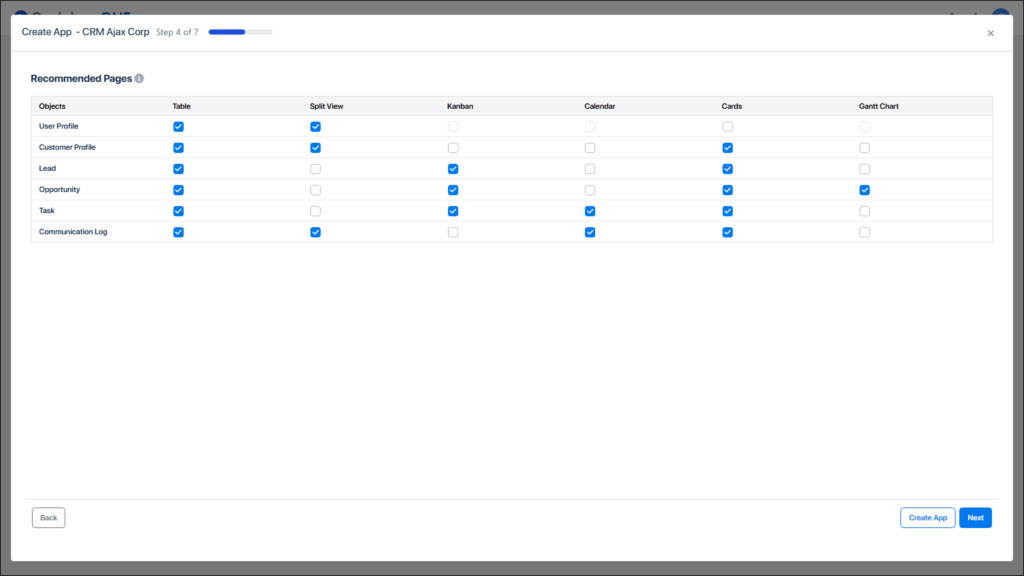
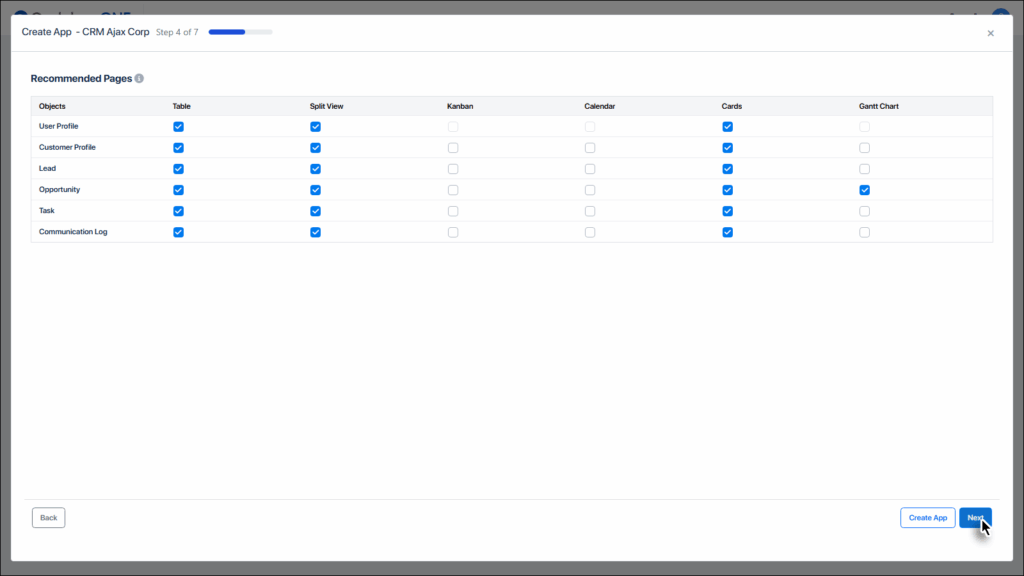
Step 4: Configure pages/views
The next page is about object views. An object in Codeless One can be seen in many views, depending upon which view is enabled/supported. During App creation, users are asked to select the desired views for relevant objects. If users do not select the desired view for the relevant object, the corresponding view option does not appear in the Show As menu.
Select/unselect the relevant pages against each object and then click the Next button.
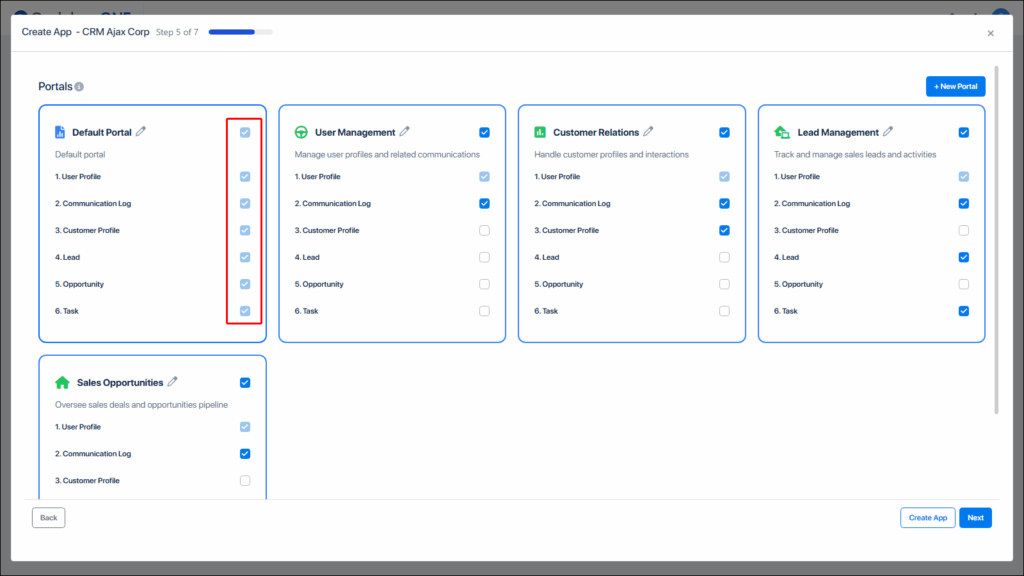
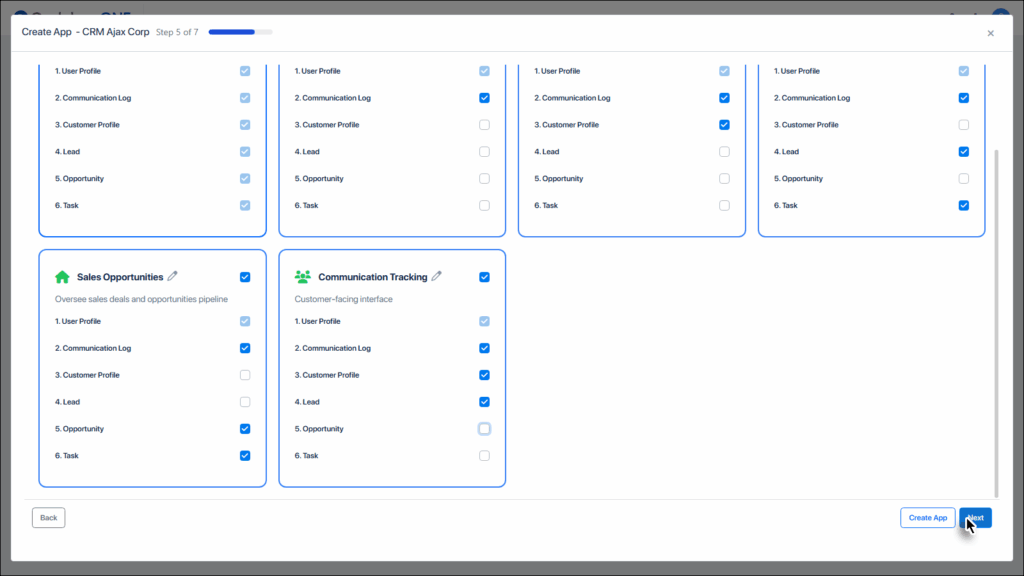
Step 5: Configure portals
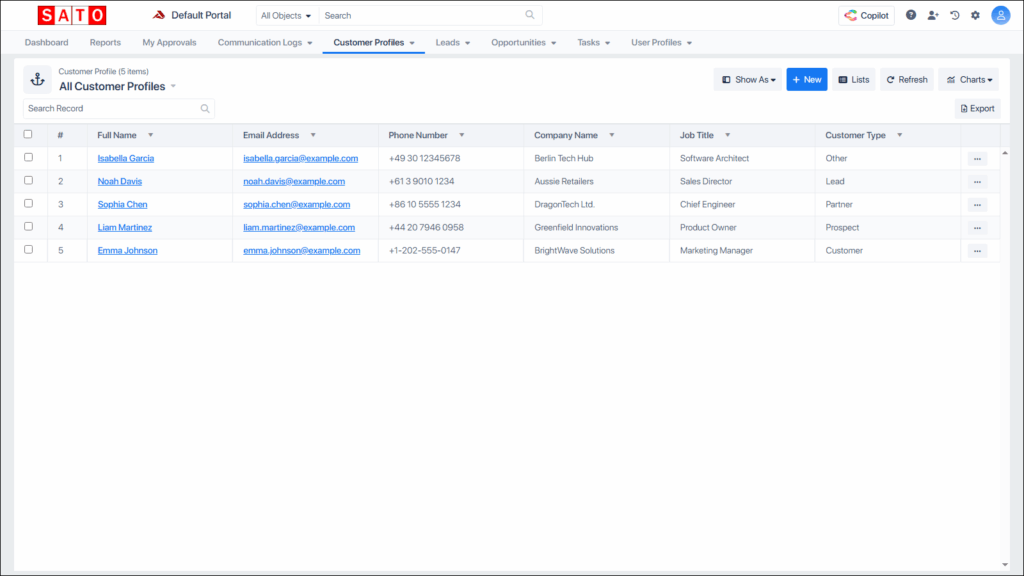
Step 5 deals with the portals in your application. In Codeless ONE, portals help control which objects of the app different users can access.
For example, in a fitness center management app:
The finance team will mostly need access to the “Dues” object but won’t care much about “Workout Routines.”
A nutritionist, on the other hand, will mainly use the “Diet Plans” object and won’t really need to see “Dues.”
Portals make sure everyone only sees what they need. The Default portal as the name suggests is created by default with every app, and it can’t be removed. Other portals can be added or removed or configured to include/remove the relevant objects.
After configuring the portals, click the Next Button.
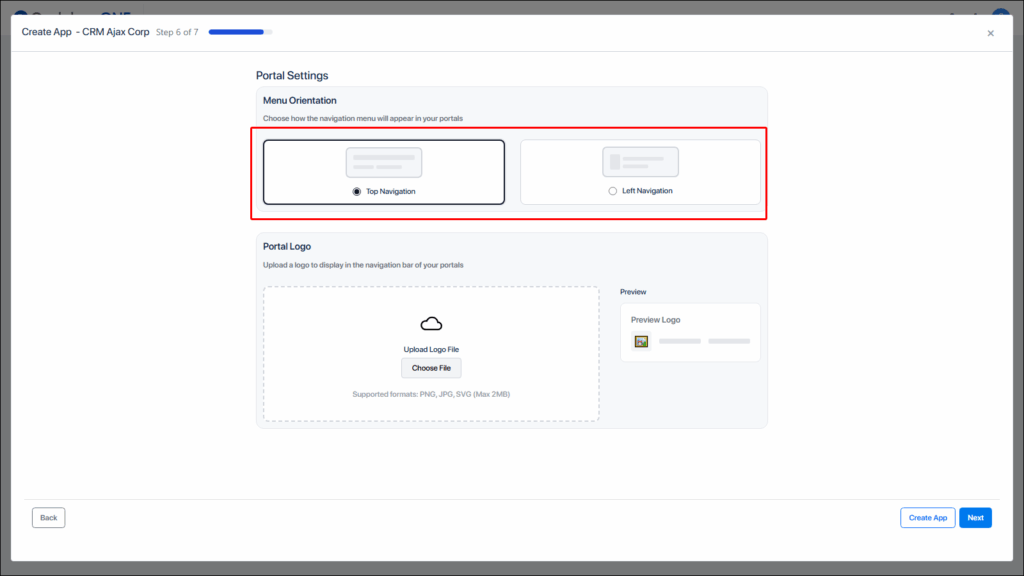
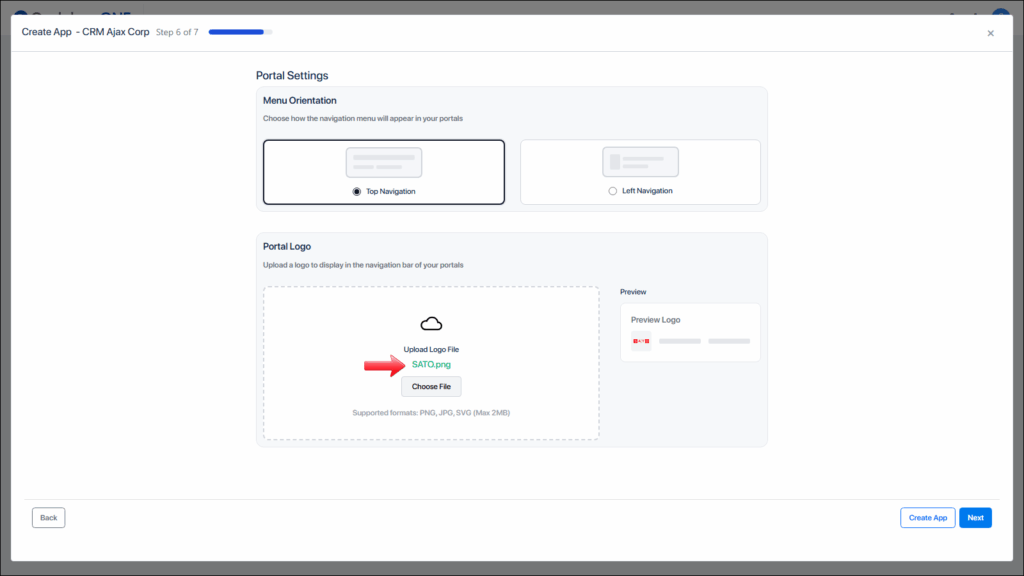
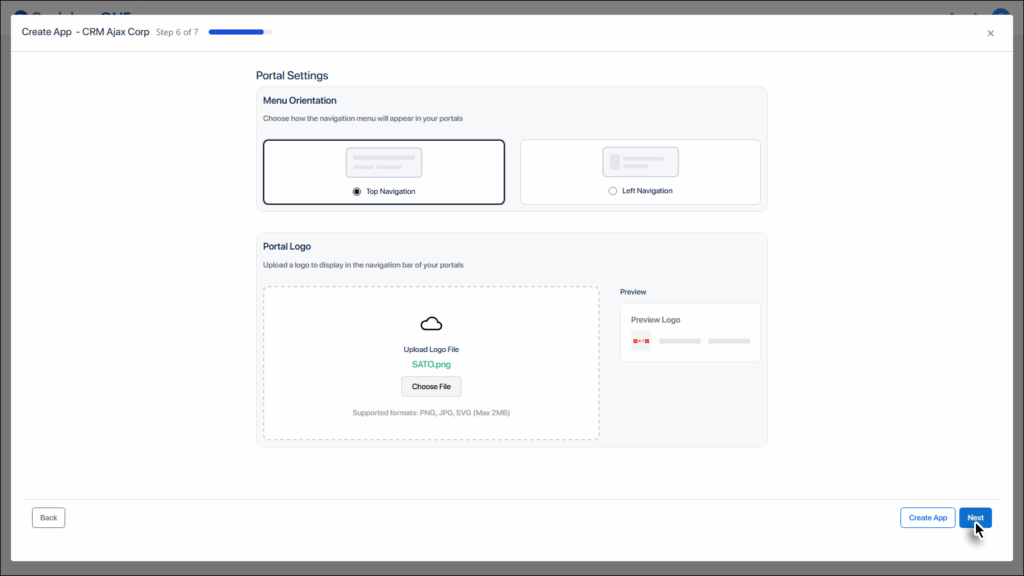
Step 6: Set UI/UX
In this step you can set if the menu comes at the top or at the left.
If you want to display your own logo in place of the Codeless ONE logo, you can provide the image file in this step.
After configuring the UI, click the Next Button.
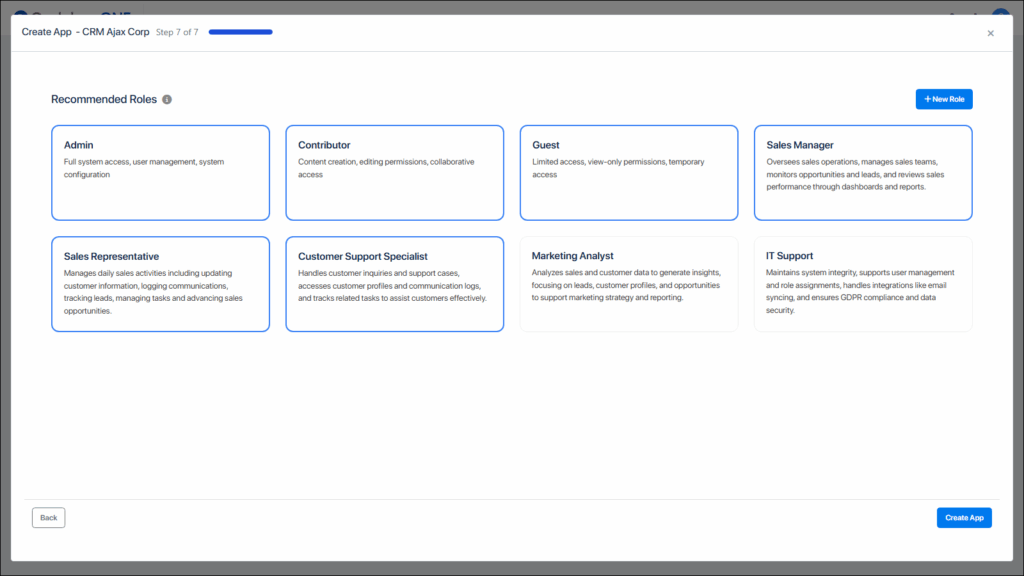
Step 7: Adding/removing roles
This step involves adding or removing roles in the app. The following three roles are obligatory hence can’t be removed.
Admin
Contributor
Guest
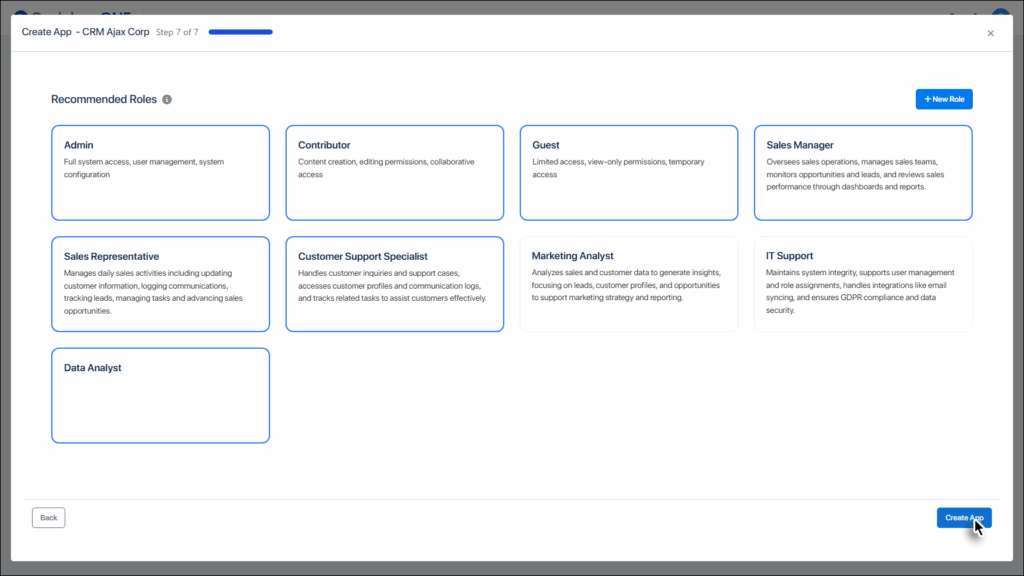
Other roles can be removed by clicking on the role name to deactivate it. New roles could be added by clicking the + New Role button.
When you are ready to proceed further, click the Create App button.
Click the Quick AI Setup button.
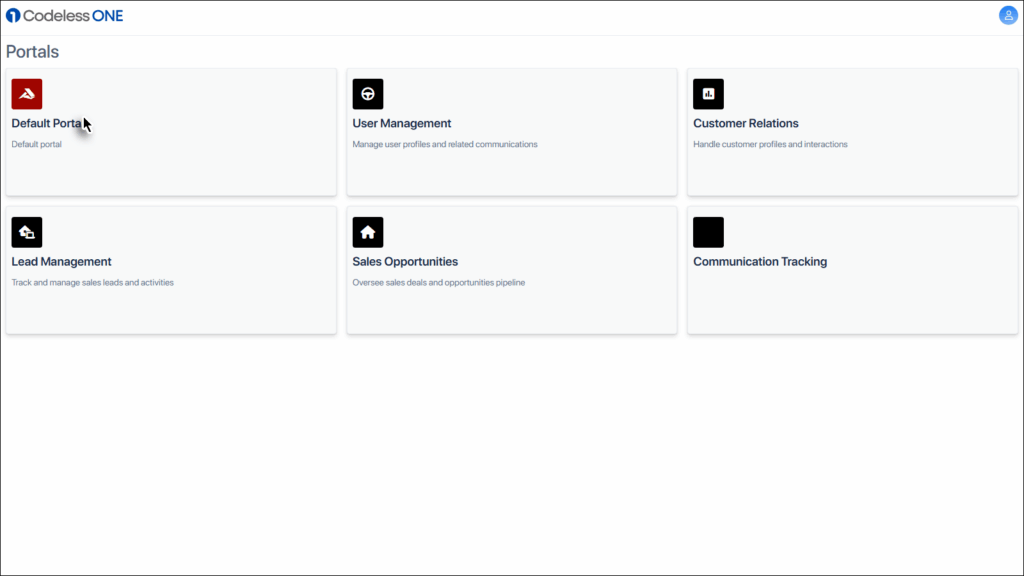
The app is created, and you land on the portals page. Select the relevant portal by clicking on it.
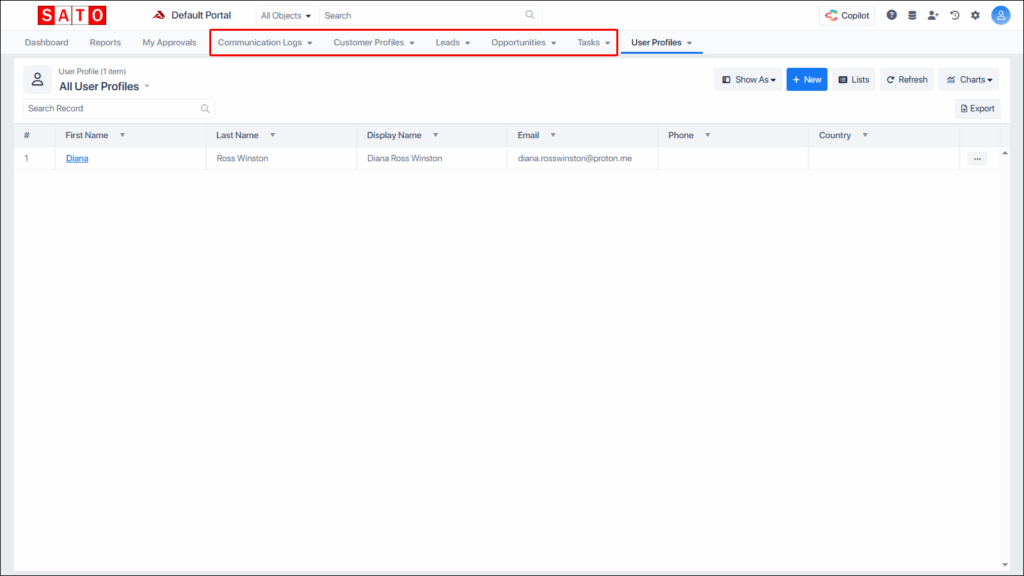
The selected portal is displayed, with all the constituting objects included.