Creating and Customizing Portals for Enhanced User Access
Portals play an important role in accessing relevant data. While there may be a ton of data available, not everyone needs that. In fact, the access to data should be on a need-to-know basis. Using portals, we can customize who can access what data. The following steps elaborate how we can create a new portal and then how can we customize it.
Step 1: Opening the desired application
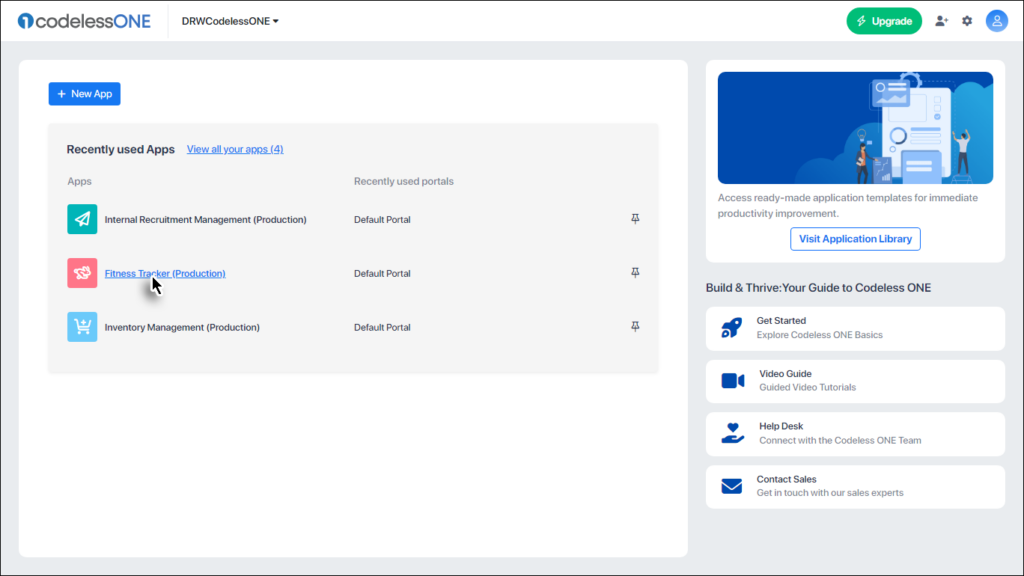
The portals are different faces of the same application, hence they are controlled from that application. For all portal-related operations to be performed, first we need to open the appropriate application. On the App Workspace, click the link of the desired application.
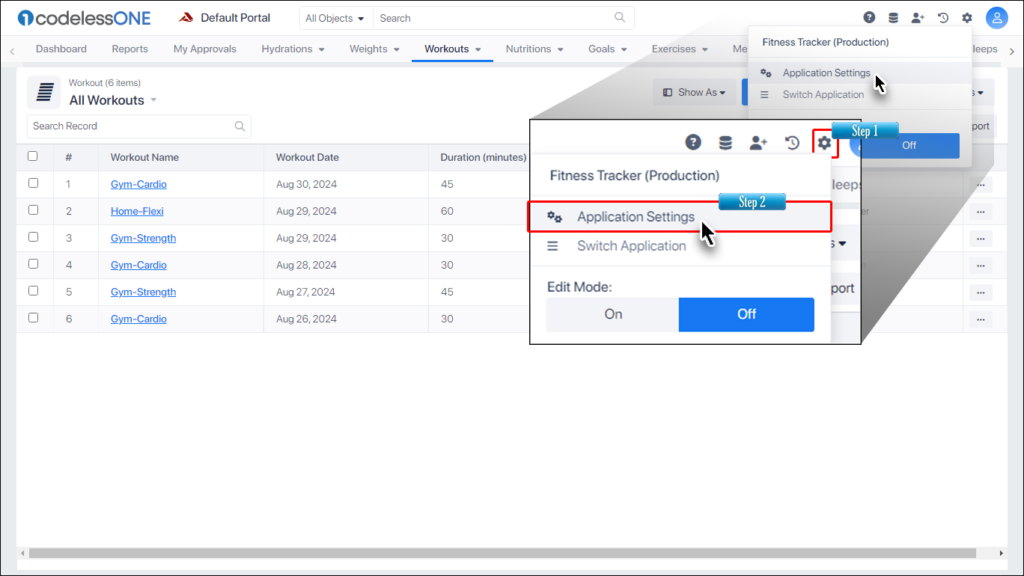
Step 2: Access the Application Settings
Click the Settings icon , and then select the Application Settings option.
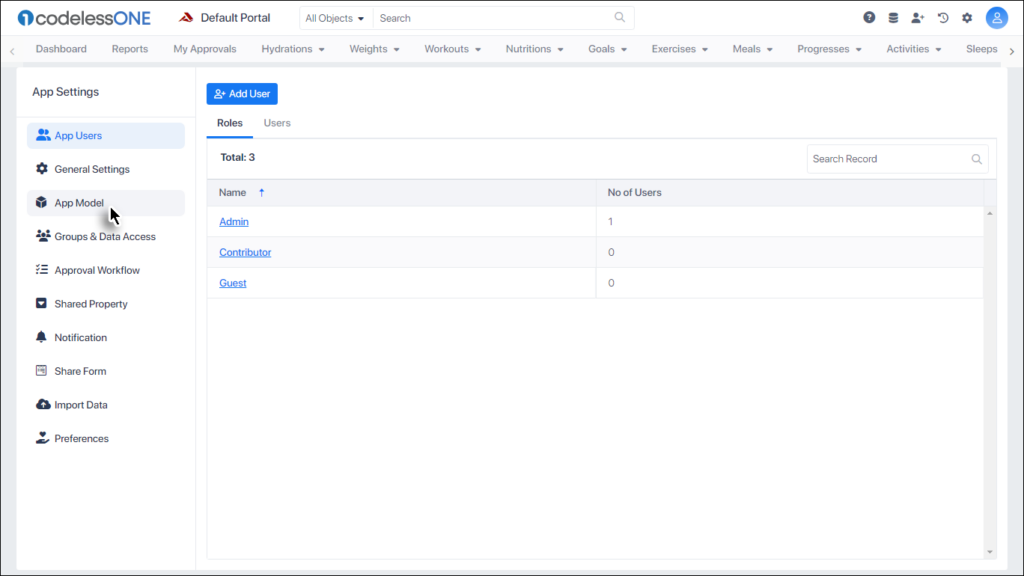
Step 3: Go to the App Model
In the Application Settings page, click the App Model option in the left-hand menu, to open the App Model.
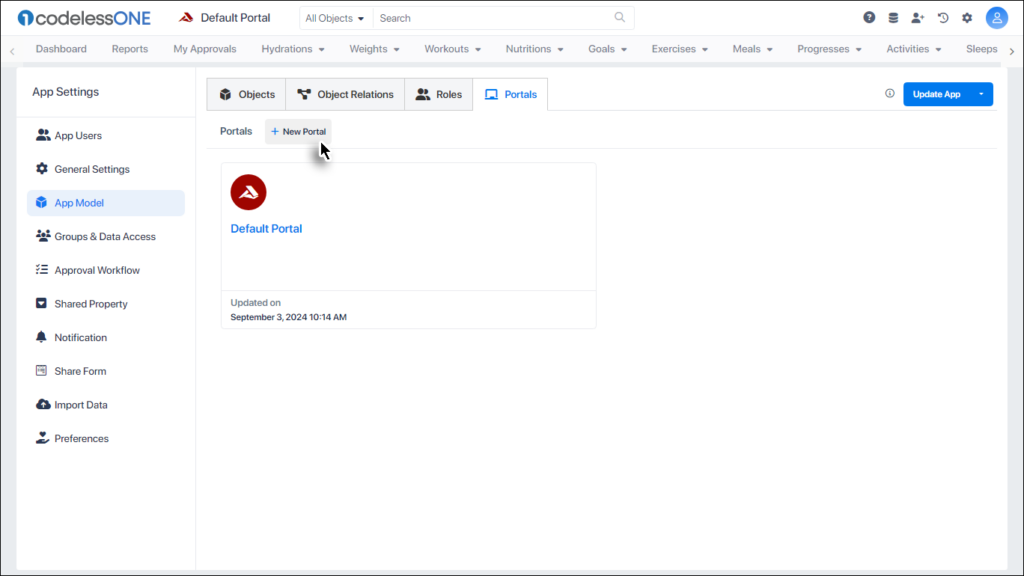
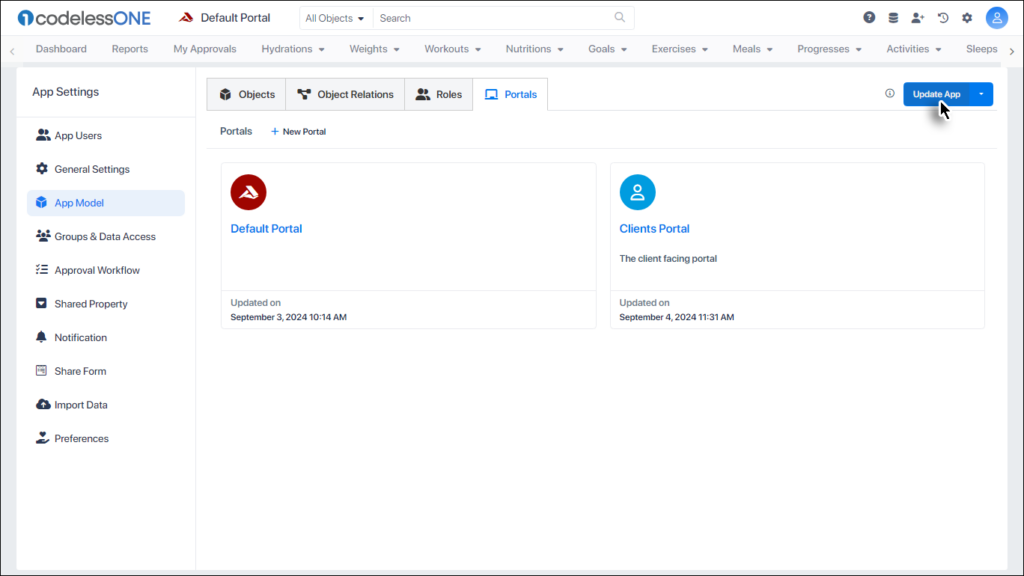
Step 4: Select the Portals tab
Click on the Portals tab.
Step 5: Create a new portal
The Portal section is opened. Users can create new portals, delete existing ones, and customize the selected portal from here.
Start by clicking the + New Portal button.
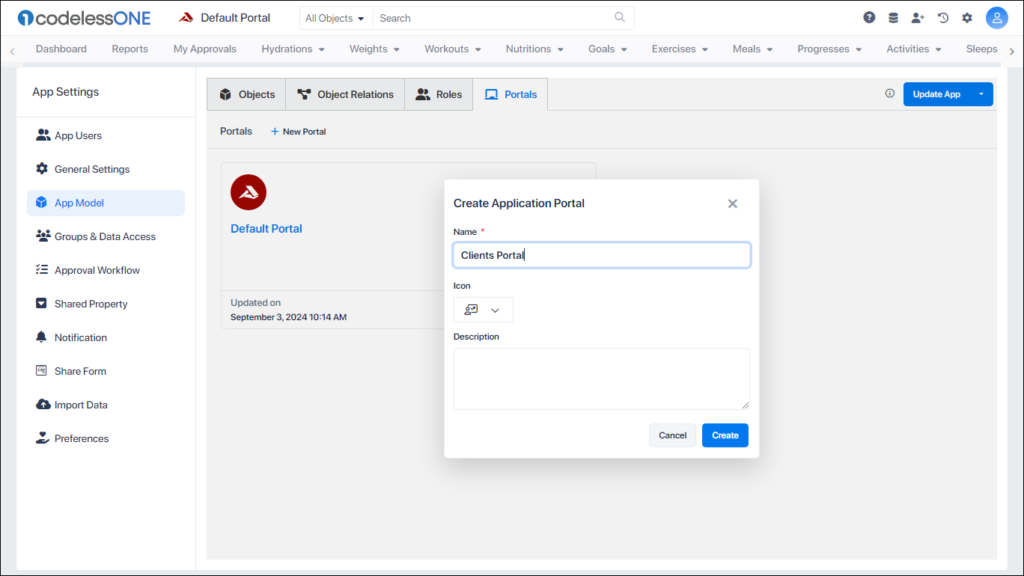
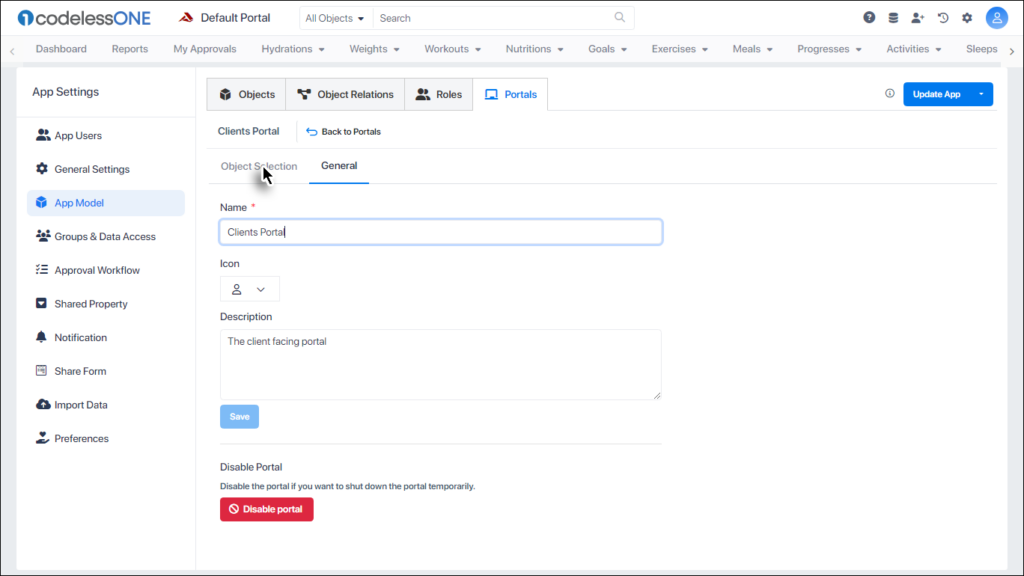
Step 6: Give a name to the new portal
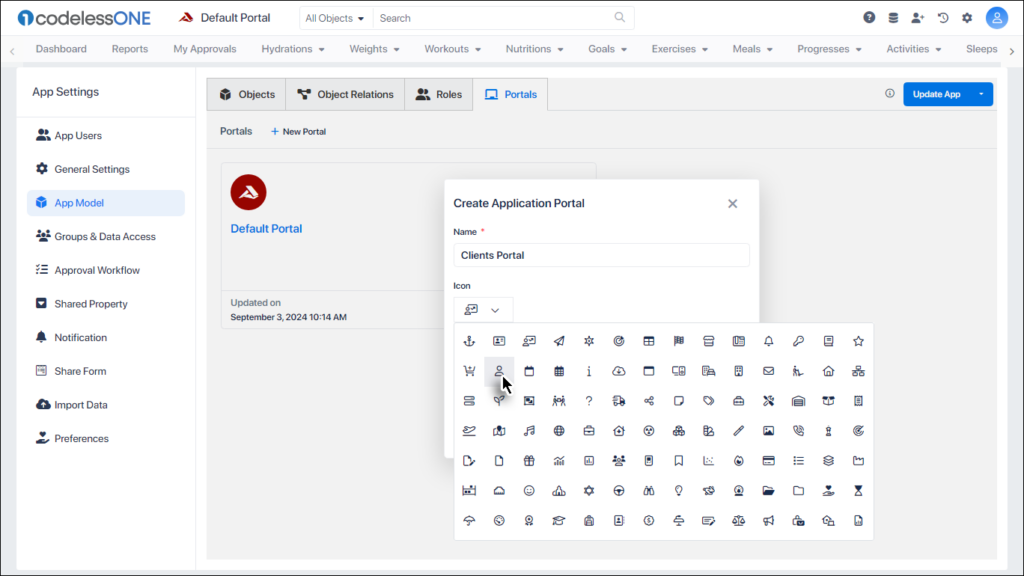
Step 7: Select a suitable icon for the portal
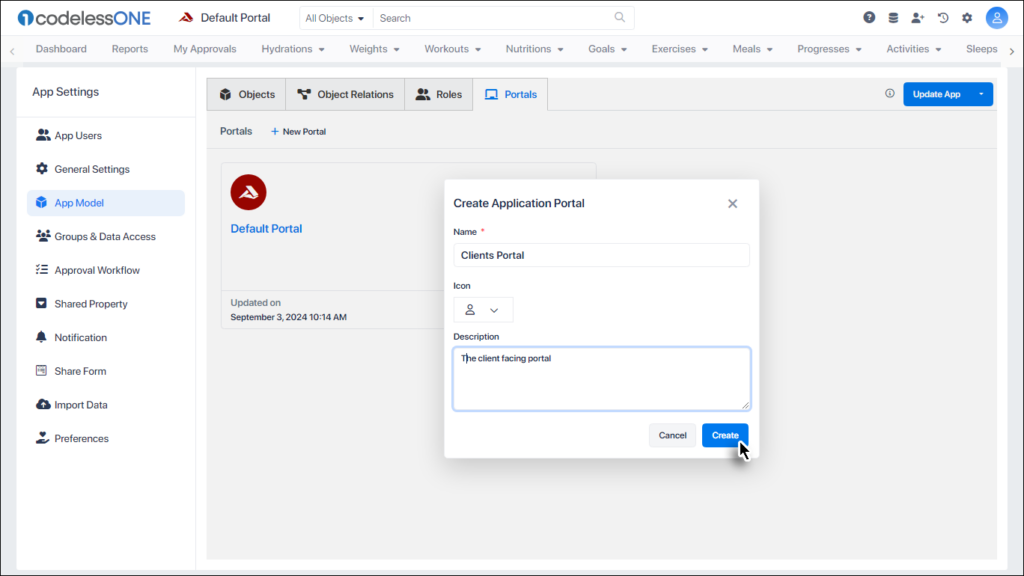
Step 8: Describe and create the portal
Give a description to the portal being created, and then click the Create button.
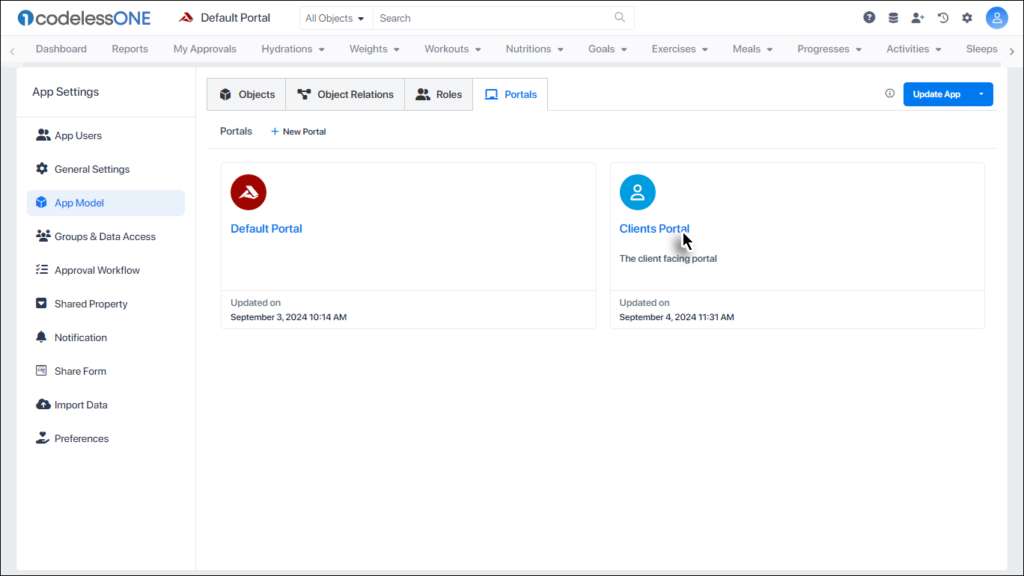
This creates the desired portal. However, it currently is just like the default portal. In order to make and act it as a different portal, we need to customize it.
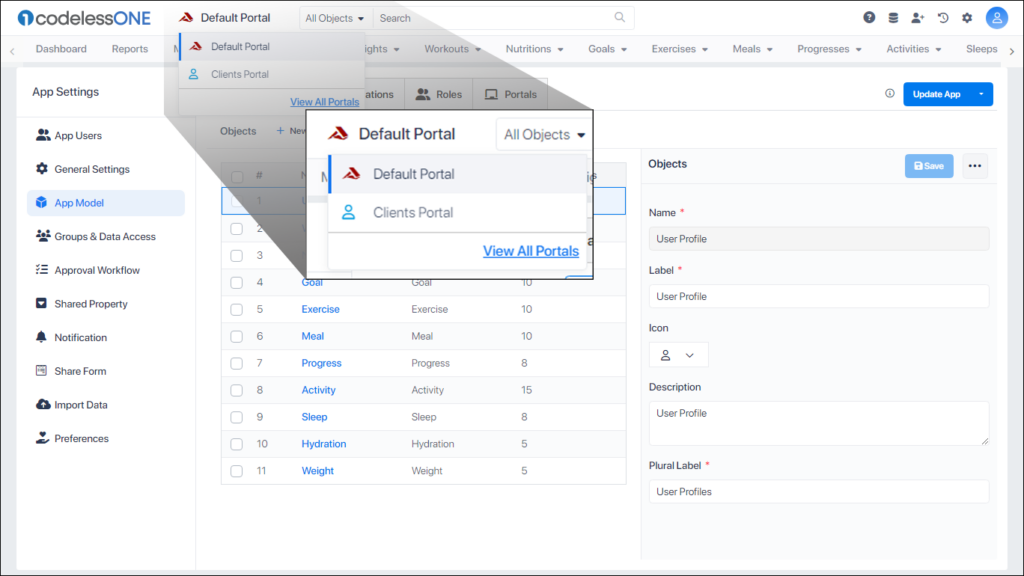
Step 9: Select the new portal
Select the desired portal by clicking on it, from the list. In our case, it would be the newly created portal.
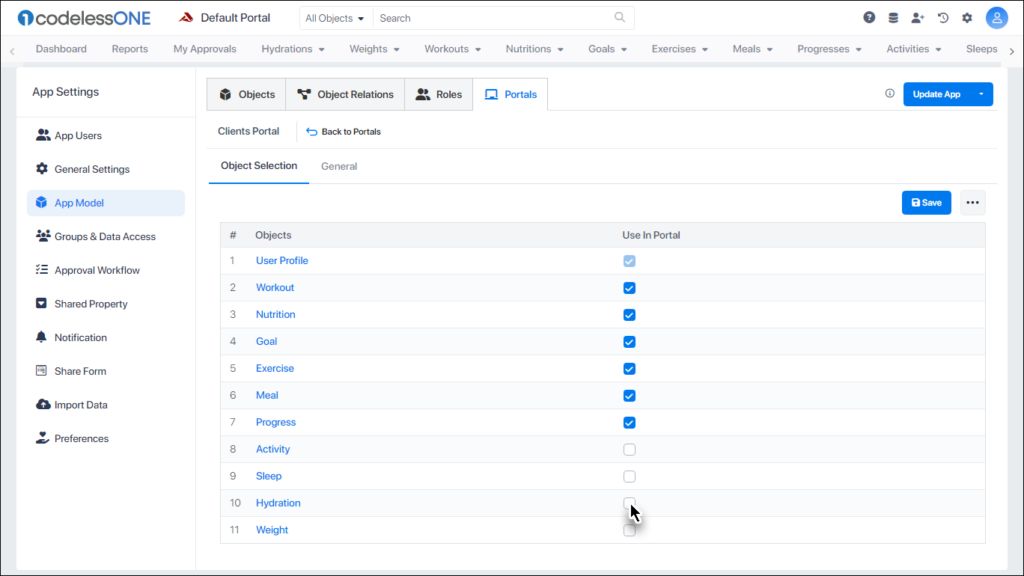
Step 10: Click the Object Selection link
To customize the portal, click on Object Selection link.
Step 11: Customize the portal as required
As discussed earlier, a portal serves as a gateway to data, tailored to specific requirements. Initially, all the Objects would be selected for a newly created portal. Un-check the unwanted objects for the current portal. These can later be re-introduced to the portal if desired.
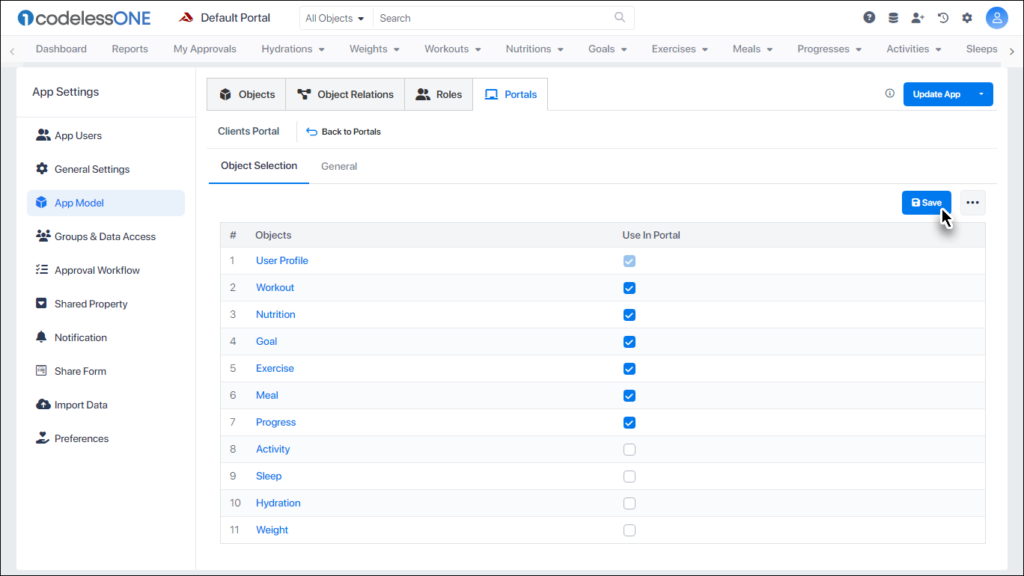
Step 12: Save the changes
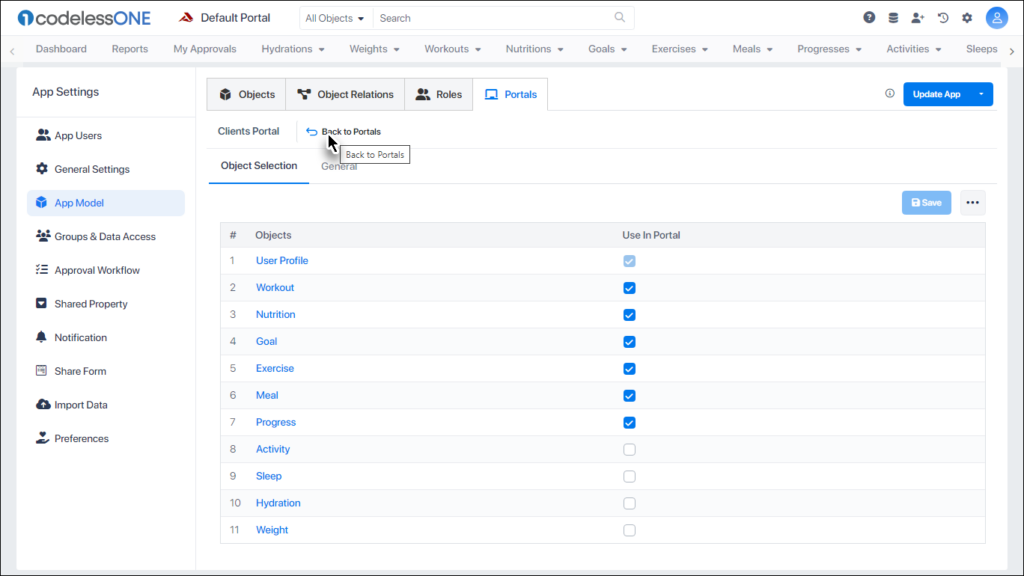
Step 13: Go back to the portals list
Step 14: Update the app
Although we have saved the changes to the portal, however, these changes won’t reflect until the app is updated. Click on the Update App button to do it.
The users can now access the desired portal through the portals section at top left side of the page.