Adding and Customizing State Properties in Your Application
Enhancing your application with state properties allows for a clearer representation of progress or stages, such as tracking the status of a lead, opportunity, or any other applicable scenario.
This guide walks you through the steps of adding a State property to your application, using ” Lead Status” as an example, and customizing it with color coding for better visual management.
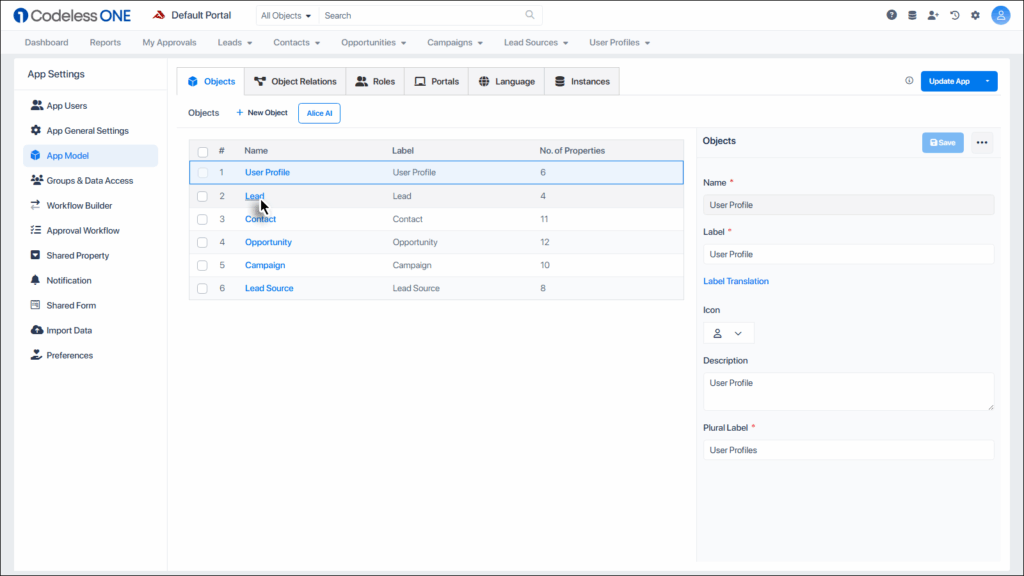
Start by selecting the object (e.g., Lead, Opportunity) you wish to augment with a new state property.
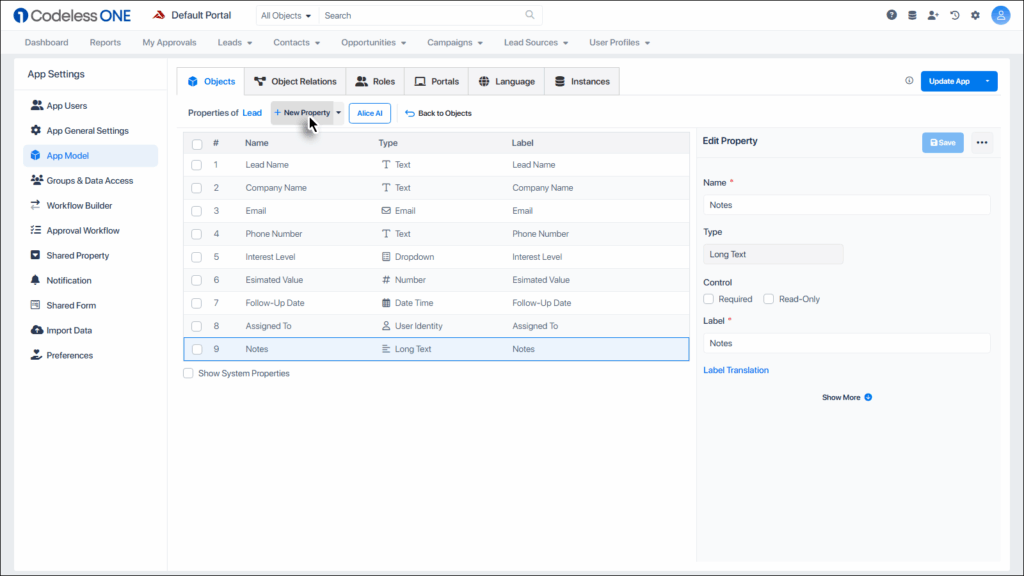
Initiate Property Addition
Click the “+ New Property” button to begin the process.
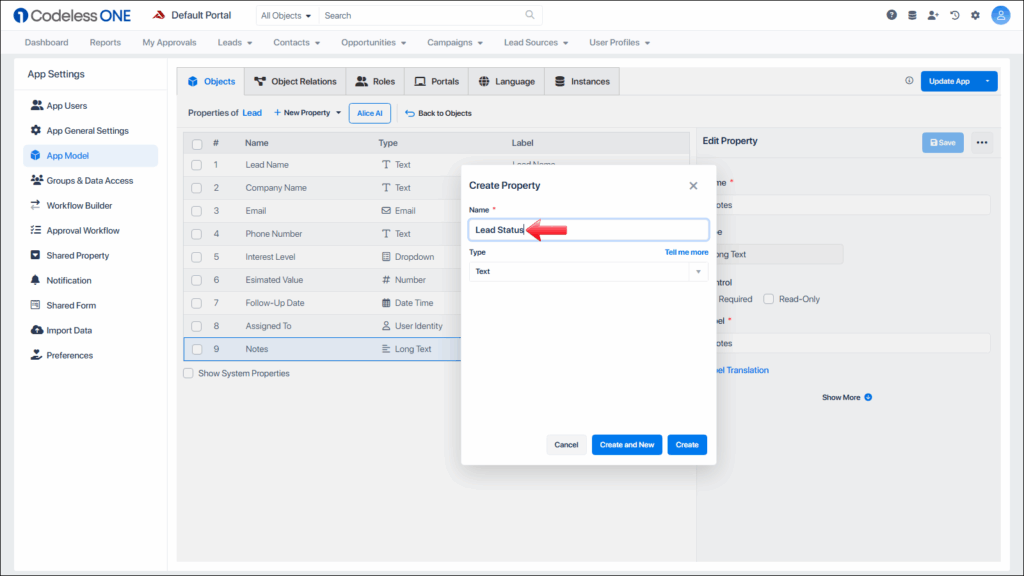
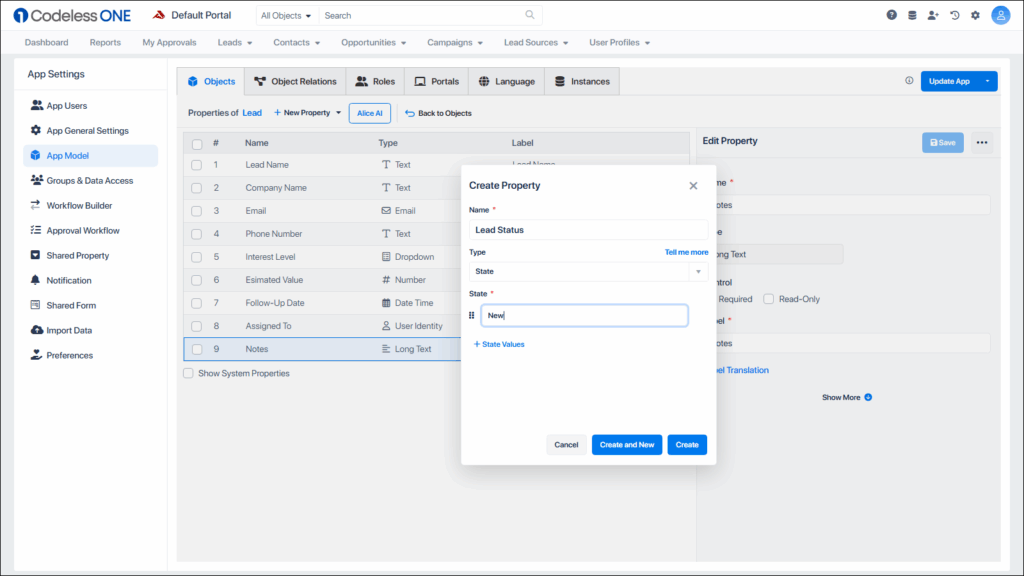
Name Your Property
In the provided form, enter a name for your new property.
For this example, we’ll use “Lead Status”
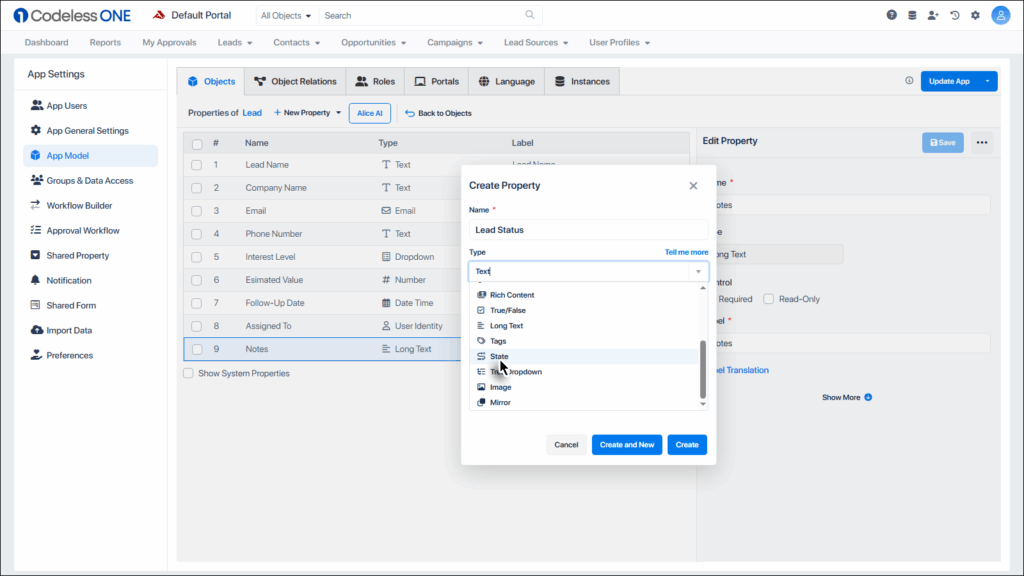
Choose the Property Type
Expand the property type selection by clicking the dropdown arrow and choose “State” from the list
Enter State Values
After selecting the State option, input your first state value, such as ” New,” into the text field that appears.
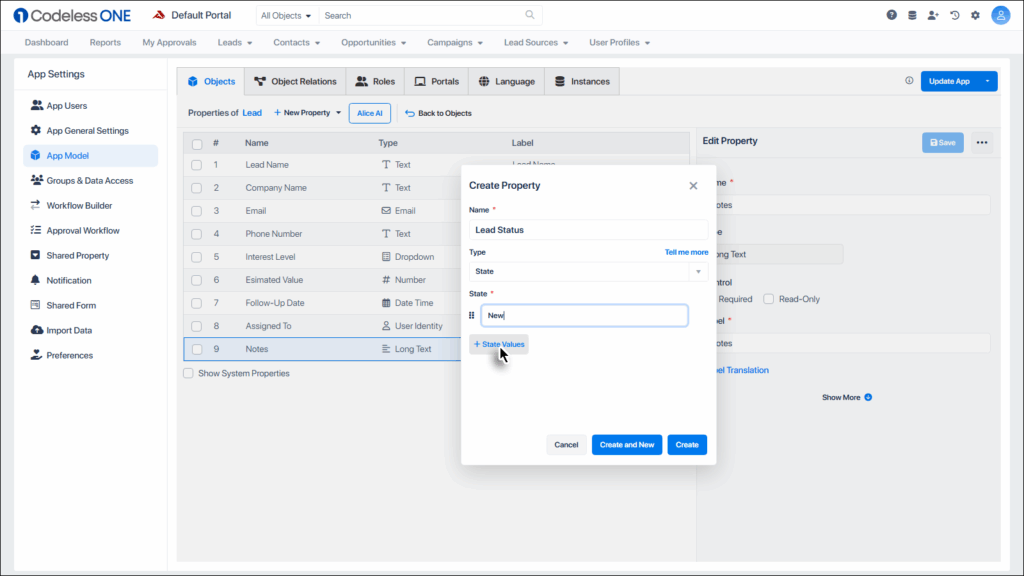
Add More States
Use the “+ state values” button to add additional state values as needed for your property.
After adding all the desired values, click the Create button.
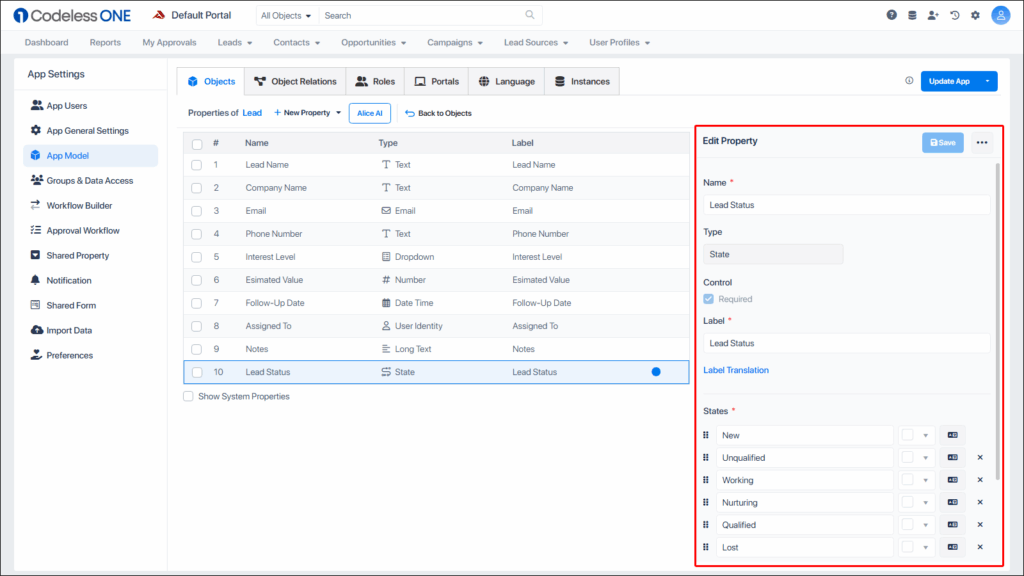
The property is created.
Note: Only one state type property can be created per object.
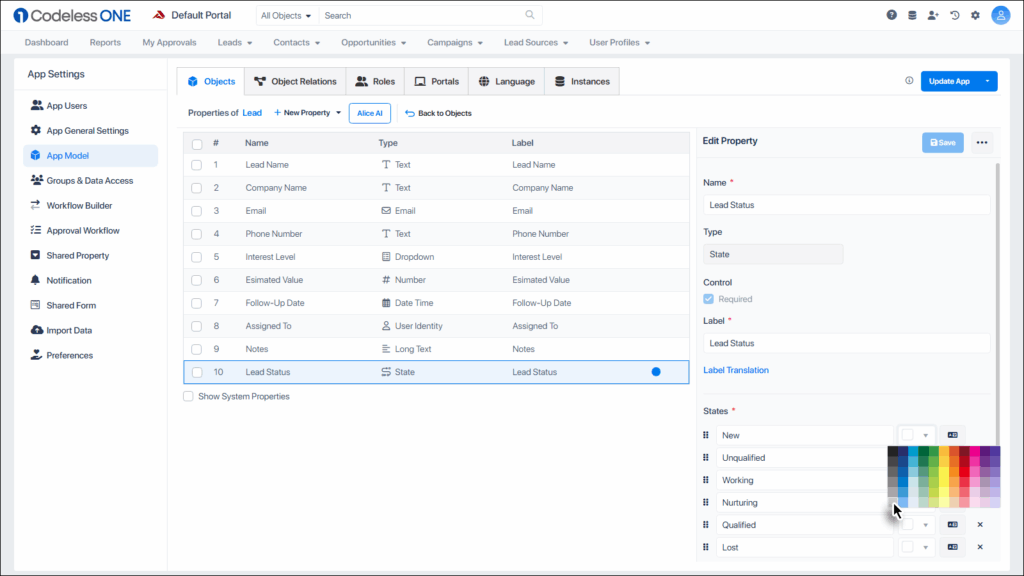
Customize with Colors
Once the property is created, navigate to the Edit property section on the left side to assign colors to each state value for visual differentiation.
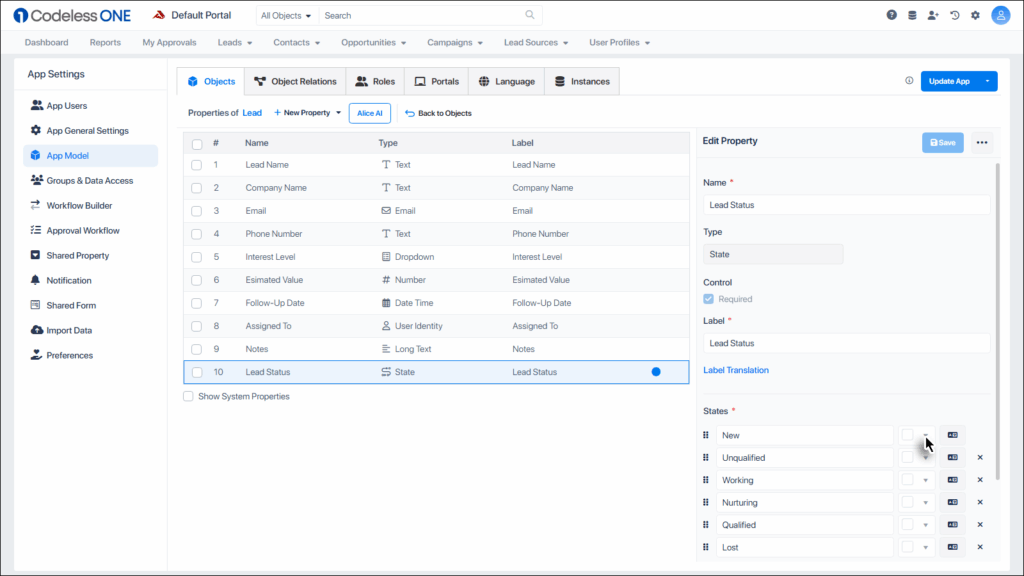
Click the dropdown arrow next to a state value to access the color options.
Choose the desired color for the state value.
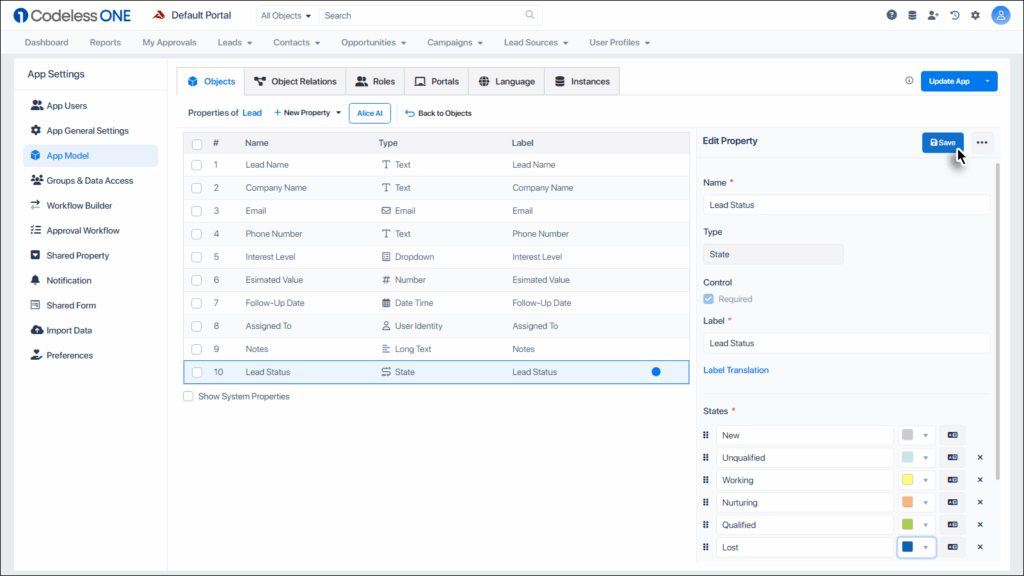
Repeat the process for each state value.
Save Your Changes
After selecting colors for each state value, click the “Save” button to apply your customizations.
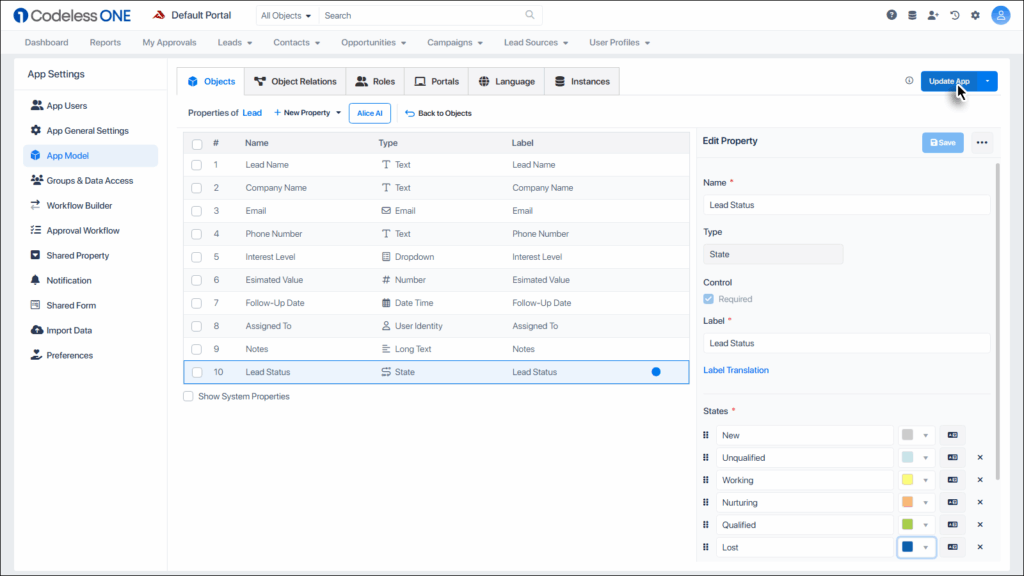
Update Your Application
To implement the new property, click the “Update App” button.
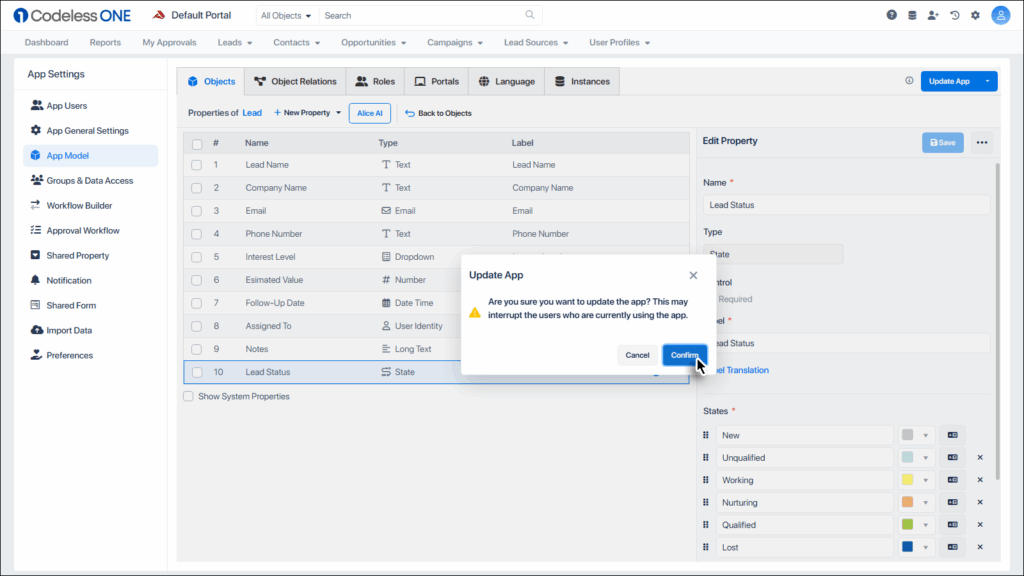
Complete the process by clicking the Confirm button.
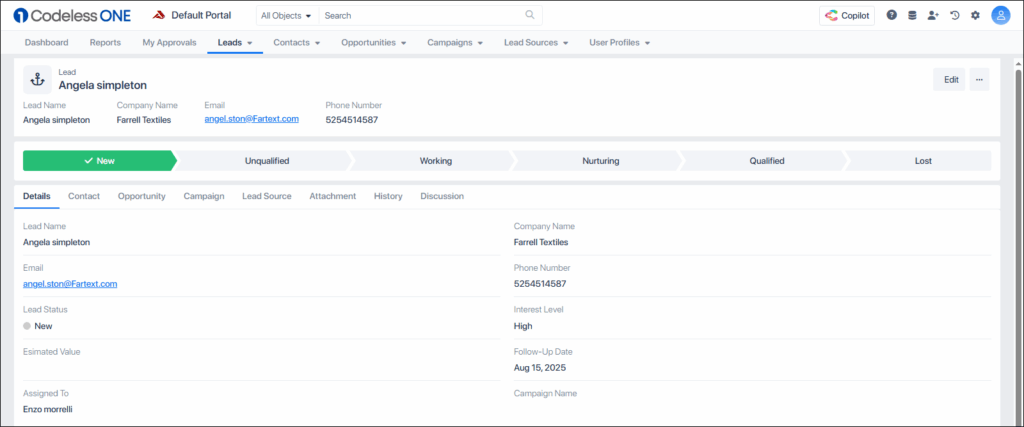
Implementation
By default, the state property type is displayed as a progress bar on the detailed page of a record.
This allows for dynamic tracking of each record’s progression through different stages.
Incorporating a State property into your application not only enhances data organization but also provides a visual representation of progression through various stages, such as Lead Status.
By following these steps, you can effectively add and customize state properties, making your application more interactive and user-friendly.